Nana thought it would be fun to make our chalk pastel box. And that it surely was. But most of all – colorful! So here she is with chalk pastel box: a tutorial.
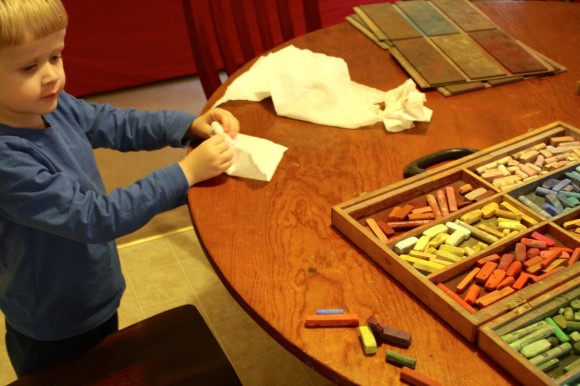
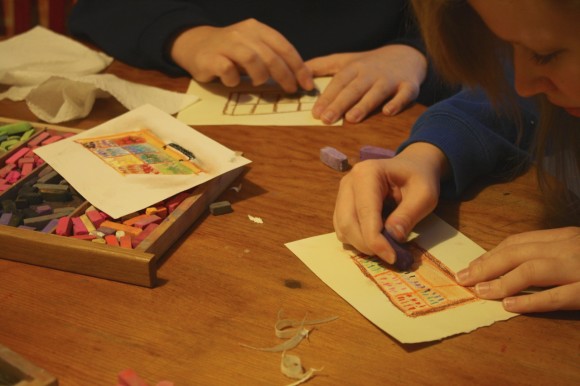
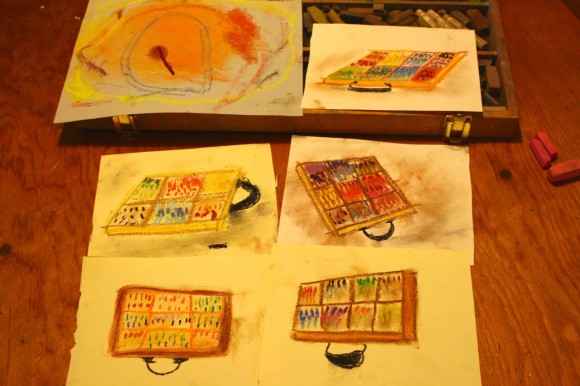
Little Buddy joined in first. He made his own creation while Nana sketched off the chalk pastel box. He narrated his artwork as he went along, saying it is a sun glob. Then he was off to play with trains and cars. The others joined us.
This post contains affiliate links to art supplies we use almost daily and love dearly. Please see our disclosure policy. We love to share our love of art!
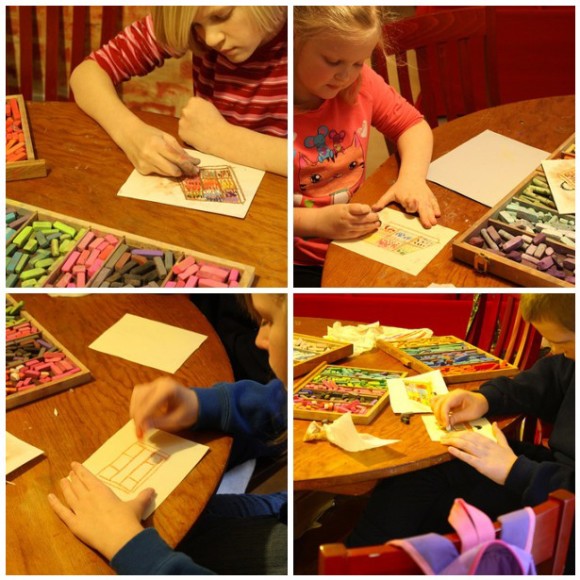
One by one. Sometimes we are all around the table together. Sometimes not.
Now, here’s Nana to describe the steps…
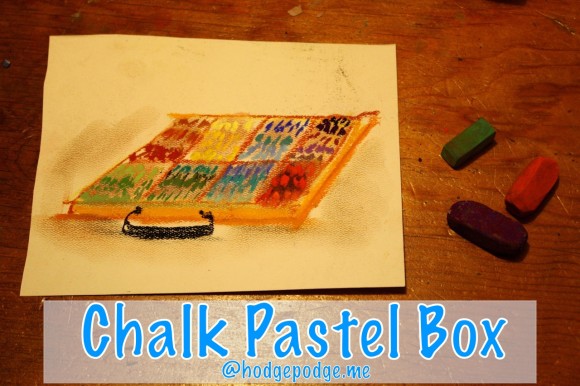
Chalk Pastel Box: A Tutorial
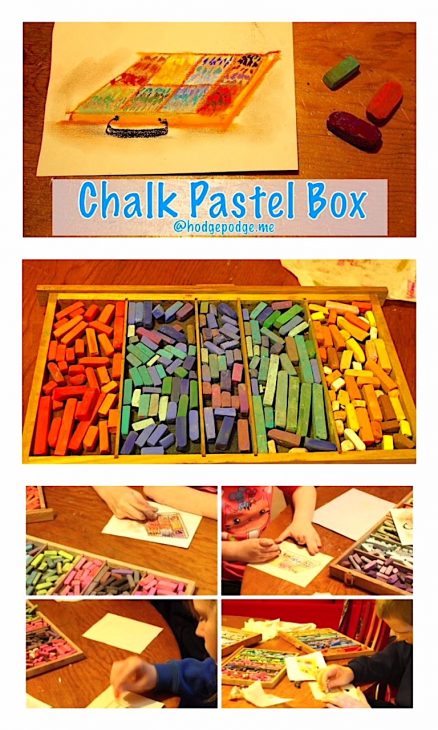
This is a fun, easy lesson for everyone but before we get started, I want to discuss the storage of your pastel chalks. This box is very precious to me; it is not used by my students except with my permission. The box itself is quite beautiful. It was expensive and a gift to myself to store my best pastels safely inside.
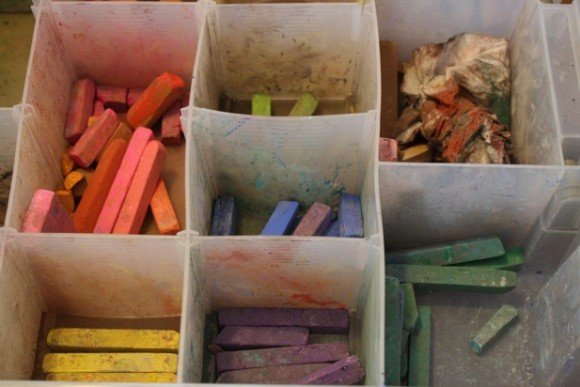
Please, please do NOT get the idea that an expensive artist’s box is required for the care and safety of your pastels! I advocate buying the “student grade” pastels, which are very good to start with and can be purchased for a nominal price. The above pastel storage is a simple, plastic organizer meant for craft beads.
The pastels can be kept in the cardboard box that they came in, a shoe box, a wonderful cigar box…my pastels were kept in a big, plastic box with a carry-handle for years before I bought my wooden box! Please see my post on Soft Chalk Pastels: Storage and Cleaning for more details.
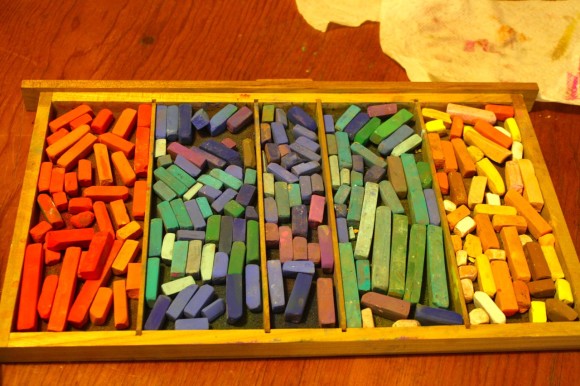
What I am trying to say is: this is a wonderful art to try out with your students or to try yourself, and there is not a requirement for great expense to enjoy drawing with pastels! (You can find the chalk pastel storage drawers pictured above on Amazon for around $23)

Now, we are going to draw a picture of our box. You are welcome to look at our pictures of our pastel box, or you can draw yours…and it can be as simple as an arrangement of your favorite colors in a row, starting from the darkest to the lightest!

It is so much easier to put all the yellows, all the reds, blues, greens, purples…each color by itself, and arrange them from the darkest to the lightest in a row. So, you will for example, have your blue pastels: dark blue, medium blues, and lightest blues. When you start your picture, you don’t have to “hunt & peck” around your collection of pastels for the right color!
This is your picture, so you may want to draw your box as if you are looking down on it, or from the side. Your choice as to how you want to view the box. I found that a “trapezoid” shape was pleasing, and I used a medium brown pastel to draw my shape. Divide the box into sections for your pastels. Take your finger and smudge the edges of the sections creating a background for your pastels to rest on.
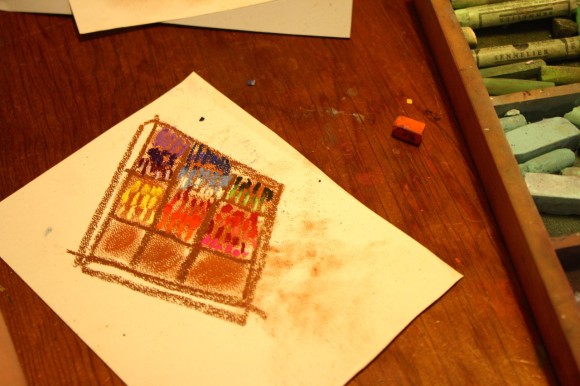
A slightly darker background color on the sections makes the pastel chalk colors really stand out. Next, you can “place” your chalks into their sections; all reds, with the darkest at the bottom of the section and ending with the lightest at the top, then the next color. Place each color in your box or arrangement as you like.
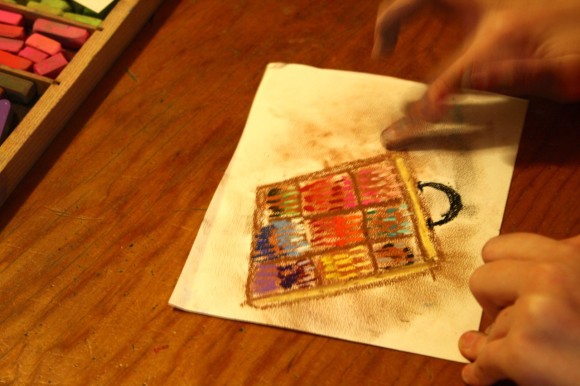
The box itself is a light wood color and I used a dark yellow pastel to lightly color it in. The black box handle was last. There, you have a quick version of an artist’s “treasure.” All the colors in rows and ready to use for your next picture! Lastly, you might want to create a ‘painterly effect’ around your box. Just add a touch of color from what you already have on your fingers. Gently blending around your subject.
Hope you enjoy this and have a wonderful time creating your art!
More on Chalk Pastel Storage
- Chalk Pastel Storage
- Chalk Pastel Storage and Cleaning
- Our Favorite Chalk Pastels
- The Chalk Pastels We Love
- Reasons We Love Chalk Pastels
- Great Gifts for Chalk Pastel Artists – storage, chalk pastels and more!
<pin it!>
FEATURING YOU! YOU ARE AN ARTIST!
So, paint your chalk pastel box and be sure to share with us! Simply tag @chalkpastelart on social media, use the #YouAREanArtist hashtag, or upload a photo to the ChalkPastel.com Facebook page!
- A note on chalk pastels: Pastels are an easy, forgiving medium. Fun for children and adults alike! Details on the pastels and paper we use, how and where to purchase, and links to all of Nana’s other pastel lessons are here: 100+ Free Art Lessons for All Ages plus the video The Very Few Must Have Supplies for Chalk Pastel Art. A simple set is very affordable. Nana also teaches acrylic lessons.
- The practical aspects of a mess: Pastels are blessedly messy. We always have baby wipes close by to wipe hands. We wear something we don’t mind getting stained or don a smock.
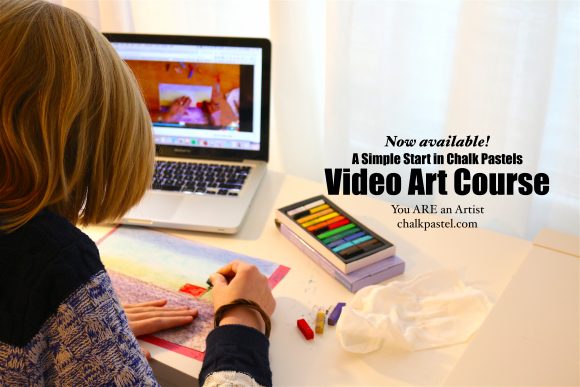
Do you and your artists learn best with a video art tutorial? Find our Video Art Lessons at ChalkPastel.com!
Have you subscribed to Hodgepodge yet to get your exclusive, FREE, subscriber-only art tutorials?
This is a good lesson in angles and perspective, too!
Definitely, Phyllis!