Part Three of What About the Little Ones?

There are many ways to create audio recordings; from the portable tape recorder to sophisticated computer software, costing thousands of dollars. We will focus on using a computer to make our room time CD. We will also use the best kind of software–open source (read: free) software.
Before we download the software, let’s go over the prerequisites for recording with a computer:
- A computer running Windows XP or Mac OS X
- A microphone (either USB or analog, with a connector that will attach to your computer’s audio in);
- A set of speakers or headphones (so you can listen to your audio after recording it);
- Music jukebox software (such as iTunes) that will let you burn a CD of your music.
Once the prerequisites are met, we need the software. Download and install Audacity for your “flavor” of operating system (you want the 1.2x series, not the 1.3 beta). Plug in your microphone, speakers (or headphones) and launch Audacity.
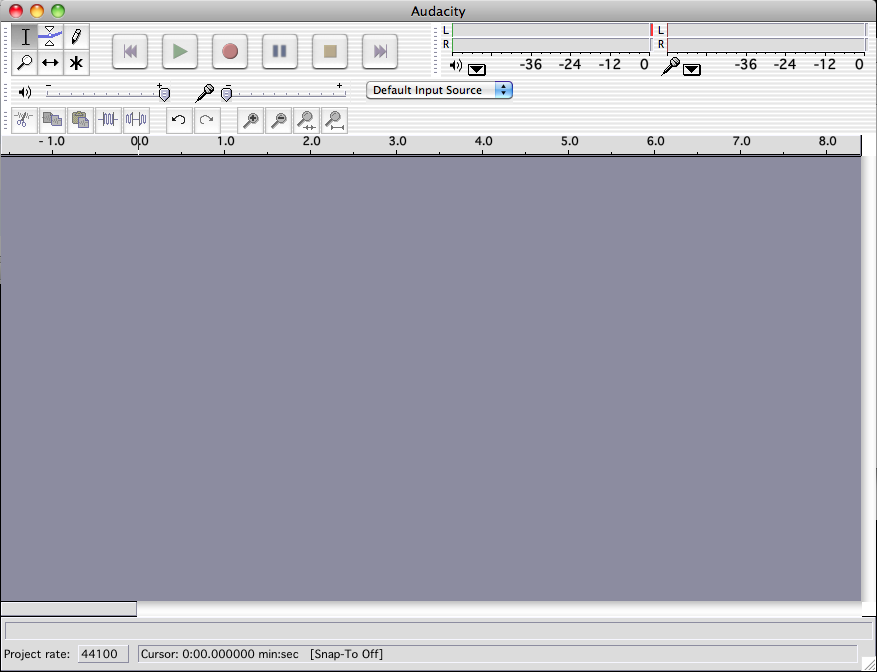
The main window of Audacity is designed to look like a standard analog recording device. You will see transport controls (Stop, Play, Record, etc.) level meters, sliding output and input level controls, and some advanced editing controls (cut, paste, trim, etc.) Audacity’s main windows looks like this:
Once Audacity is running, you can experiment with some test recordings. Click the record button (the red circle). Speak into your microphone. As you record, a section of the main window graphically represents the sound waves being recorded. Stop recording (the square). Playback your recording (the play triangle). When you are satisfied with what you have recorded, click on the file menu and save the recording. Give it a descriptive name so that you will know what each recording contains; you might name a recording of Ephesians 6:1 “Ephesians 61”. See, you can do this.
When we record our room time collections, we record short readings from the bible, poetry, and instructions for the child. We keep the sections short so that our voice recordings can be alternated with music on the CD.
Once you are done with your voice recording, close Audacity. Launch iTunes (or whatever other music jukebox software you use). Import your Audacity recordings, following the import instructions from your jukebox software. If you want to use music from CDs, import the music also (if you don’t already have the music imported). Now, you can create a “Playlist” of the voice recordings and music, in the order you wish them to appear on your room time CD. Once you are satisfied with the order of the tracks, burn the playlist to a CD. Viola!
You have just made a room time CD. Let me know how yours turns out.

This is great and sounds easy enough. I am working on some playlists and just need to locate the microphone and we’ll be on our way to happy room time listening!
Thanks for putting this together!
You read my mind. I really, really thought, “now how do I do this recording?” I have a cassette mentality, but I want it to be servicable in the car & other places. Thank you!! Can’t wait to get started!
Thank you so much for taking the time to put this together! I am so excited to finally know how to do this! 🙂
This is great! I had no idea it could be done so easily on a computer. Thanks Steve!
I’ve had this bookmarked for some time, and I’m doing it today!!! Thanks so much!!!