This month I thought I’d share a simple project recently completed at our house.
Our house is a good size, and with only three children, there was enough room when we moved in for everyone to have their own room. (Except me and hubby, we like to share, but when one of the kids moves out, I’m going to make her room into a pink, “Shabby Chic” reading and napping room just for me and any future granddaughters. Shh! Don’t tell!)
Anyway, the girls were 12, 10, and 6 when we moved in, and we let them choose their rooms. Each chose a different one based on her personality. Youngest chose the largest room, which was good, because she had lots of toys. Our middle girl chose the room with slanted ceilings that was the most old-fashioned looking, one that one of the heroines from her many books would live in. Our eldest chose the sunny room at the top of the opposite side of the stairs… the whole south side of the upstairs is her room. It looks like a little attic and was technically called a “bonus room.” If you know real estate, you know that means it has no closet. For years, we dealt with this issue by having her share a closet with hubby and I (the other girls’ closets were too small to share) for her “hang ups” and shoving the rest of her clothing into her dresser, storing off-season clothes under the bed.
She also had two beds in her room, which was convenient for having friends or little sisters spend the night, but took up a lot more space in the tiny room, leaving her no room for bookshelves, which she desperately needed. I don’t have many pictures of her room, and I forgot to take a before picture. I just wish you could see the books stacked on the floor! We even painted it aqua and added those neat, peel and stick dots… but no closet rendered it just not “done.”
Our sweet eldest went off to college over two years ago. Even though she spends more time away from home that at home now, we wanted her to feel like we cared about her personal space, and that she is special to us. We finally found a way to fix it up that would work without calling in a contractor or spending a large amount of money. (Pinterest helped.)
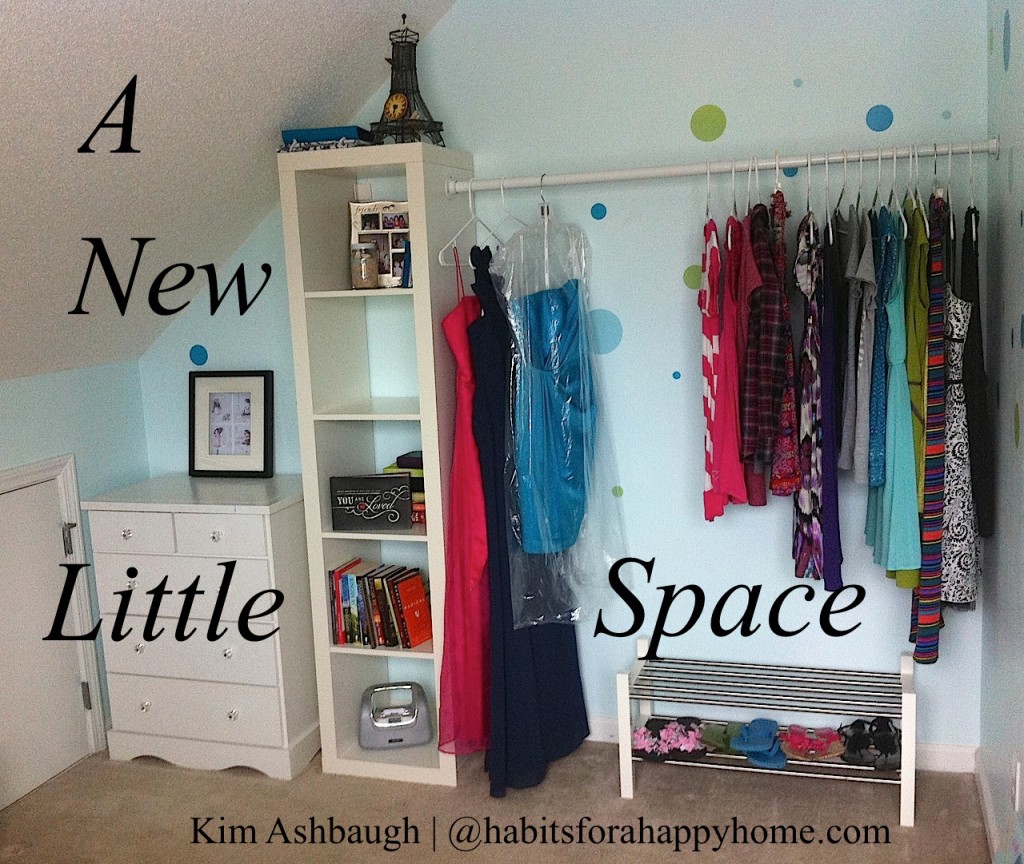
Here’s what we did:
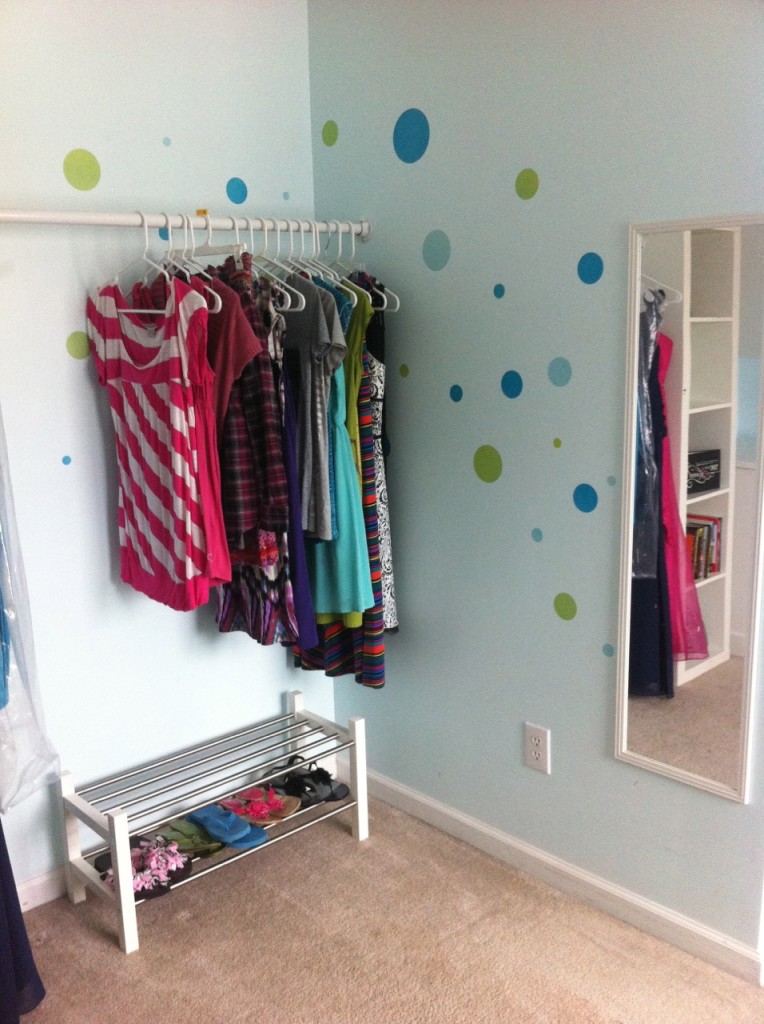
As you can see, we used one of the popular “expedit” bookshelves from IKEA. (Hate to say it, but they were being discontinued. There are other, similar bookshelves in that line.) Hubby anchored it to the wall and purchased a closet rod from Home Depot and a little hardware to go with that. The whole project cost less than $75. (If you wanted to be even more frugal, you could find a bookshelf at a yard sale or thrift store.) Now her clothes AND books have a home, and I can’t wait for her to see it. (The shoe rack on the bottom is also from IKEA. I love the simplicity of their designs.)
I am keeping all the hangers the same color to add to the simplicity and for color continuity (can you tell I love to read Better Homes and Gardens?!). Hubby thought of putting a curtain across the front, but I like the look of openness, and if you peruse any of IKEA’s catalogs, you can see many designers like it, also. But the main point is that WE like it, and I think our daughter will, too. Better late than never!
I’m so glad she chooses to come home for Spring Break, and that this little treat awaits our girl. We love her so!


Leave a Reply