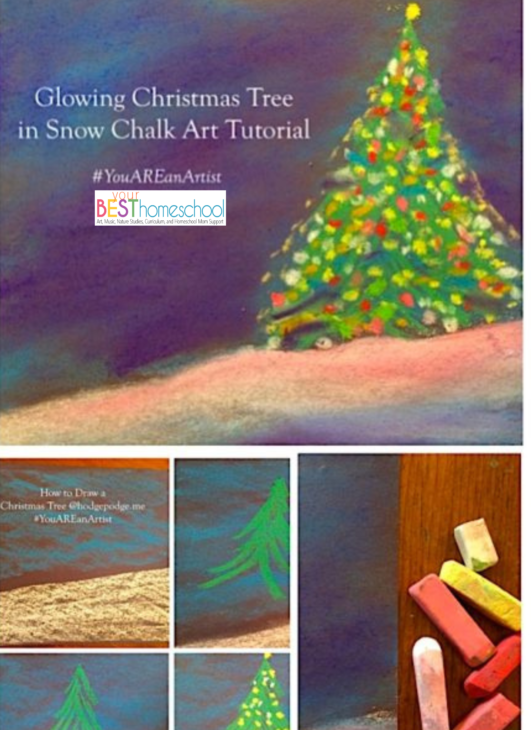
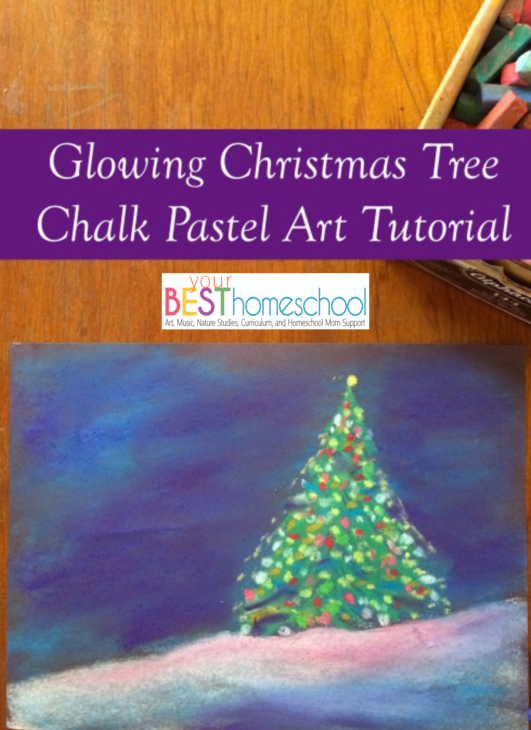
Enjoy this glowing Christmas Tree Kids’ Art Tutorial for your Christmas School celebrations. One of our favorite ways to make memories at Christmas is to drive around town and see Christmas lights at night!
And so, in honor of the favorite, glowing Christmas tree you spot on your drive around town – we have a glowing Christmas tree chalk art tutorial perfect for the whole family.
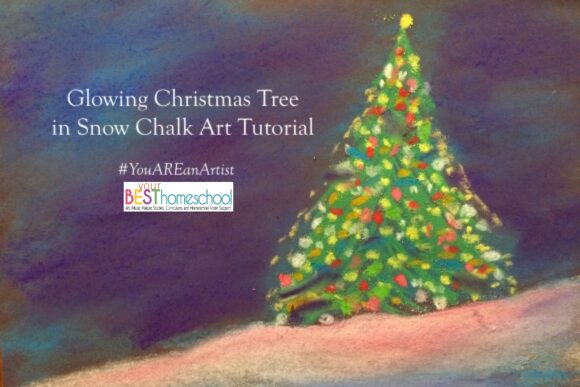
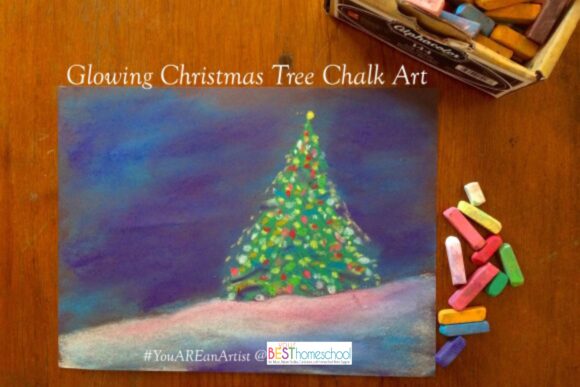
Glowing Christmas Tree Kids’ Art Tutorial for Holiday Homeschooling
This tree is off in a snowy field. The sun has set and it is dark, yet the glow of all those Christmas tree colors makes the snow around it almost pink with beautiful light!
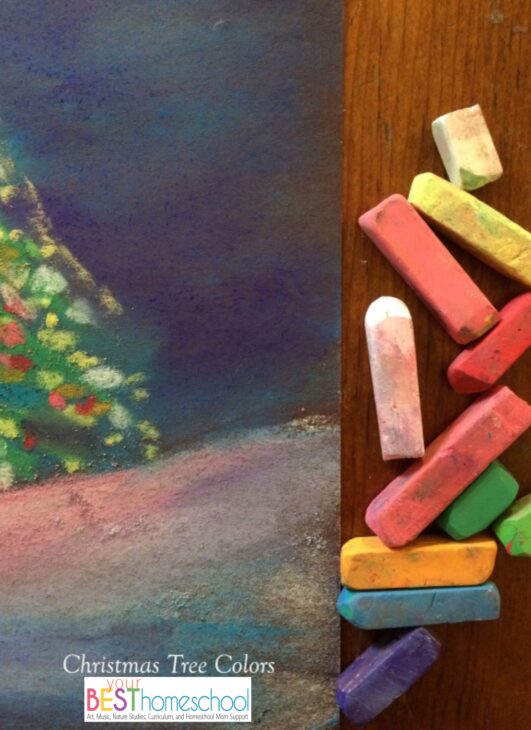
Glowing Christmas Tree Chalk Art Tutorial supplies:
- black or dark blue construction paper
- Chalk pastels: blue, purple, red, orange, yellow, white, green, dark pink and light pink.
Start by making a snowy hill. You can make your slope any way you’d like. Turn your white pastel on its side and skumble in the snowy ground. Don’t blend your white yet but get your blue chalk pastel and do the same to fill in the night sky. It could stay very dark and black if you’d like, but the blue makes it more like Christmas, I think.
(You may need to wipe your fingers on a wet paper towel or a baby wipe in between your chalk colors). Take your finger and blend in the snow first. Next, smooth out that rich, dark sky. I added a bit of purple.
And you might even want to add just a few stars. But not too many because the tree is the brilliant subject of this painting.
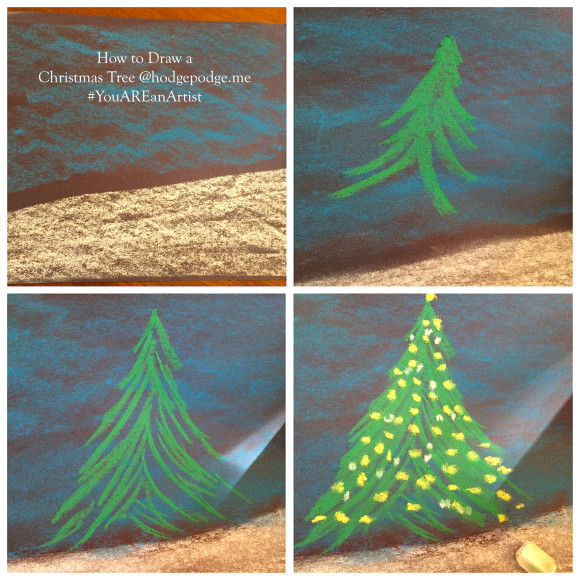
Place your Christmas tree on the hill, just so. Put it in the very spot you think it should go. I think it is an artistic touch to place your tree slightly off center. It draws the viewer’s eye into the picture and helps you to imagine walking towards your tree.
To make the branches, simply draw many upside down Vs. Small at the top and wider at the bottom. Nana shared how to do this in her Christmas Tree in the Snow Chalk Pastel Tutorial. Fill in your green branches. You can do this with your chalk pastel or by taking your finger and blending in the green. Notice the tree goes all the way down to the snow and there is no tree trunk showing.
This Christmas tree is glowing with lights so brightly that we need to start decorating with yellow and white lights first. Fill in those branches! Next use the colors you would like. (You may even decide to have your tree be lit with only white lights).
Be sure to add a bright yellow star at top!
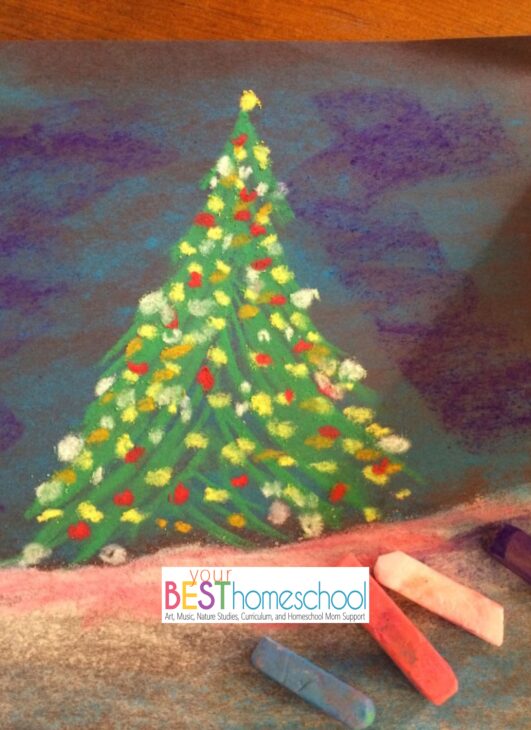
The glow of the Christmas lights on the white snow was my favorite part! The combination of colors cast a pink glow on the snow. Dark pink closest to the tree and lighter pink further away.
Then, there is a touch of blue and purple from the night sky reflecting in the snow as well.
Blend in the colors on the snow around the tree. It is such lovely light and that pink needs softening a bit. Now I took a deep purple pastel and made some ‘holes’ here and there in the tree to make distinct branches. You might want to do that too. Add your special, artistic touch!
You may even want to use a pen and write in the words to your favorite Christmas carol. But be sure to turn your painting over, sign and date it. Name it what you’d like. Christmas tree glow!
What a beautiful Christmas tree – I’d love to drive by and see your tree all lit up and casting a lovely glow on the snow! You ARE an artist – Merry Christmas!
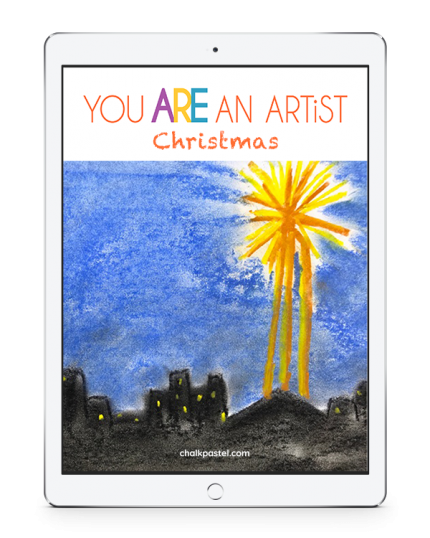
Family Style Online Art Lessons
Looking for a video art lesson? Nana has over 800+ and counting in the You ARE an Artist Complete Clubhouse – including Christmas, Nutcracker and Preschool Winter Video Art Lessons at ChalkPastel.com!
You will also enjoy the Ultimate List of Christmas Art Lessons!
- A note on chalk pastels: Pastels are an easy, forgiving medium. Fun for children and adults alike! Details on the pastels and paper we use, how and where to purchase, and links to all of Nana’s other pastel lessons are here: Our Favorite Chalk Pastels
- The practical aspects of a mess: Pastels are blessedly messy. We always have baby wipes close by to wipe hands. We wear something we don’t mind getting stained or don a smock.
- Enjoy a Christmas Tree for the Animals (free event) with an art lesson, a craft, nature study, hymn study and more!
O Christmas tree, O Christmas tree, how lovely are your branches!
—>> Subscribe to Hodgepodge so you won’t miss any of art and heart of homeschooling! <<—
-originally published 2015
Yes, my dear…you ARE an artist!! Great work!!
Always,
Nana
Lovely! We’re going to do this today, I think!
Do you put anything on top of the art when finished to keep it from smudging accidentally?
Hi Jen – there are special sprays you can find at arts and crafts stores like Michael’s. However, Nana has suggested that you use a cheap, spray (not pump) hair spray like Aqua Net 🙂 Just apply a light, even spray.
Thank you for the Aqua Net tip, especially when using the art for Christmas cards.
We did not have family Christmas cards made this year. Instead, one of our Advent activities is going to be making homemade Christmas cards for only a select few family members and friends. We are going to use some of your Christmas tutorials, particularly this one!! Thank you! I can’t wait!
I dabble in chalk pastel. I might try this, thanks!.
Enjoy!