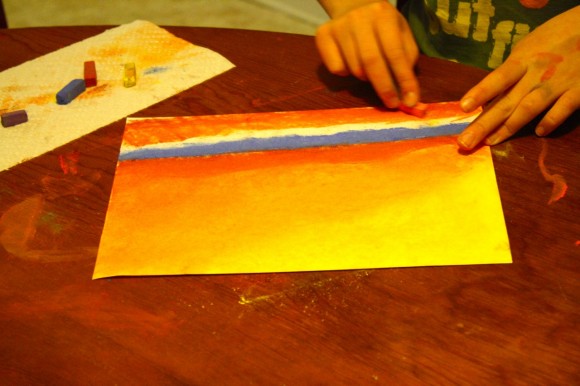
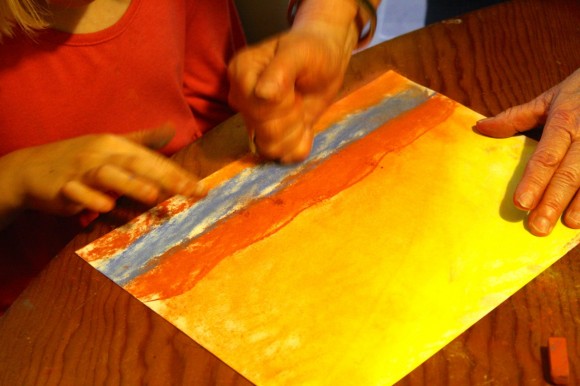
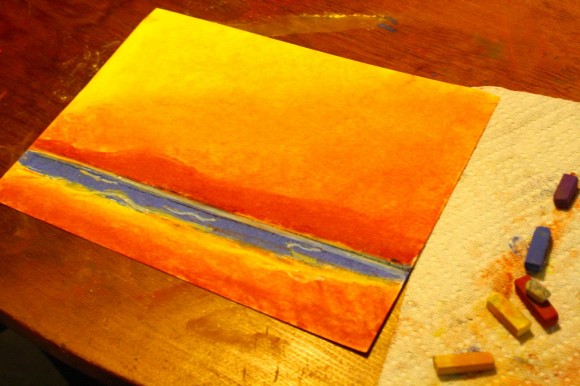
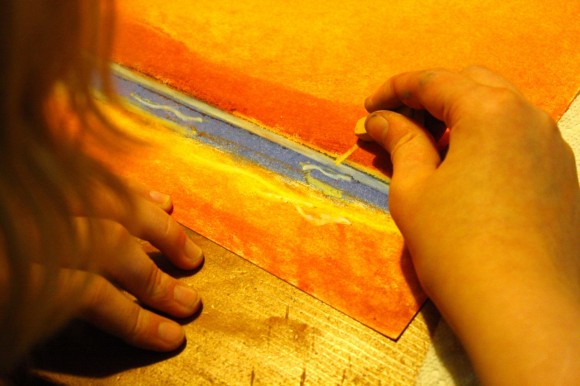
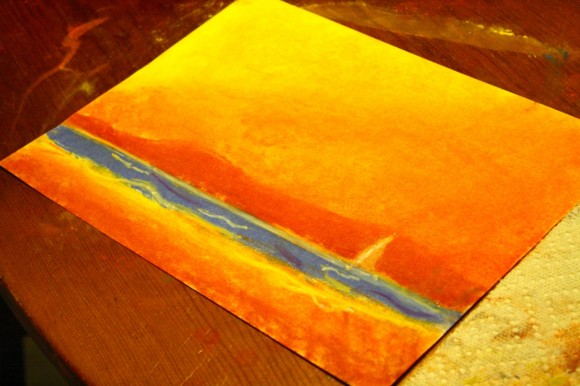
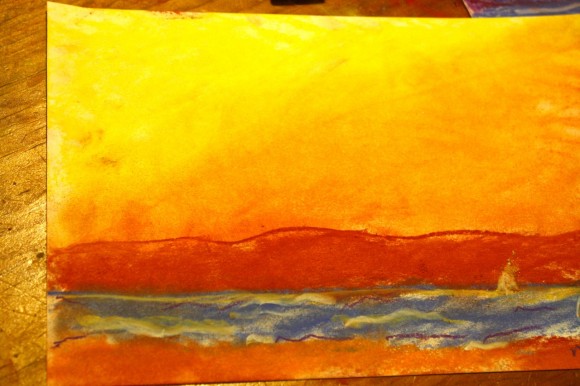
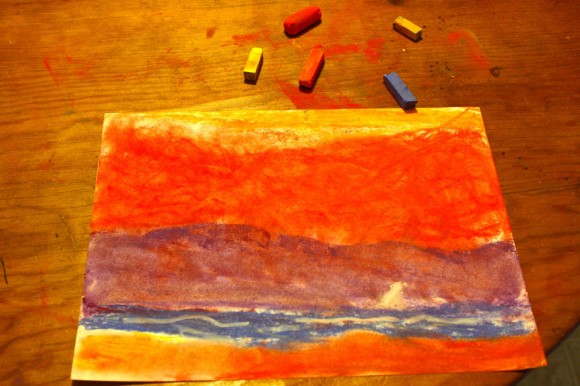
This chalk pastel tutorial is Nana’s third lesson. One of our favorites from the archives, more than two years ago… 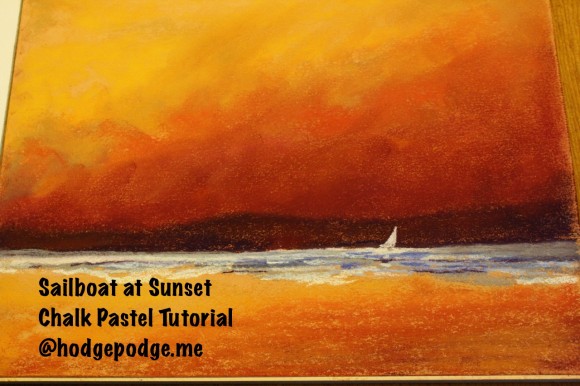 Nana came by with a surprise. She had her latest pastel picture from class. This sailboat on the ocean, the sunset reflected in the sandy beach – a delight! Nana said this picture was influenced by artist Toni Grote.
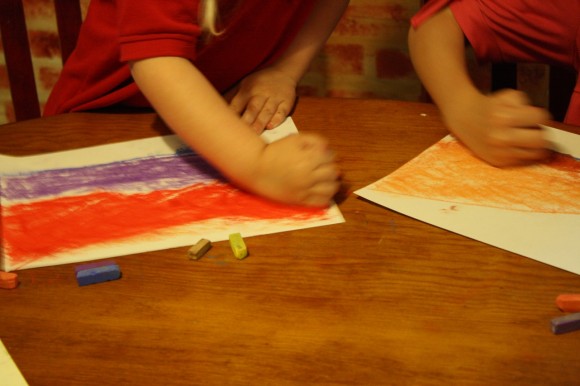
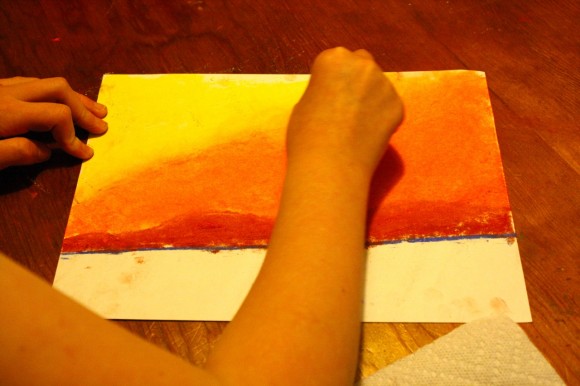
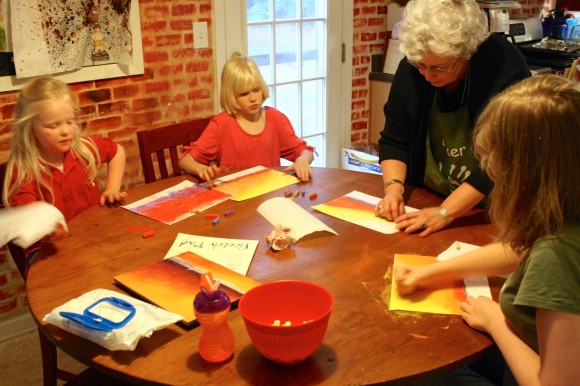
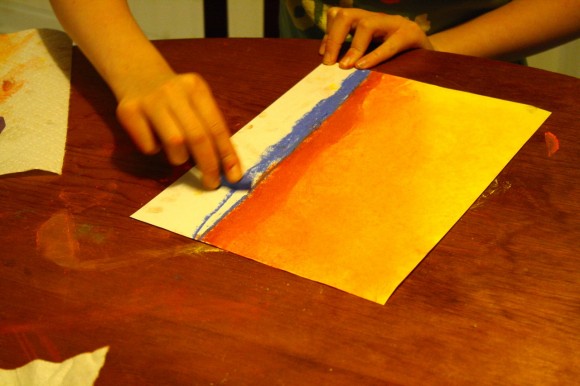
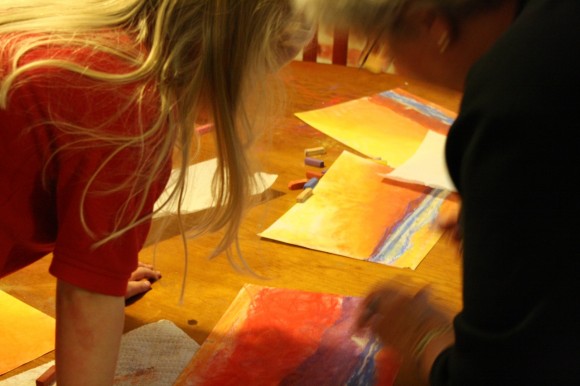
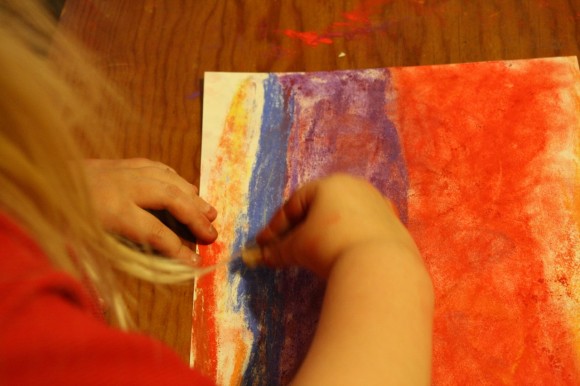
We swept aside the dishes already set for supper. We had 30 minutes before the casserole would be ready. Just enough time. The girls gathered paper and pastels. Outside it was overcast, so we pictured those beautiful colors, imagined standing on the beach.
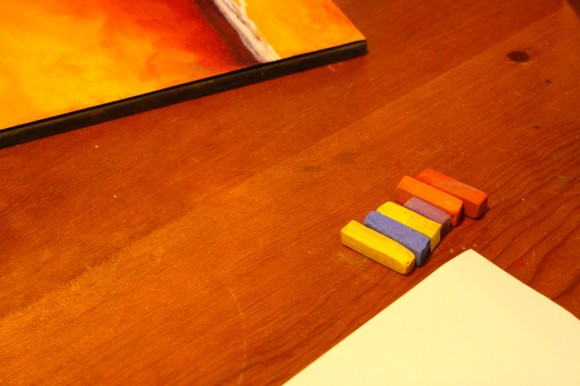
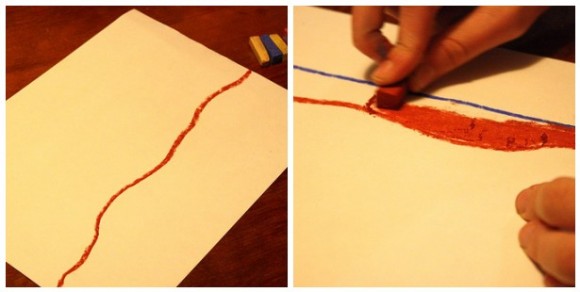
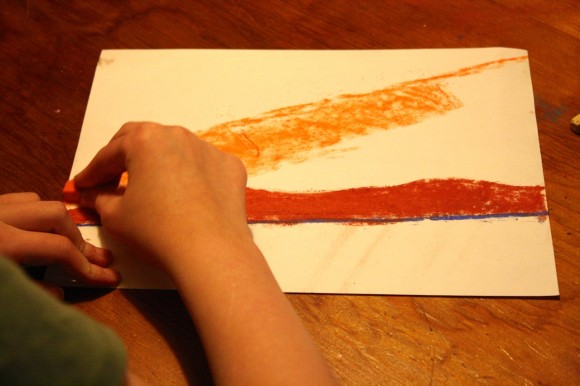
Thank you Nana!
Enjoy!
- Print this lesson: Just click the green, ‘print-friendly’ button at the top, left of this post. You can choose to print the lesson with or without photos. By clicking the ‘remove photos’ box, you may print the text directions only.
- A note on chalk pastels: Pastels are an easy, forgiving medium. Fun for children and adults alike! Details on the pastels and paper we use, how and where to purchase, and links to all of Nana’s other pastel lessons (over 45 lessons now) are all contained in the post Pastels plus links to tutorials. A simple set is very affordable. Nana also teaches acrylic lessons.
- The practical aspects of a mess: Pastels are blessedly messy. We always have baby wipes close by to wipe hands. We wear something we don’t mind getting stained or don a smock.
ok, I am no longer postponing it! I am buying chalk pastels tomorrow!!!
I want to make that beautiful sunset too!! 🙂
We just finished our own chalk pastel sunsets.Thanks so much.
http://littlehomeschoolblessings.blogspot.com/2012/09/the-chalk-pastels-of-september.html?m=1