On a lazy afternoon at the beach the children and I decided to draw a sandpiper – after seeing these fast and delightful birds all morning swooping down and racing the waves. We assembled our limited color palette of pastels. We just couldn’t pack everything!
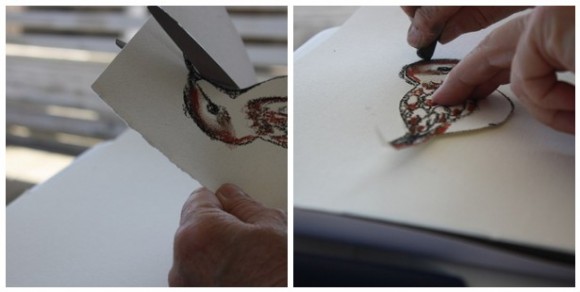
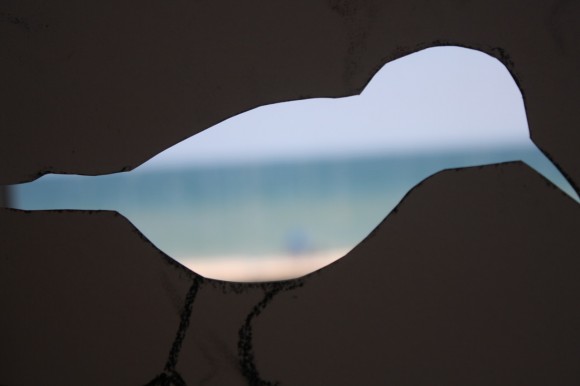
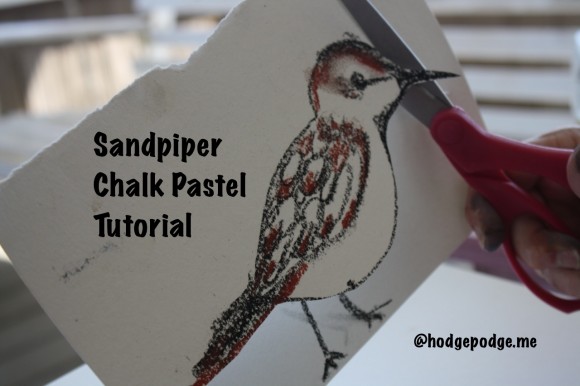
I drew a large bird shape on a piece of paper and studied the photo of a sandpiper we had taken earlier in the day. Just using brown and black and leaving large areas of white, we were pretty much pleased with our model for the lesson. I decided to make a template of the bird for the younger children, easily done by just cutting out the bird.
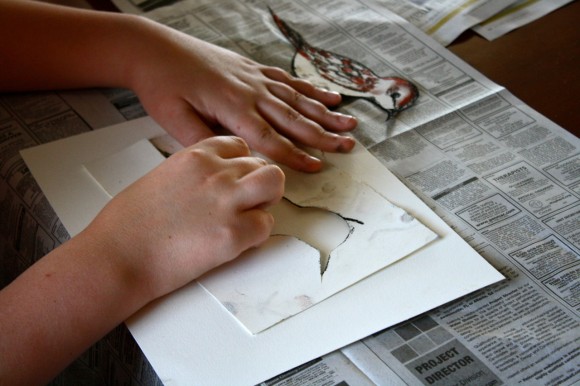
We really had TWO templates, one of the actual bird shape, and the outline of the bird in the cutout!
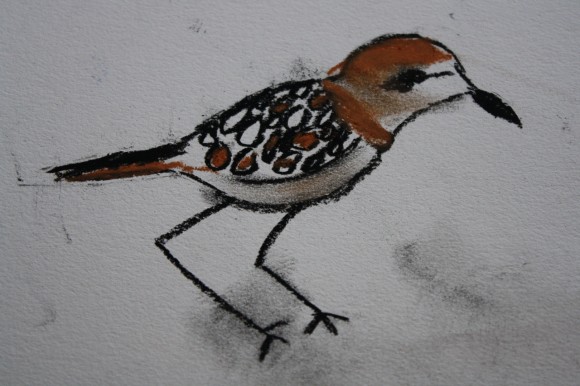
Take your bird shape and a black pastel. Put your shape on the paper and bear down as you outline the bird. Next is the fun part: actually coloring your sandpiper and making it look alive! First is the black eye; a round circle. Leave a little dot of white paper showing to make the eye look real.
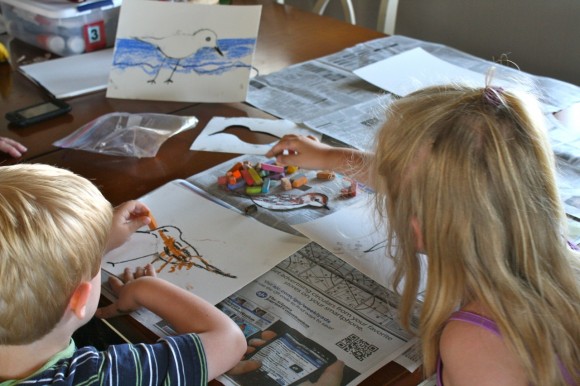
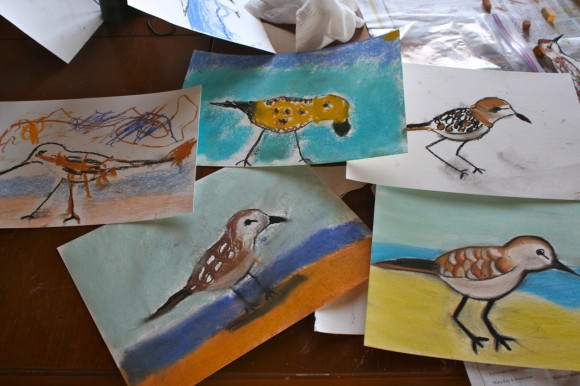
(Nana drew the sandpiper outline for the youngest of the children.)
You can put the wing feathers on next. I found that children can draw oval shapes for the feathers and then color them in with a light brown or rust pastel.
(Eldest Boy emphasized the little backwards ‘knees’ of the sandpiper.)
A sandpiper also has dark feathers on its head. The feathers sweep up from the eye. Long funny legs like sticks will finish your bird.
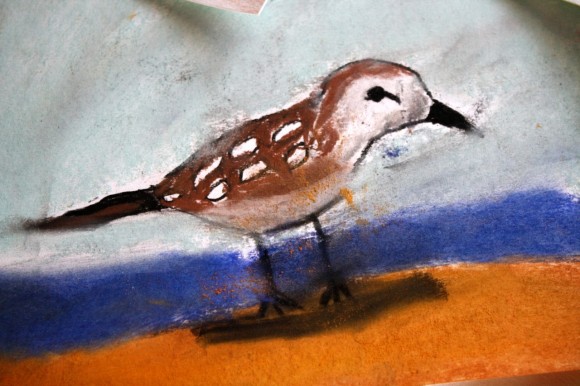
Now, you cannot leave this funny little bird just in the middle of a piece of white paper! Please put him on a beach with tan sand and have a wonderful blue green ocean behind him. Clouds are optional in the sky, but a great added touch.
13-year-old added a bit of shadowing underneath his bird.
Just stand back and grin…look what you have done! You have just drawn a wonderful shore bird…the Sandpiper!
You might like to pull out your bird field guide or click over to Cornell Lab and take a close up look at the type of sandpiper we believe we saw. We also saw pelicans, skimmers, larger sandpiper type birds and a heron.
Enjoy!
- Print this lesson: Just click the green, ‘print-friendly’ button at the top, left of this post. You can choose to print the lesson with or without photos. By clicking the ‘remove photos’ box, you may print the text directions only.
- A note on chalk pastels: Pastels are an easy, forgiving medium. Fun for children and adults alike! Details on the pastels and paper we use, how and where to purchase, and links to all of Nana’s other pastel lessons (over 40 lessons now) are all contained in the post Pastels plus links to tutorials. A simple set is very affordable.
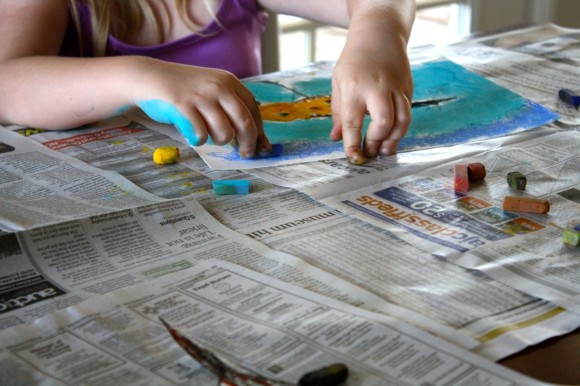
- The practical aspects of a mess: Pastels are blessedly messy. We always have baby wipes close by to wipe hands. We wear something we don’t mind getting stained or don a smock.
What sorts of birds have you seen at the seashore?

Wonderful tutorial…so wish I were at the beach right now with my sketching tools so I could get started.
Thank you for the inspiring art project.
What a lovely tutorial. I love the way you show how to do it for multiple ages. I also love how much you appreciate the individual characteristics of the bird. Lastly, I love how you show that art and nature study can happen anywhere…even on vacation. Wonderful! I can’t wait to do it.