My Blue Boat: A Pastels Tutorial
The joy of art. We are blessed that way. See, for over two years now Nana has taught the children chalk pastel lessons on a variety of subjects. She teaches all the children at once – multiple ages. And I join in now and then too! How about you? Won’t you join us? Consider this your personal invitation!
Let me encourage you with how easy this can be to enjoy by sharing a testimony from Lori: “I have to tell you, I am NOT an art teacher…not even close. The most my kids ever do with art is maybe a hands on history lesson with coloring pages and some minor drawing. I have now ventured into teaching them art WITH NANA! We completed lesson one in pastels this morning, and it was fabulous! She is inspiring a love of art in a family that knows nothing of it! Thank you so much for sharing your precious mother with us all.” ~ Lori Lange, homeschool mom of 5 @ Abnormal Herd
We share those times of art with you here. And, with this pastel tutorial, this makes 41 chalk pastel lessons you can enjoy!
My Blue Boat is a perfect example of how art can be enjoyed by multiple ages. Plus, pastels are a medium of layering. You can learn to layer colors to create the results you wish – similar to the delicious dish of lasagna! Chalk pastels appeal to all our ages from age four up to Mama’s age. We’ve started children even younger than that! Pastels are easy and forgiving – with beautiful results.
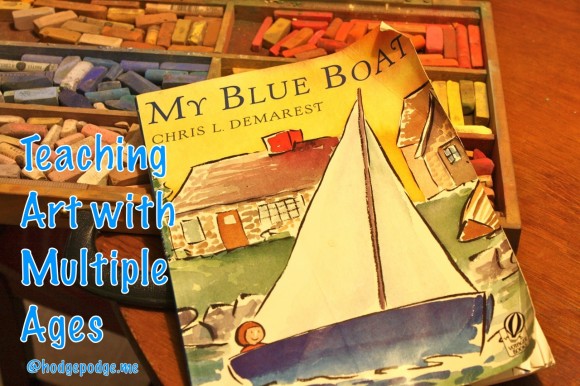
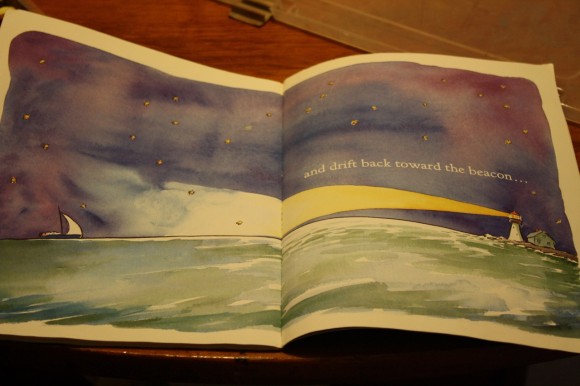
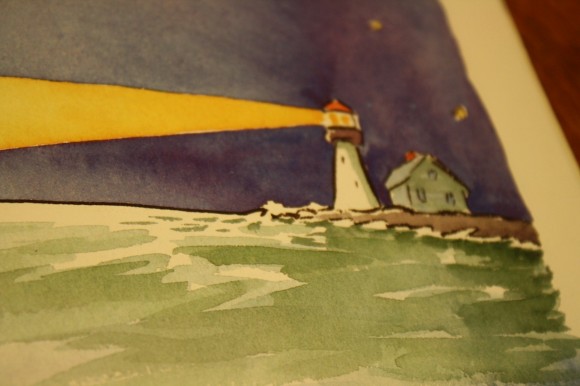
The Subject: We chose My Blue Boat because it is an absolute favorite of ours. A book that goes back to our Five in a Row (FIAR) unit study days – a book we still enjoy. All of those FIAR books I still fold into our learning. And, in case you don’t have a copy of My Blue Boat, I’ve shared the image we chose to use as our guide, so that you and your children can too.
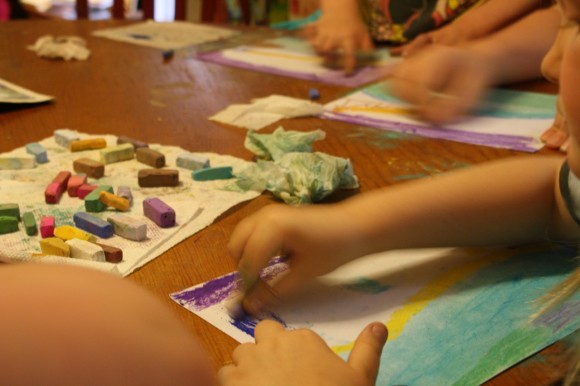
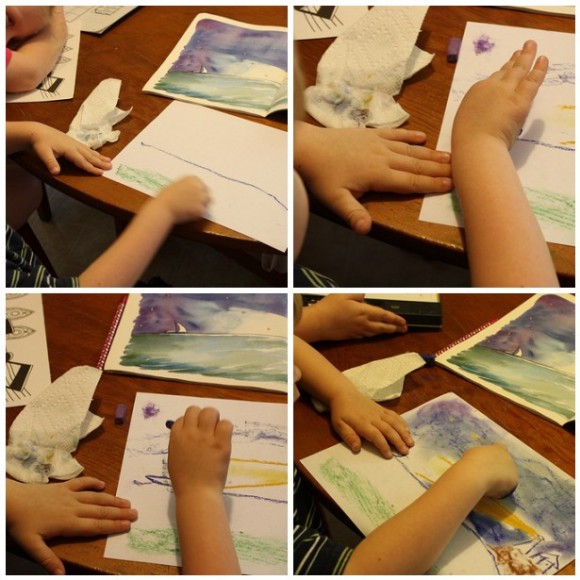
Preparation: In preparation for our chalk pastel art, we placed the baby wipes in the center of the kitchen table. I took out a few wipes and placed them within reach of our artists. Sometimes we will choose colors and place them near each child’s spot. This time we made nice little piles of pastel sticks for the children to reach. And, we used regular printer paper for this lesson.
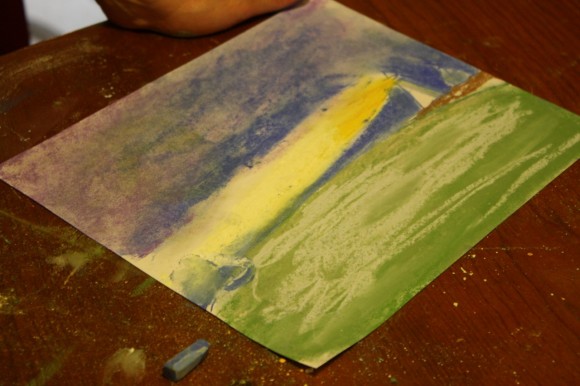
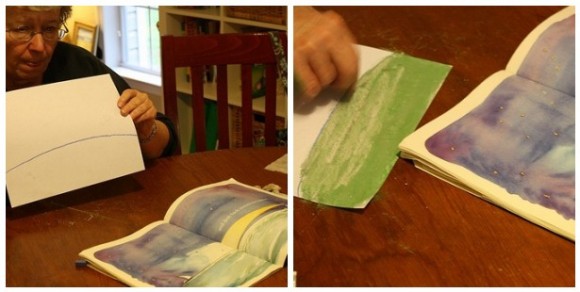
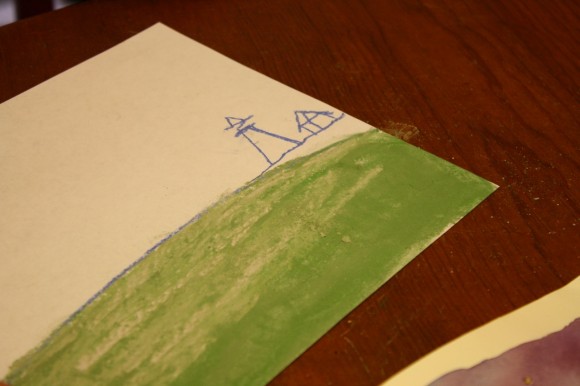
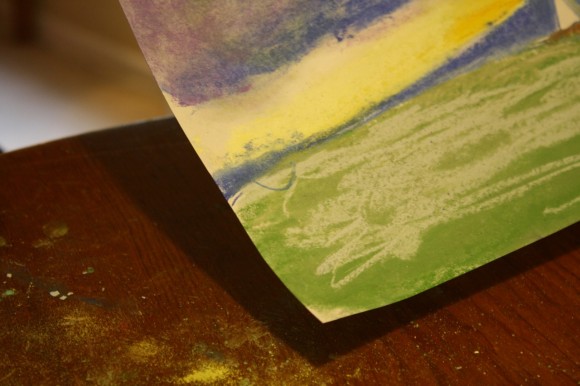
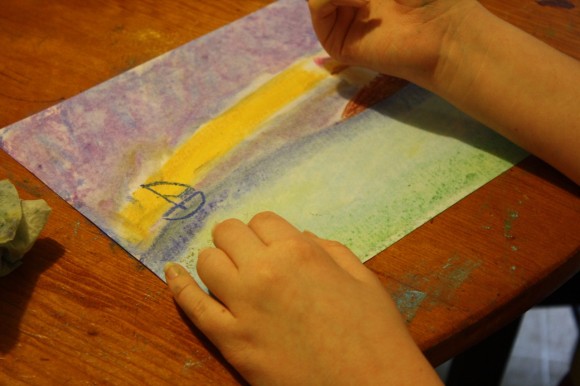
With any type of ocean scene, Nana always begins with the horizon. If you look closely at the My Blue Boat scene, you will notice that the ocean is a bit curved. Also, rather than blue, the ocean is mostly light green. The lighthouse light is reflecting on the water. So, take your light green pastel stick, turn it on its side and color in your ocean. Blend your green into a lovely ocean by making a fist and with your pinky side smooth the color. You will add details such as the reflection of the light later.
Next, take your brown and draw the small shoreline under the lighthouse. (or use blue as Nana did).
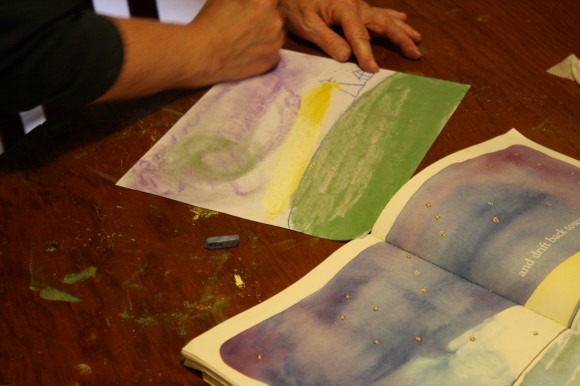
Go ahead and draw the lighthouse and the house on the shore. You can take your brown and color in your shore if you’d like. We colored the top of the lighthouse red, like in the book. And Nana showed us how to show the shadow on the lighthouse by taking your pinky finger and gently placing it in the little bit of blue and ‘pulling’ the color down. You can see the shadow in the photo of the book page and in Nana’s pastel picture below.
The light from the lighthouse is what we will create next! See how far the light reaches? It’s such fun to take your yellow and stretch the light. Notice how the yellow is a stronger color closer to the lighthouse. You can take your finger and blend the yellow – smoothing out and diffusing the light.
Take a second and use a baby wipe to clean your hands because next we will add the purple sky. However, if you get a little bit of green in your purple sky, as Nana did, it will still blend nicely. Nana is demonstrating the fisting action.
Here they all are in action!
Ready to make that deep blue, night sky? Nana showed us how to carefully color around the lighthouse light. See how it is a darker blue closer to the strongest part of the light? Take your finger and blend the blue around the house. You can use your fist to blend some blue into the sky at the top of your paper.
Our last steps add details. First, take a white chalk pastel stick and add the ocean foam. Highlight the light from the lighthouse in the water – in your own way.
The boat is, of course, drawn with a blue pastel chalk. Just a simple curve like a smile, topped off. And a curve of a sail added. Take your white and fill in your sail.
And, have fun adding stars to the sky! A yellow chalk shows up easily right over the blue and purple of your night sky. (Note the shadowing of the lighthouse I mentioned above).
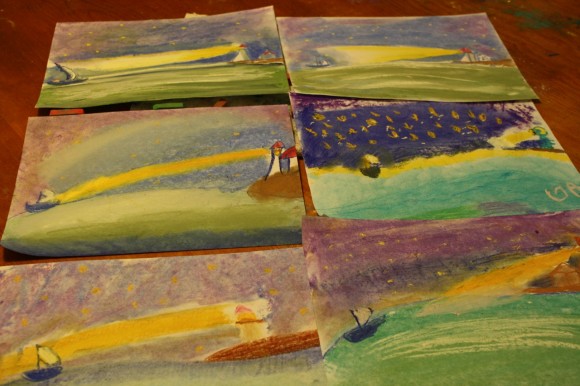
All our pastel blue boat ocean scenes. Aren’t they a neat variety? At top, from left to right: Nana’s, mine, nine-year-old’s, six-year-old’s, 14-year-old’s and 12-year-old’s.
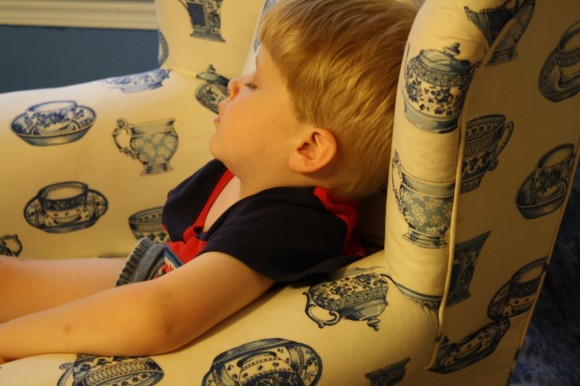
Adjustments for the smallest in your art party: Now, we did this art lesson when Nana stopped by after work one afternoon. Littlest Boy was having a particularly hard time and fell asleep. Normally, I would help sketch out some basic shapes for him. He loves to fill in and blend.
Pick the time of day best for you and your children: So, the next morning, that’s just what I did. And he had the best time! So, you may need to find what works best for your age range. Normally, we all enjoy a chalk pastel together at once, around the table. Youngest ones may finish early and scoot down from the table. And that’s ok.
Congratulate yourself! You are growing a love for art, practicing, building a habit. Let your littlest ones do as much or as little as they enjoy – then praise them for their creations! Young children will notice your love. And older children are wonderful examples as well.
This make 41 chalk pastel tutorials!
Enjoy! Pastels are an easy, forgiving medium. Fun for children and adults alike!
- Print this lesson: Just click the green, ‘print-friendly’ button at the top, left of this post. You can choose to print the lesson with or without photos. By clicking the ‘remove photos’ box, you may print the text directions only.
- Need details? Details on the pastels and paper we use, how and where to purchase, and links to all of Nana’s other pastel lessons (41 lessons now) are all contained in the post Pastels plus links to tutorials. A simple set is very affordable.
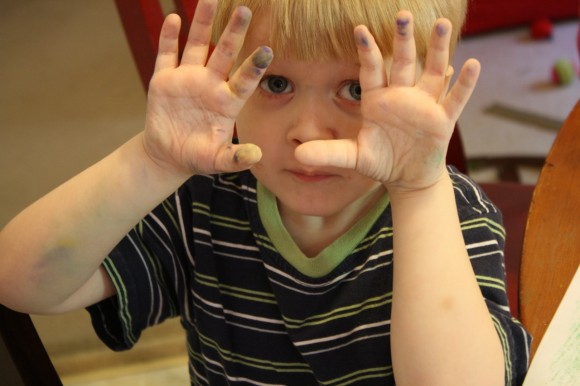
- The practical aspects of a mess: Pastels are blessedly messy. We always have baby wipes close by to wipe hands. We wear something we don’t mind getting stained or don a smock.
More art resources:
- Won’t you join us for the May Art for Homeschool Show?
- Nana also teaches free acrylic tutorials!
- Sketch Tuesday – fun for each week!
- More ideas for art with multiple ages from around the web on my All Things Art Pinterest board.
- Don’t forget the Harmony Fine Arts plans giveaway going on through Friday! Another resource we love for art and music appreciation for multiple ages.
Topics in this series:
- A Recipe for Teaching Multiple Ages {Day 1}
- Helpful Homeschool Habits for Multiple Ages {Day 2}
- The 3 Rs for Multiple ages {Day 3}
- How to Fit in All the Extras {Day 4}
- Afternoon Quiet Time for All Ages {Day 5}
- Unit Studies for Multiple Ages {Day 6}
- Teaching Art with Multiple Ages {Day 7}
**Remember to subscribe to Hodgepodge, so you won’t miss any lasagna learning! You can also have free Hodgepodge delivered to your email inbox by entering your email address in the top right hand corner. Thank you!**
The 10 Days Series is organized by iHomeschool Network, a collaboration of outstanding homeschool bloggers who connect with each other and with family-friendly companies in mutually beneficial projects. Visit us on Facebook, Pinterest, and Twitter. And of course, click the image below to visit all the 10 Days posts from these homeschool moms of the iHomeschool Network. You’ll be blessed with tips on how to handle bad days, cultivating curiosity, teaching with Legos, and much much more!
So, will you create a blue boat too? Don’t you love the swirl of the ocean?



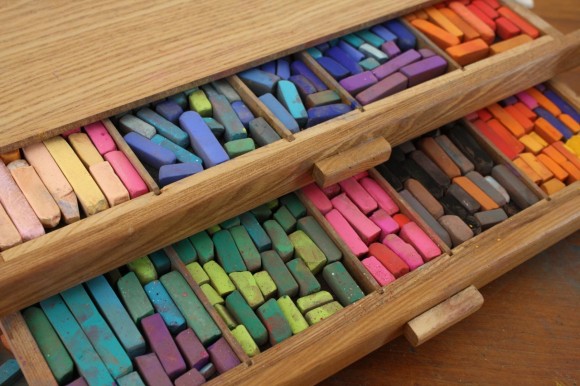


I really enjoyed the lesson. We love art around here. Your pastel drawers is great.
Blessings,
Dawn
Wow Nana! What a great lesson. Tricia, you captured it and presented it so well. Fantastic!
Oh, wow! This might be my favorite one yet. I love The Blue Boat and I have always thought that the pictures in it are wonderful…and to make a pastel in imitation of it! A lovely idea. Thanks for making step-by-step suggestions. This is definitely on my summer list of things to do!
Holy smokes, this is fantastic! I’m blown away by the artwork you all create and enjoy!
Great post! I always tell moms of young ones to pick the best time of day for the kids AND mama!
Thanks so much ladies!
What a gift you have given us with ALL of these pastels lessons. I really like this one, Tricia. We have never rowed this book, but you can bet we will be doing it very soon.
It’s going on my “art projects” pin board!
Thank you for sharing all of this! I am not very artistic and am always looking for ways to introduce art to my children! I wish the blizzard were over so UPS could deliver our new pastels!
This is great, thank you so much! My 9 year old is interested in art, and I’ve been looking for resources for him. I can’t wait to go through the rest of Nana’s lessons here.