Nana is here today to share how you can be an artist and paint motion with a waterfall tutorial…
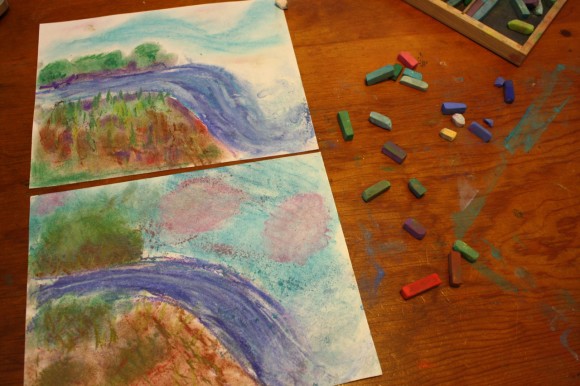
This is an easy, quick pastel painting that I think artists of every age will enjoy! You can get into the tumbling motion of the water as it crashes down to the rocks below the falls. I painted this from the side in order to focus on the river and its color and to define the shoreline or edges of the river.
Waterfall Tutorial
I have learned that if you draw the shore or banks of a river first you can be successful in the right viewing prospective of the rushing water.
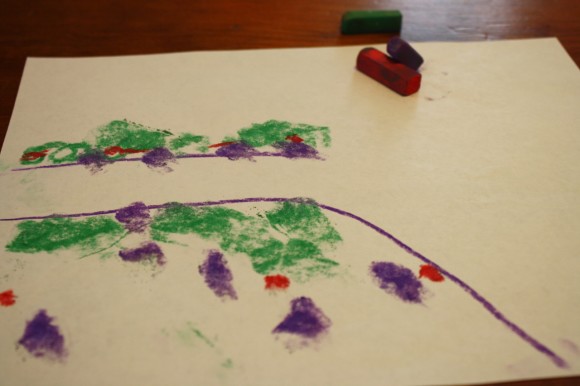
Draw the bank of the river closest to you first, using a dark purple pastel. Then, make the decision as to how wide your river is going to be and draw the opposite river bank. Be sure to end your bank at the waterfall edge so that the water can flow freely!
Take a darker green and smudge in some bushes and trees on your banks…make sure the bushes and trees on the opposite bank further away are smaller than the brush on the bank closest to you. These bushes are not the “star” of the painting, the river is, so just make smudges or impressions of vegetation.
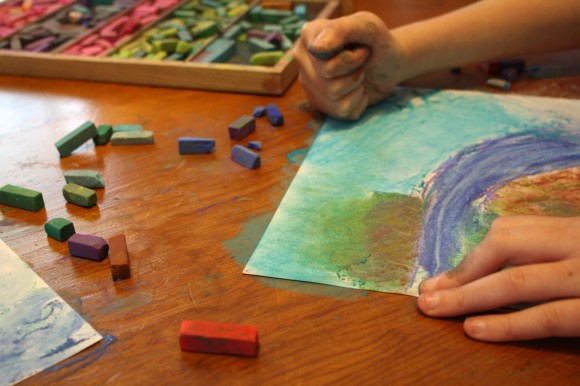
Now to the star of the painting! I chose to start my water with several long strokes of dark blue, traveling it down the river and over the falls, ending in the crash of water at the bottom of the falls. Try several shades of blue and make short stokes of color; remember to put the lightest color right at the part of the falls as the water tumbles down. At the bottom of the falls, smudge in a fine “mist” of white or lightest blue and “fist it” in to make the water misty as it ends in the bottom of the falls.
Don’t forget the sky! You can make it a light blue with clouds or a bluest of October sky. Remember, this is YOUR painting and you can use your imagination to just step into this scene!
Yes, you ARE an artist!!
More Art in Motion chalk pastel tutorials:
The spring hopscotch series is brought to you by these lovely ladies…
Be sure to click over to see all the wonderful series of Spring Hopscotch posts by iHomeschool Network bloggers – 280 posts in all!
- Day 1 – What is an Artist?
- Day 2 – Just Practice
- Day 3 – Paint Landscapes
- Day 4 – Name Every Picture
- Day 5 – Paint Simple Shapes of Fruit and Vegetables
- Day 6 – Art in Motion Waterfall Chalk Pastel Tutorial
- Don’t miss any of our You Can Be an Artist series – subscribe to Hodgepodge and get your free, subscriber-only art tutorials!
- Just add chalk pastels and paper for a whole year of tutorials! Browse all our art curriculum offerings at chalkpastel.com
Isn’t the motion of water fun to make with chalk pastels?




I can’t wait to try this one! I never considered myself an artist, but thanks to Nana’s tutorials I have actually created some pretty cool pieces! Thank you Hodgepodge for sharing Nana’s wisdom and talent with us!
Makes me SO happy to hear Heidi! Have you noticed that Nana is saying ‘You ARE an artist!”? You can be… you ARE!
What a wonderful resource this is for the homeschool community — you and your mother are such a treasure, Tricia!