Are you dreaming of the beach? Warm sun on your back. Toes in the sand. Well, you can bring the beach right to you with Nana’s At The Beach: A Pastels Tutorial.
While we won’t be heading to the shore anytime soon, we sure did have a dreamy time with this art lesson.
At The Beach: A Pastels Tutorial
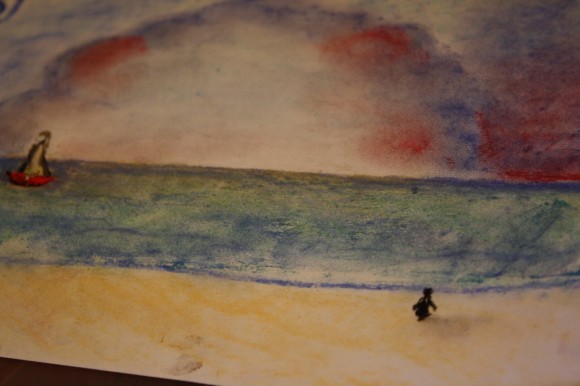
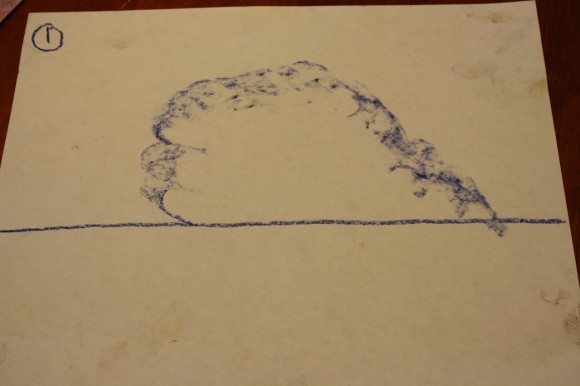
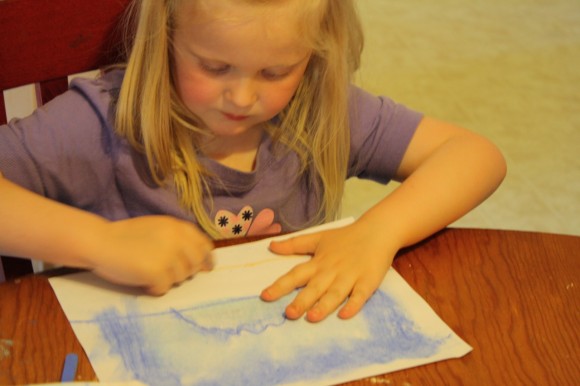
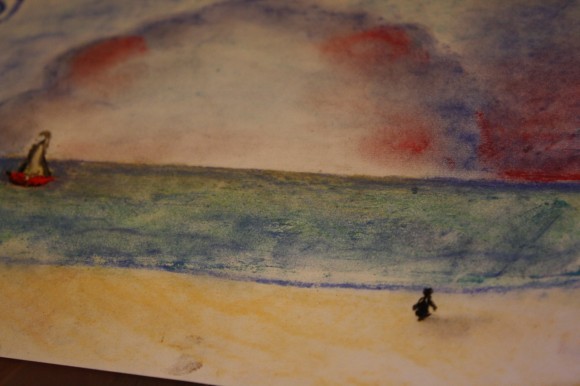
To make your own vacation spot, begin by picking out your blue pastel. The one you imagine the water will be. Make a straight line across for the ocean. That’s your horizon. Turn your pastel stick on its side and make a big cloud rising from the ocean.
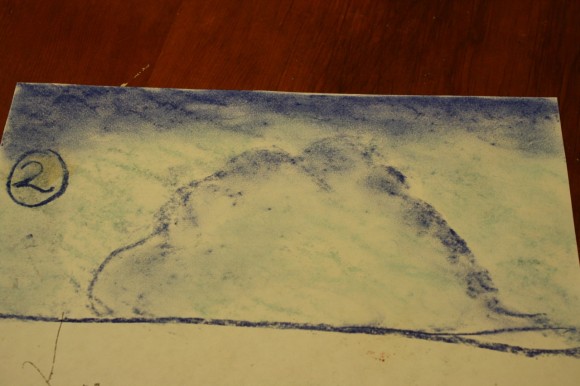
Next, fill in your sky behind the cloud. A bit darker at top.
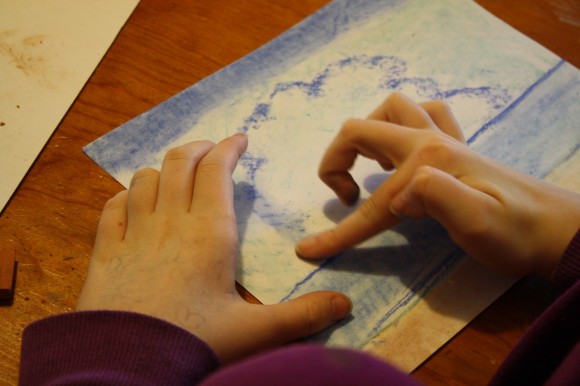
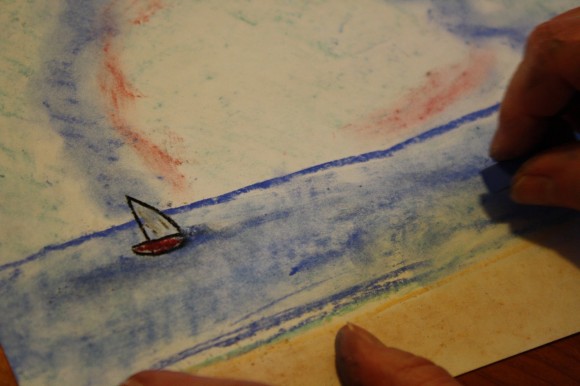
Choose a lighter blue for the rest of your ocean. And a nice, peachy sand color of your choosing. Here’s our favorite part. Blending! Fisting or fingering in. Nana takes art lessons and shares her talents with us. She reminded us that her art teacher says “no hard edges.”
So, take your finger and soften your cloud. Your sky. Your ocean. Maybe so you don’t get blue on your beach, wipe off your finger or use your fist to soften your sand.
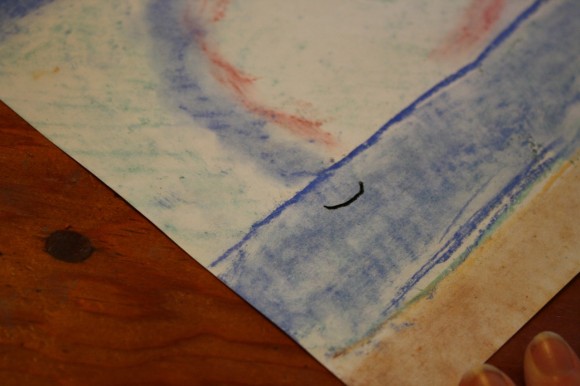
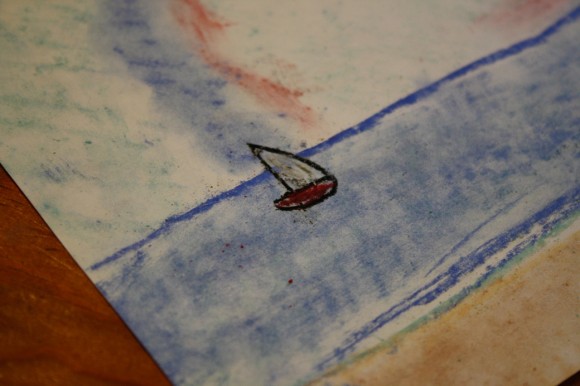
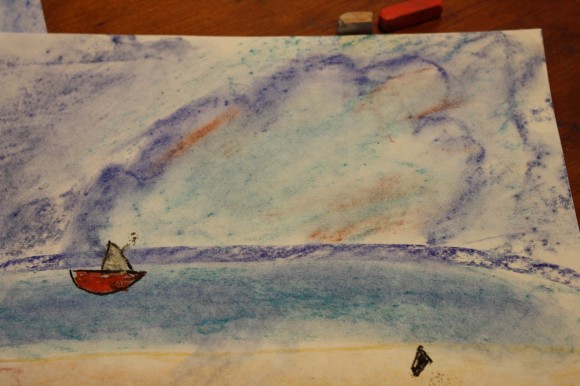
Ship ahoy! We get to add a sailboat next. Take a black and draw a little curve. Then a line atop. Choose which way your sail goes.
And the color of your boat. We chose red.
This is beautiful. Think of how the light of a sunset colors a cloud. Maybe a touch of deep pink? Highlight the curves of your cloud. You can make it even more rich and colorful by adding that deep pink to the side of the cloud too. Every sunset is colored differently.
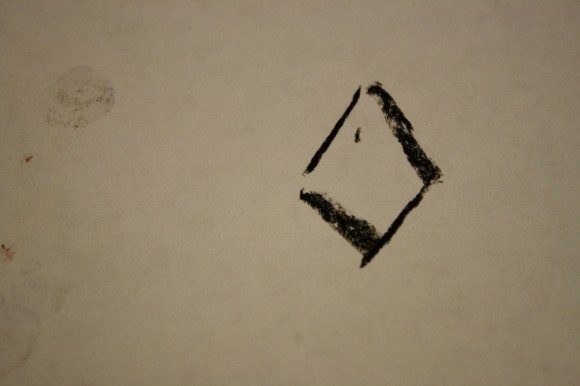
You may even want to add a person taking in the beach at sunset. Use your black and draw a diamond shape. Fill it in. That’s your person!
Add a touch of shadow.
Any last touches, blending? How about just one or two little, calm waves? Then, pick a color to sign your name.
Now, put your feet up. Relax! You are soaking up the sunset at the beach.
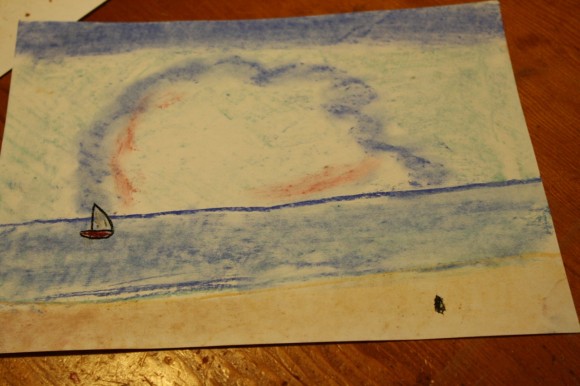
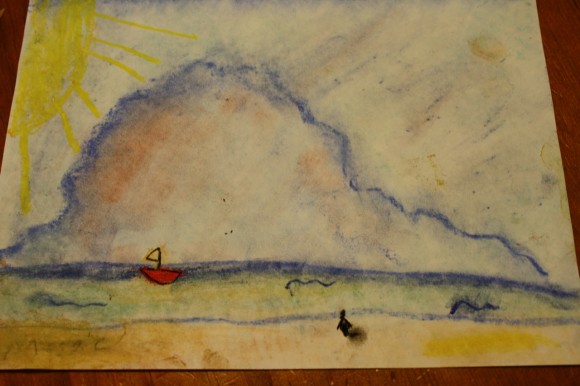
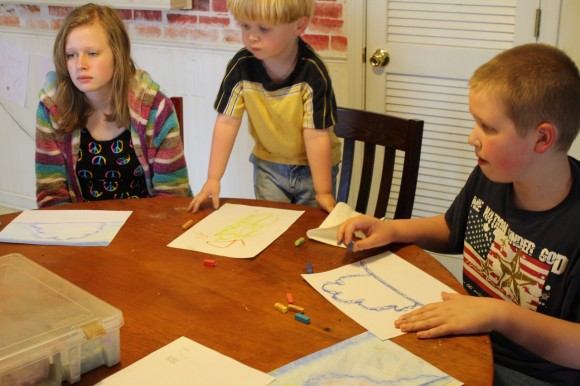
13-year-old’s beach
11-year-old’s pastel
8-year-old’s sunset at the beach
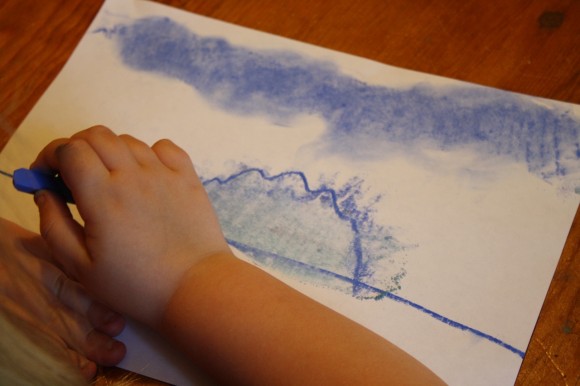
5-year-old’s blue cloud (she finished later)
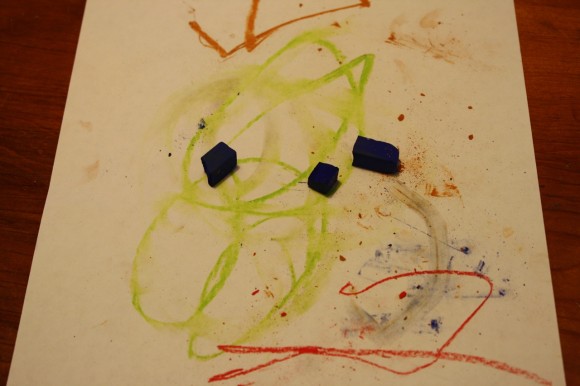
3-year-old’s picture
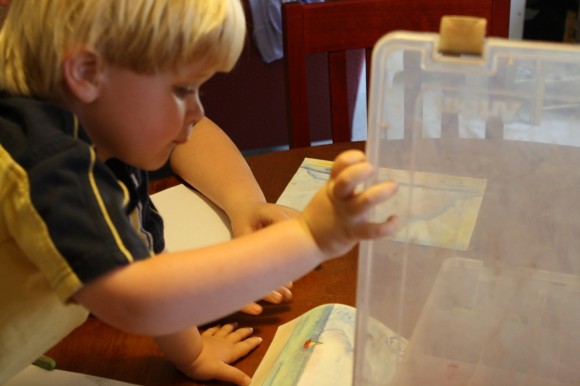
Don’t be afraid to let your littlest ones join in! Just keep the baby wipes close 🙂
FEATURING YOU! YOU ARE AN ARTIST!
So, paint your beach scene and be sure to share with us! Simply tag @chalkpastelart on social media, use the #YouAREanArtist hashtag, or upload a photo to the ChalkPastel.com Facebook page!
- A note on chalk pastels: Pastels are an easy, forgiving medium. Fun for children and adults alike! Details on the pastels and paper we use, how and where to purchase, and links to all of Nana’s other pastel lessons are here: 100+ Free Art Lessons for All Ages plus the video The Very Few Must Have Supplies for Chalk Pastel Art. A simple set is very affordable. Nana also teaches acrylic lessons.
- The practical aspects of a mess: Pastels are blessedly messy. We always have baby wipes close by to wipe hands. We wear something we don’t mind getting stained or don a smock.
Do you and your artists learn best with a video art tutorial? Find our Video Art Lessons at ChalkPastel.com!
Have you subscribed to Hodgepodge yet to get your exclusive, FREE, subscriber-only art tutorials?
Oh, I can’t wait to do this one with all my litle beach lovers.
We love your pastel tutorials and will be sure to do your latest just as soon as we return home.
Thanks for sharing with the CM carnival as well!
Richele
Thanks Phyllis and Richele – I always love to hear that a family is enjoying these tutorials (and I always pass it along to Nana!)
Neat post! Thanks, and for the note on “blessedly messy” — the latter word is what immediately comes to my mind when I think of pastels. 🙂
Done and Stumbled. 🙂 Forget the kids – I feel accomplished with this one, wow!
Oh I love to hear it Theophanie!! So happy to hear you are joining in too!
This is awesome!! How to draw tutorials and pictures?!?! THANK YOU!