Today’s chalk pastel tutorial is in honor of a wonderful resource! Our friends at Crowe’s Nest Media have produced an education and beautifully God-glorifying DVD. Your Backyard: The Life and Journey of the Amazing Monarch Butterfly.
You will want to click over to The Curriculum Choice for my review.
Then, come back and enjoy this butterfly pastel from Nana. We watched, first hand, the metamorphosis of a gulf fritillary caterpillar into a beautiful butterfly. You can even follow the basic steps from Nana then tailor the markings to match the monarch!
From the August 2010 archives…
The gulf fritillary caterpillar has captured our attention for a week now. My Aunt Mary Ann brought it to us last week on a passion vine plant when we were visiting Mama Ann. We decided we’d invest in a butterfly habitat and watch the metamorphosis.
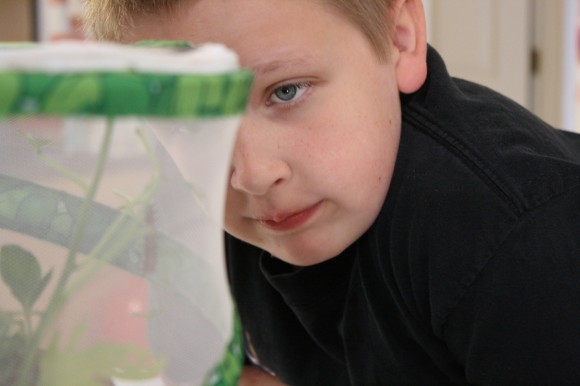
Such fun this has been to just watch that caterpillar munching – just like in The Very Hungry Caterpillar. Practically all the leaves were gone in the two short days our new pet sat prominently on the kitchen counter.
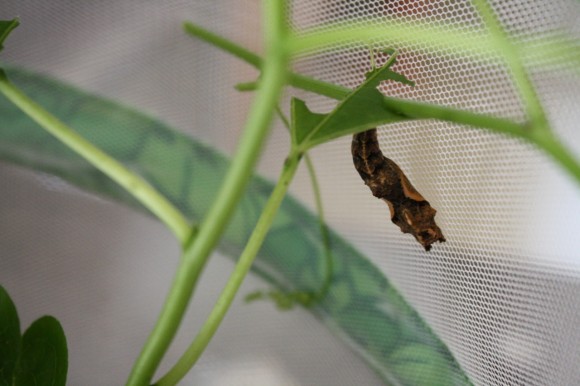
When we got up Monday morning…
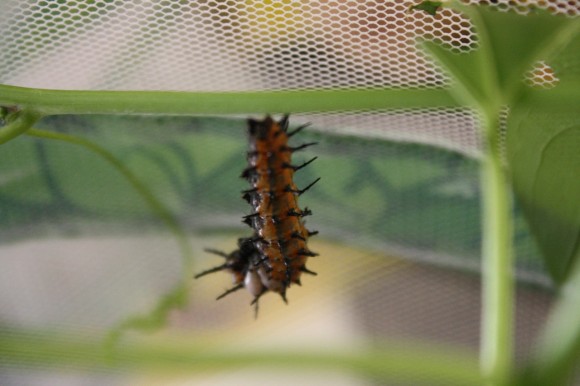
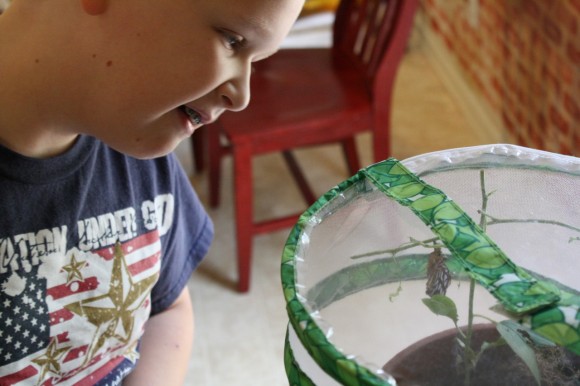
By Tuesday, the camouflage was on. “Mama! The caterpillar looks like a dried up leaf!” We spent a bit of time looking up the life cycle online. We figured out we have until around the 21st until the beauty appears.
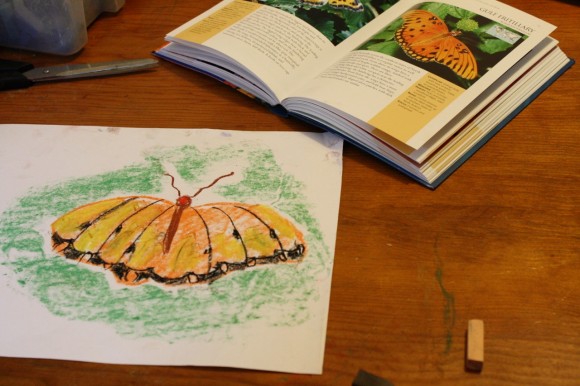
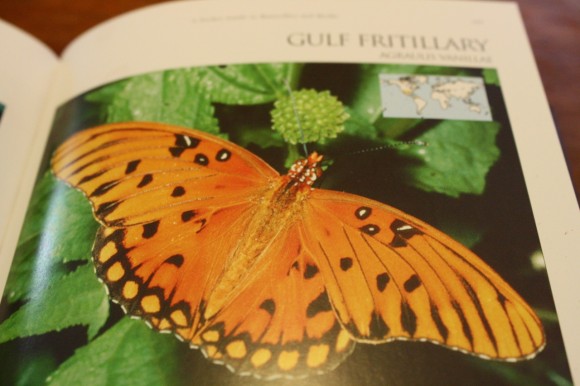
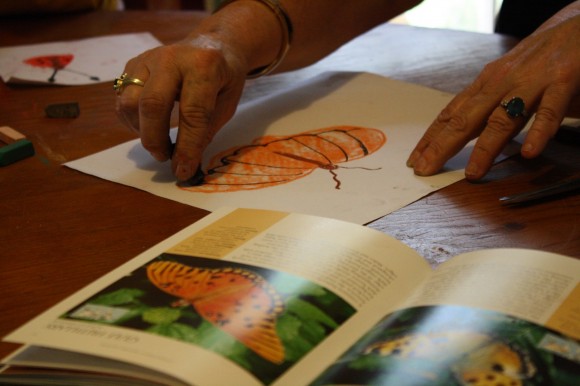
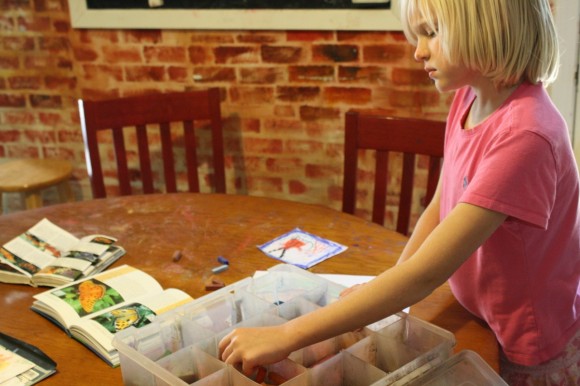
Nana said she’d be glad to lead us in a butterfly pastel lesson to help shorten the wait. We opened our Butterflies and Moths field guide to this orange beauty. We noticed the details of the black ‘skirt’ and the red ‘head’.
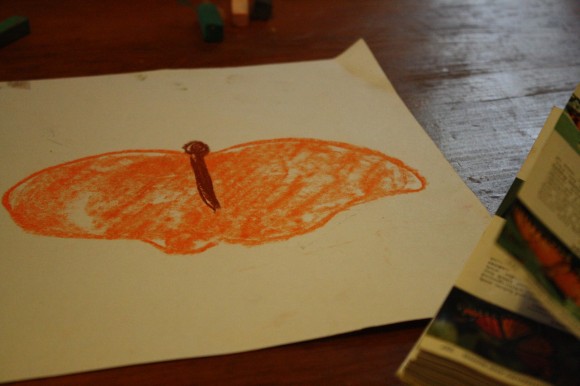
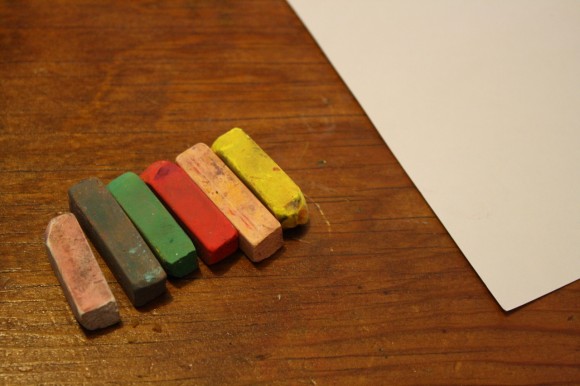
Nana sketched the basic shape for the children to go by and she passed out colors.
We decided we’d make the pastel pictures small this time.
Just one quarter of an 8 1/2 x 11 piece of paper.
Depending on what type of butterfly you are creating, you will add black highlights. Plus the spots to match the picture.
Since ours was a fritillary, we added black stripes as pictured in the field guide.
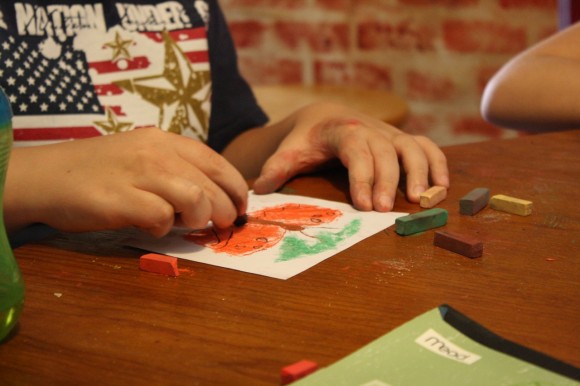
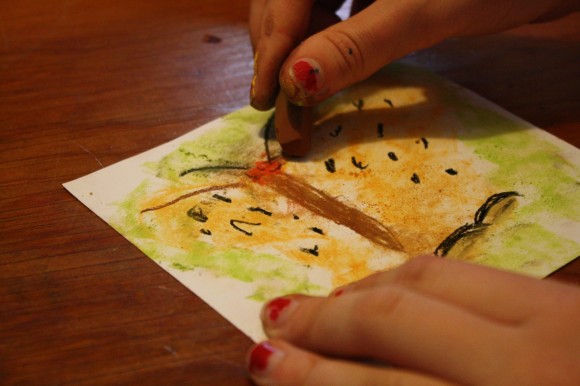
Here’s where Nana shared a new technique she called, “a painterly effect.” With your chosen color you gently fill in around your subject. Turn your pastel stick on its side and tuck in your color.
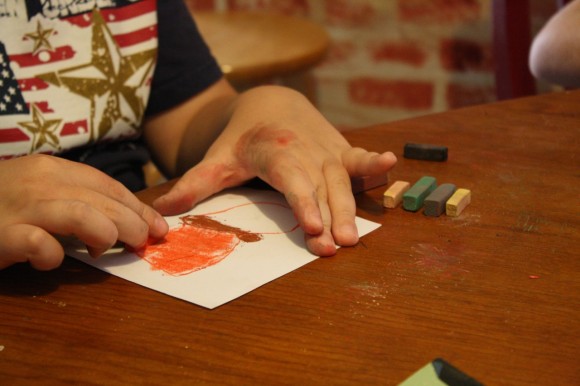
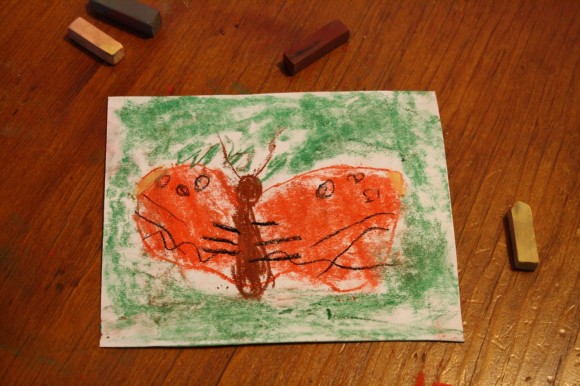
12-year-old’s butterfly
But leave some white space around your pastel area. You want the effect to be soft, out of focus – a painterly effect – rather than a sharp, in focus photograph.
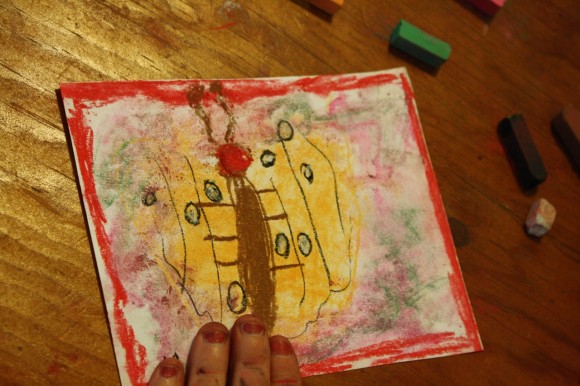
11-year-old’s butterfly
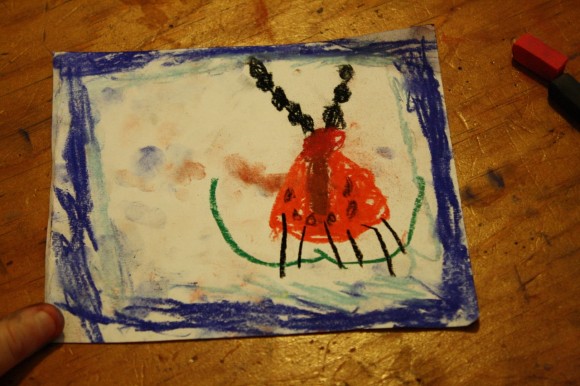
by eight-year-old
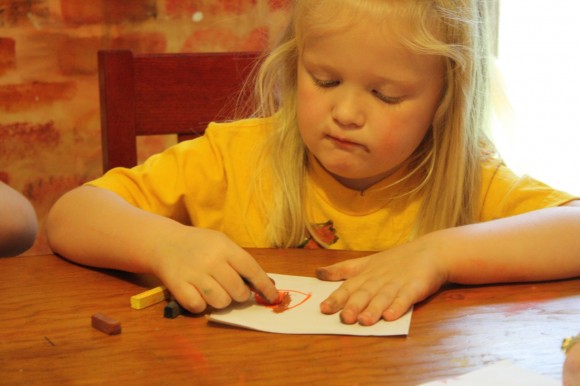
by four-year-old
Thank you Nana! It was a fun fritillary afternoon.
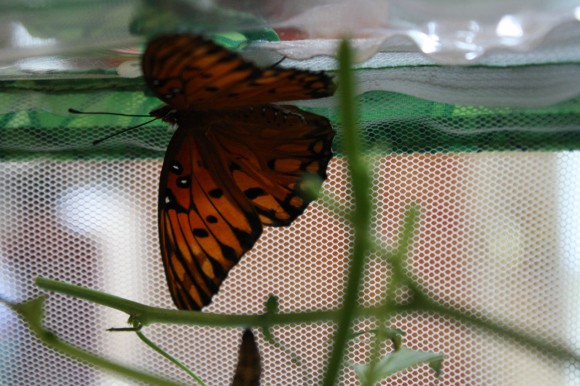
Then, it was worth the wait!
A beautiful gulf fritillary butterfly.
Enjoy!
Looking for video art lessons for all ages? Nana has over 600 in the You ARE an Artist Clubhouse – including a whole series of nature art lessons. Find her butterfly video art lesson in A Simple Start in Chalk Pastels Video Art Lessons!
- A note on chalk pastels: Pastels are an easy, forgiving medium. Fun for children and adults alike! Details on the pastels and paper we use, how and where to purchase, and links to all of Nana’s other pastel lessons are here: Our Favorite Chalk Pastels
- The practical aspects of a mess: Pastels are blessedly messy. We always have baby wipes close by to wipe hands. We wear something we don’t mind getting stained or don a smock.
Have you watched the butterfly cycle up close before?

Loved this entry…this is such a great activity for homeschooling families…monarchs are such beautiful creatures and your pastel projects are wonderful.
I love this! What a great activity to do alongside raising our butterflies. But where is that green print button to which you refer? Thanks again!
Tammie – wonderful! You can find that button among the sharing buttons at the end of the post under ‘Share and Enjoy!’ It’s the last one on the right ‘print with print friendly’ (things have moved around a bit since this tutorial – thanks for pointing this out!)