This lesson is narrated by Middle Girl. Both Nana and Middle Girl took the photos for this cupcake acrylic paint tutorial.
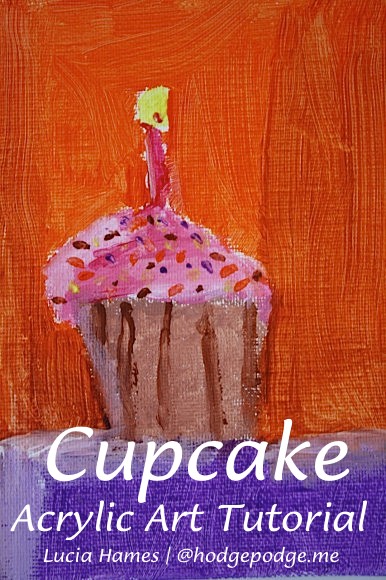
Cupcake Acrylic Paint Tutorial
This is a little different from our usual chalk pastels! Last weekend Nana surprised my younger sister and I with an acrylic paint lesson! She spent a little time explaining to us about the paints, brushes and the importance of LISTENING!
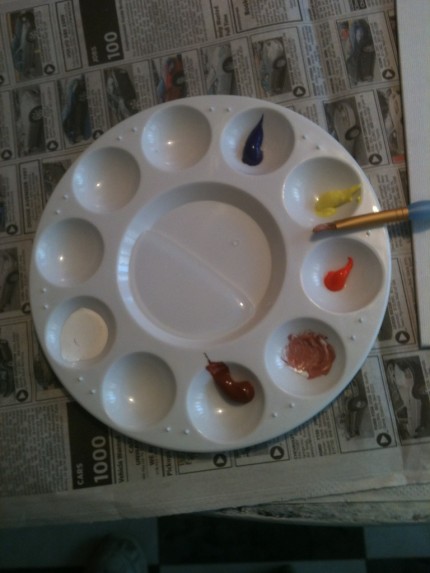
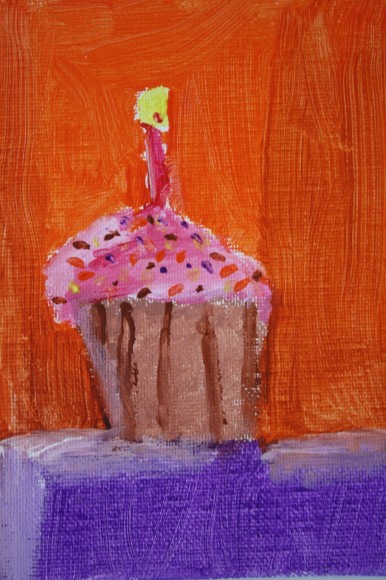
We decided that we would paint a cupcake, and picked our colors of paint: white, purple, dark brown, red, yellow and orange. Our brushes were medium-sized, not big brushes. We had these neat plastic palettes with little sort of bowls for the paint and a space in the very middle for a bit of water. The canvas was a flat 5×7 size.
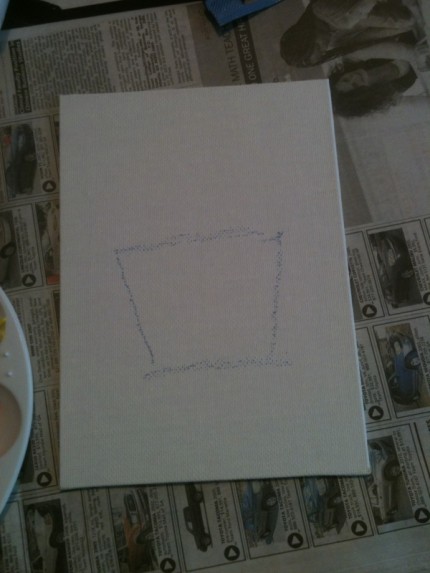
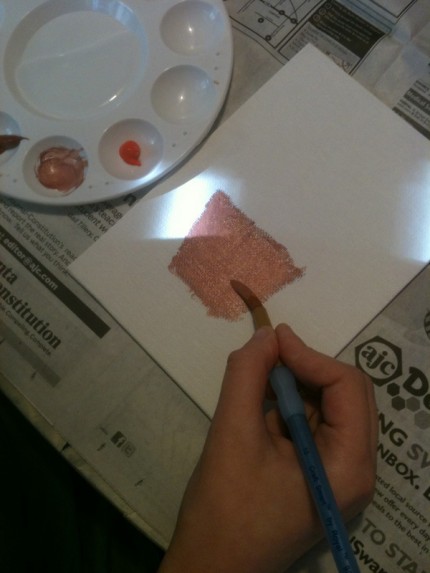
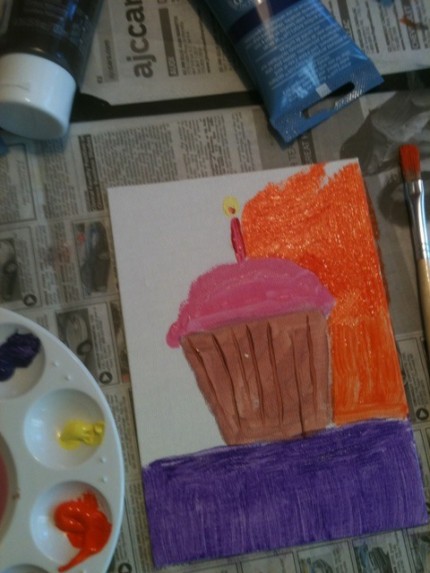
Nana drew the outline of the whole cupcake with a blue pastel. Then we mixed a tiny bit of dark brown and white to make the cupcake paper liner.
Brush the paint on with an up and down motion until the cupcake liner area is covered.
~Please note: We rinsed the color off our brushes each time we used a new color~
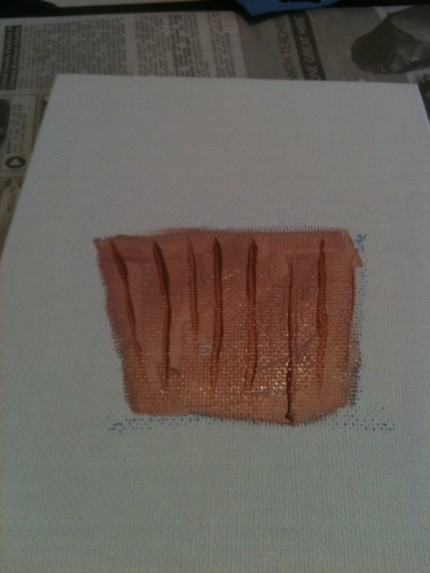
We thought that we should show that the cupcake was in a paper liner by painting thin dark brown lines up and down the liner.
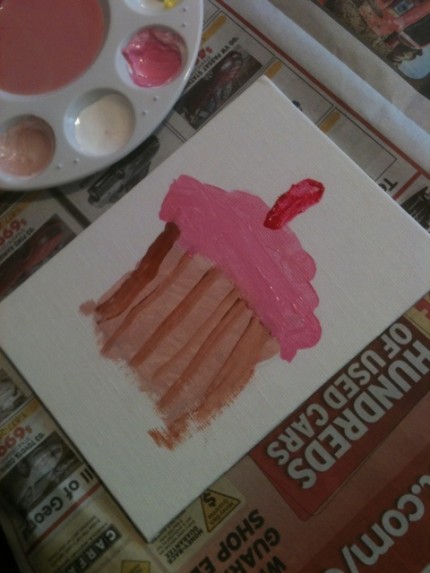
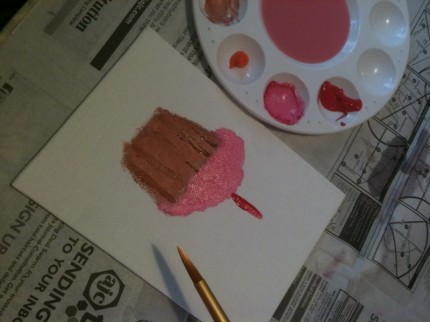
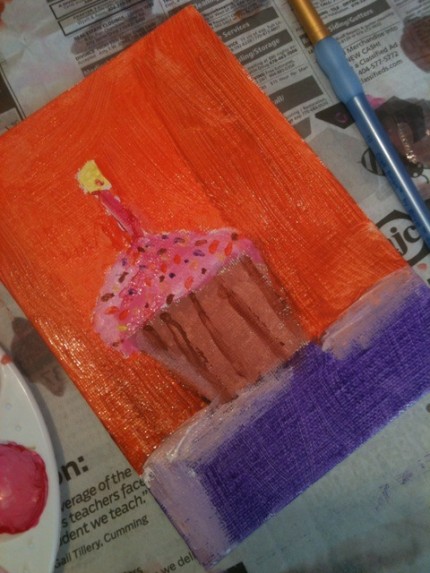
Then we mixed a tiny bit of red and white to the color of pink that we liked and painted yummy pink frosting on the top of the cupcake. Be sure to let the frosting drip over the edge a little to make it look realistic!
Next came the candle…one slender red line on the top of the cupcake, then we brushed on a bit of orange on one side of the candle to show where the light is coming from. An oval shaped flame painted on top of the candle with a tiny bit of orange to show the hot flame was all we needed to finish our treat!
You can paint a background if you like; I suggest a beautiful purple table to put your cupcake on, and the background behind the cupcake was painted orange.
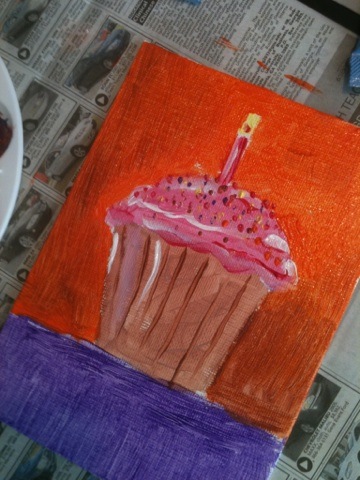
You can’t have a cupcake without sprinkles, so we put red, orange, yellow, purple and dark brown sprinkles on top.
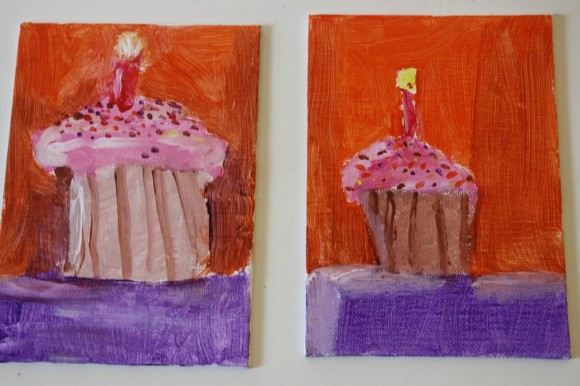
Nana suggested some white accents on the edges of our cupcake, and some shadow in purple paint behind the cupcake to make it stand out. This lesson made us hungry to eat cupcakes and it was really great fun!!
About this art lesson:
- A note on acrylics: Just like pastels, acrylics will wash off your hands easily. But if the paint gets on any fabric – it is permanent! We wear a smock and cover our painting surface.
- Supplies needed: All details on paint, brushes, canvases and palettes are listed in Acrylics Plus Links to Tutorials. You can also watch Nana’s Introduction and Supplies Video – the sample on her A Simple Start in Acrylics Video Art Lessons.
For even MORE art lessons with favorite books, you might like Nana’s Tea Time Art Lessons included in the You ARE an Artist Clubhouse.
I hope you enjoyed our first acrylics tutorial!
~The middle child of the Hodgepodge, she’s the author of the Middle Moments blog.
originally published February 2012
AWESOME “M” !!! The boys and I are going to have to try this!!
Love the color choices! Perfect project to start with. I look forward to your next painting.