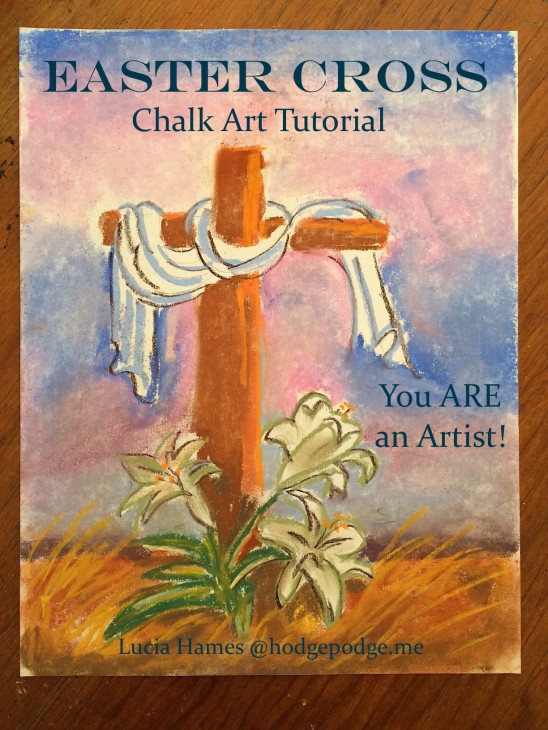
This has turned out to be one of my favorite pastel paintings. It really isn’t hard and you will be able to paint a beautiful Easter cross chalk art painting that you can enjoy for years. Let’s get started!
You will need the following pastel colors: dark brown, medium brown, bright orange, bright yellow, dark green, light green, purple, medium and light blue, black and pink.
Turn your paper vertically. You will be viewing the cross somewhat from the bottom, looking up. There will be a lot of detail work and mixing of colors, so be prepared to get some pastels on your hands and fingers!
Start at about three inches up from the bottom of the page and smooth in some dark brown. Don’t worry. You will add some medium brown and some yellow grasses to lighten it up later.
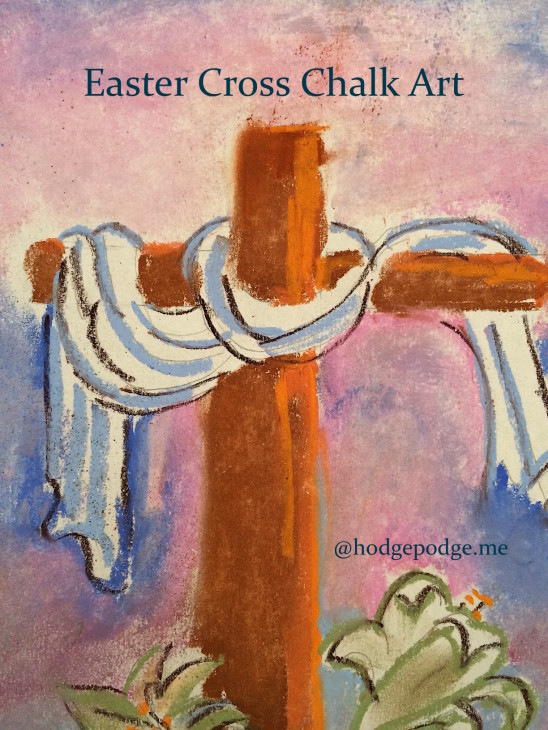
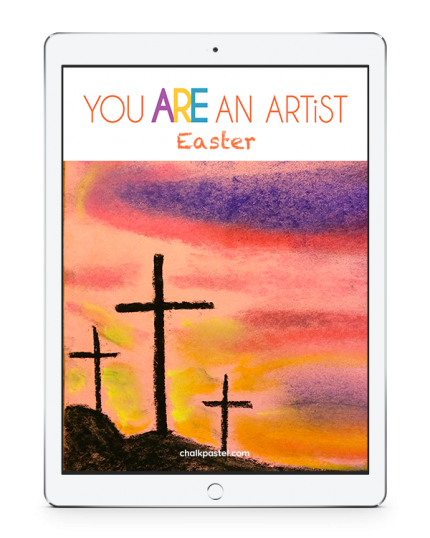
Next let’s draw the cross with your dark brown pastel. It will be a bit thicker at the bottom and narrower at the top; just outline it for now. While you have your dark brown in your hand, draw the draping of the shroud or the funeral cloth that covered Jesus in the Tomb. It loops around the middle of the cross and out the crossbars and down to blow gently in the wind. Do not color this at all.
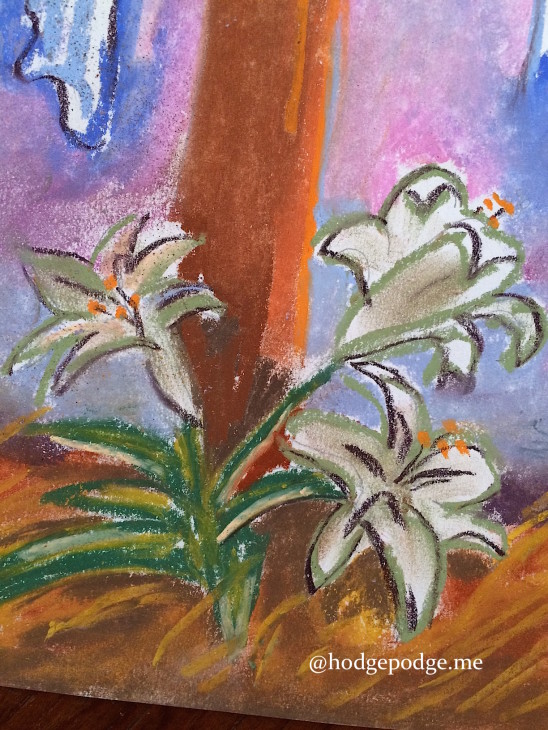
The cross is colored with your medium brown and accented with the bright orange on the right side. I like to imagine that it is sunset on Easter and all is now quiet. There are three Easter lilies at the bottom of the cross. They are a series of long leaves with points. I drew them with the light green and outlined them with dark brown at the finish of the painting. They do have wonderful orange stamens in the middle of each lily. The leave around the lilies are dark green with light green in the middle of each leaf.
The sky can be a bit difficult if you don’t take your time. Go slowly and smooth the colors with your fingertips and you will be able to cover all the areas around the cross and the lilies. Start with purple, then a dark blue, smooth them together then work up the page with your blues and pink. The drapes on the cross are outlined in light blue and edged with black so that they show up better.
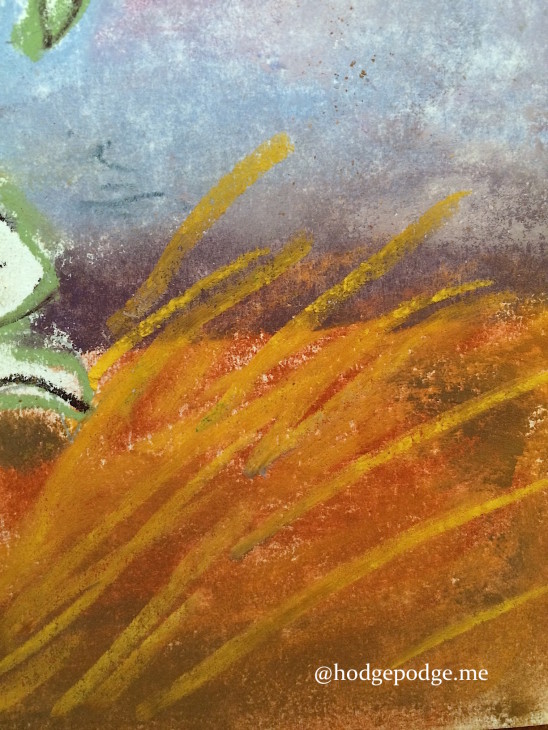
The finishing touch is to take your lightest yellow and draw some long grasses blowing in the wind towards the right of the painting.
I think that your painting is just beautiful! You have used wonderful colors to make the viewer see the triumph in the sky of a glorious day! Easter!
Please make sure that you sign your painting in the corner, flip it over and date it. Show all your family and friends what a marvelous painting that you have done…and always remember, you ARE an artist!!
Easter Cross Chalk Art Tutorial Video
Do you and your artists find it easier to learn with a video tutorial? You will be happy to know that we have video art lessons for all ages and even more Easter and spring lessons!
Featuring You! You ARE an Artist!
So, paint your Easter Cross Chalk Art Tutorial and be sure to share with us! Simply tag @chalkpastelart on social media, use the #YouAREanArtist hashtag, or upload a photo to the ChalkPastel.com Facebook page!
- A note on chalk pastels: Pastels are an easy, forgiving medium. Fun for children and adults alike! Details on the pastels and paper we use, how and where to purchase, and links to all of Nana’s other pastel lessons are in Our Favorite Chalk Pastels. A simple set is very affordable. Nana also teaches acrylic lessons.
- The practical aspects of a mess: Pastels are blessedly messy. We always have baby wipes close by to wipe hands. We wear something we don’t mind getting stained or don a smock.
- You might also like our Easter Crown of Thorns Tutorial
Have you subscribed to Hodgepodge so you won’t miss any art lessons?
-originally published 2015 and last updated March 2020
Christ the Lord is ris’n today, Al – le – lu – ia!
That is so beautiful! Thank you for sharing your talents. Many blessings, Phyllis