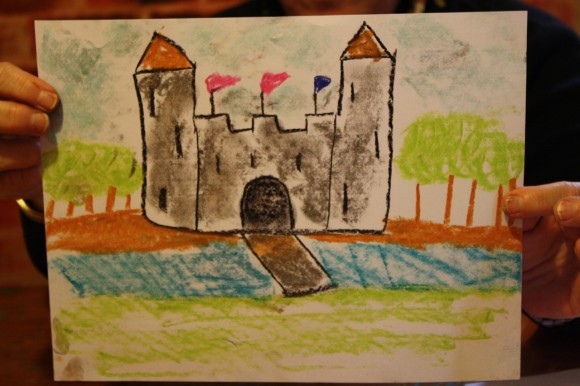
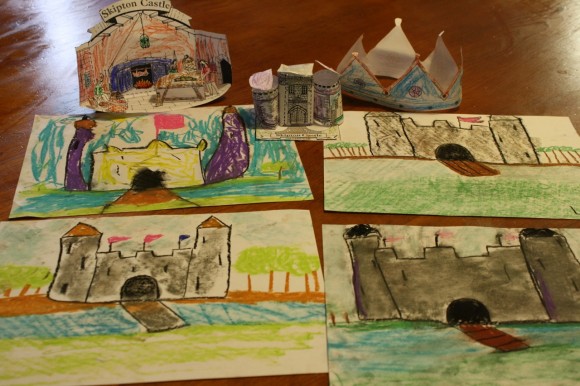
Inspired by our current Tapestry of Grace studies, Nana taught us how to create castles with pastels!
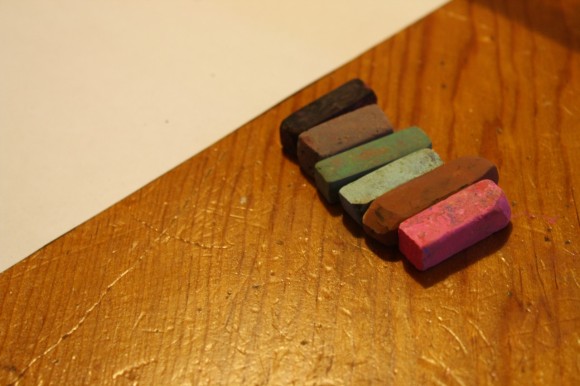
Gather your castle battalion of colors. Black, gray, green, light blue, brown and pink.
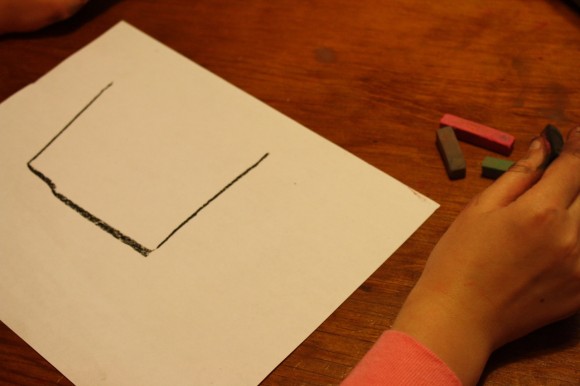
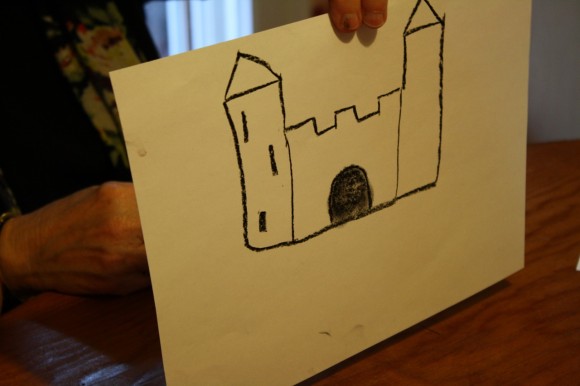
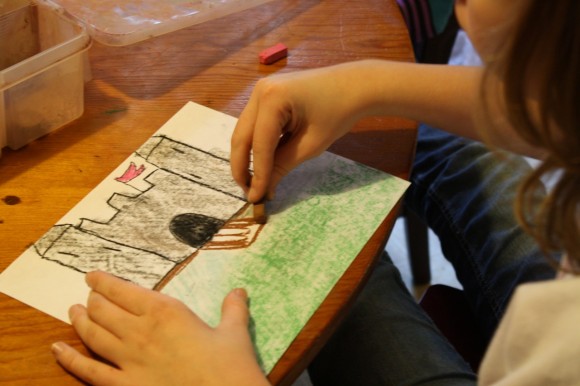
Then, using your black, draw a simple, glass shape. This is the main structure of your castle.
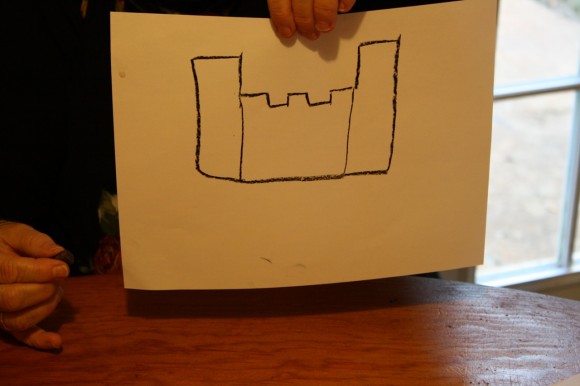
Next, add the ‘teeth’ on the castle front as well as a tower on either side, as pictured above.
Top your castle towers with turrets.
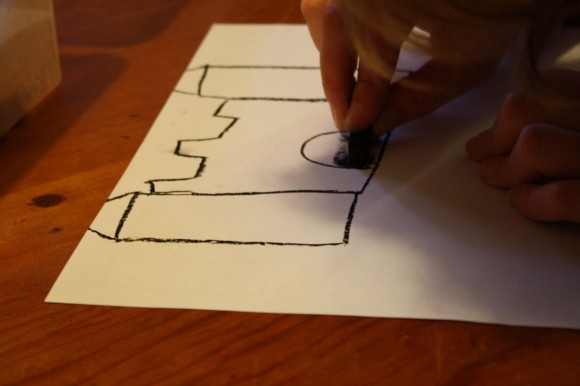
Then, your castle needs an entrance, so add one with a rounded top. Then, decide where your skinny windows will go. Remember that the windows must be narrow so they won’t allow any stray enemy arrows to get through.
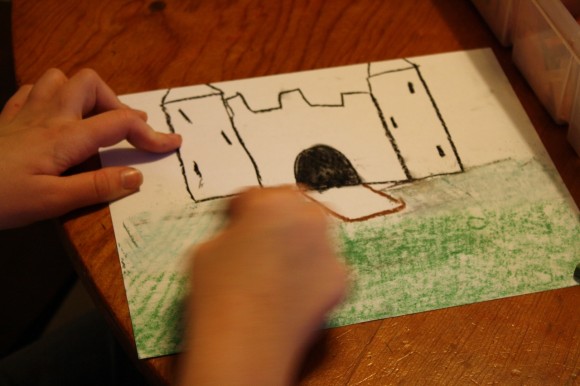
The drawbridge is important! Make one, slanted away from the castle. (Make sure to leave some space for your moat!) And rest your drawbridge on a layer of green grass. Use your green pastel stick, turned over on its side, to skumble a nice field of grass in front of your castle. Then, use a light blue to add your water – the moat – around your castle.
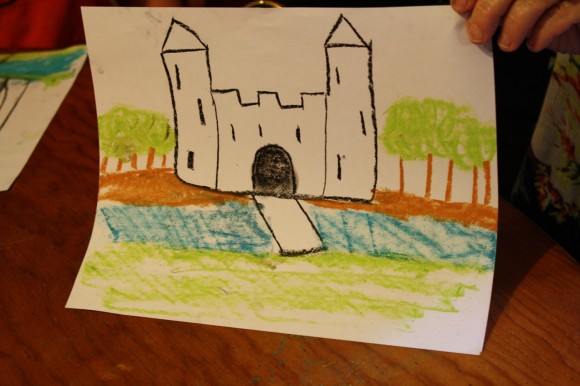
Now we will add several features. Use your brown to add a nice, little hill for your castle to perch upon. While you have your brown, draw some thin trees. Just a single line for each tree. As many trees as you like. It’s your forest and your castle! Use your green to curve some leafy treetops.
Now, the finishing touches! Fill in your drawbridge with brown. And add some flying flags.
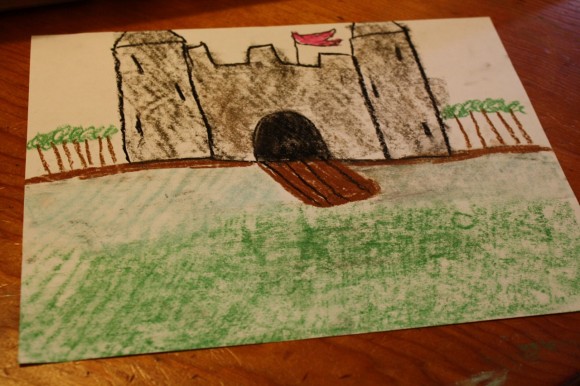
Then, take your gray pastel, turn it on its side and gently skumble in some castle color. (Nana’s finished castle, above).
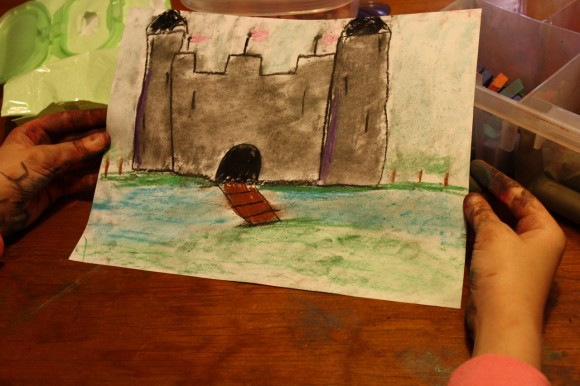
You can blend your color (fisting or carefully fingering in) like Middle Girl did with her castle. (Can you tell by her hands she had fun?)
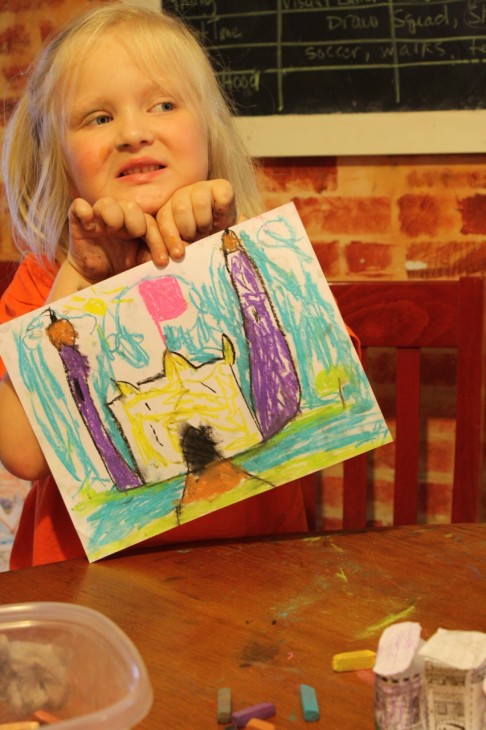
Littlest Girl’s castle with purple towers!
Eldest Girl’s castle with a pink flag flying.
All our artwork along with Middle Girl’s paper castle, medieval kitchen and crown (made from Tapestry of Grace arts and activities links).
What will your castle look like?
A note on chalk pastels: Pastels are an easy, forgiving medium. Fun for children and adults alike! Details on the pastels and paper we use, how and where to purchase, and links to all of Nana’s other pastel lessons (over 30 lessons now) are all contained in the post Pastels plus links to tutorials. A simple set is very affordable.
The practical aspects of a mess: Pastels are blessedly messy. We always have baby wipes close by to wipe hands. We wear something we don’t mind getting stained or don a smock.
All Things Beautiful says
They turned out great! I love them all.
(I like the castle interior scene too. Where did you find that? I looked at the link, but there are so many links on that list!)
Hodgepodgemom says
Oh, you are right that that page is full of links! Here is the one we used: http://www.skiptoncastle.co.uk/family.asp and then you scroll down towards the bottom to print out the castle models and more. Plus there are some really detailed coloring pages we did too. Enjoy!
Angie says
Love it, can’t wait to try it with the boys!! Thanks and also tell Nana Thanks!