You’re a teenager and you’re thinking about getting started with makeup, and you don’t know how to begin. Or you have started with makeup but don’t exactly like what you are using or the way it’s being applied. This article is exactly what you need!
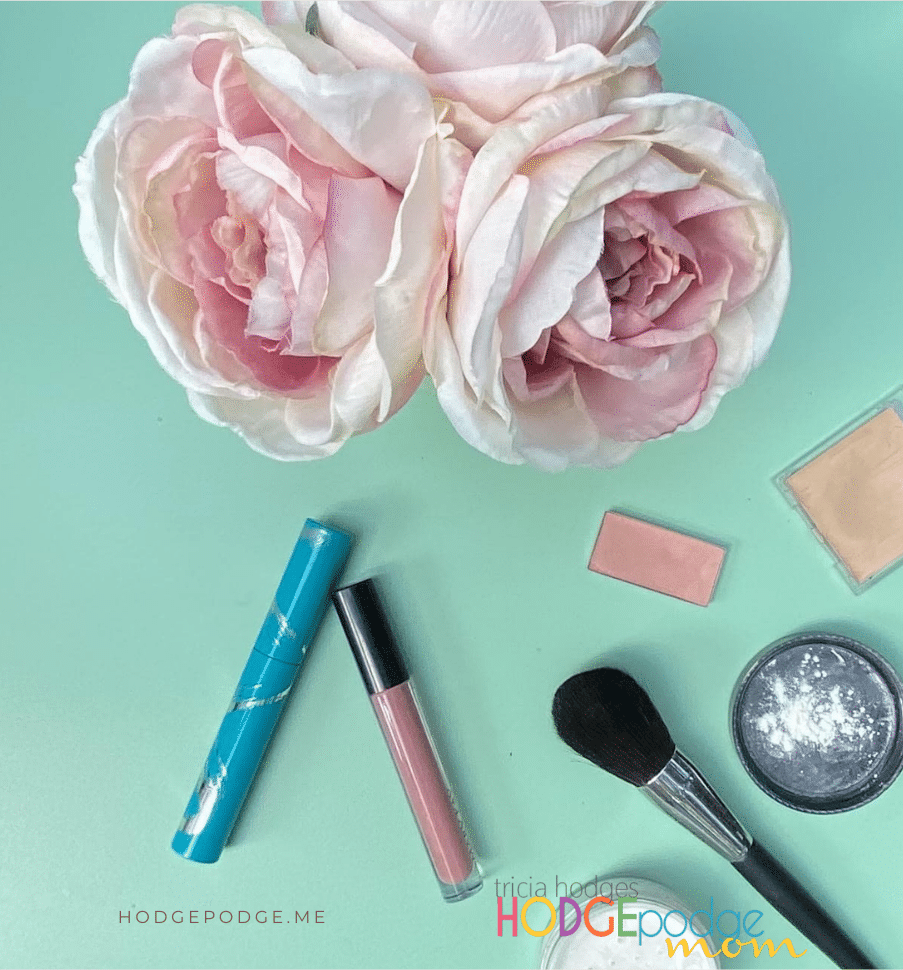
The foundation
Before getting started with makeup, begin with the foundation… a genuine smile. A smile can enhance one’s beauty faster and more intensely than anything else can. Smiles are reflections of what’s inside. It’s kind of a long way to say that true beauty comes from within. So develop the habit of smiling.
The why of getting started with makeup
Why, then, would you even want to wear makeup? I believe makeup has a dual purpose: to enhance, and to cover.
First, the enhancement. God gave you a natural beauty– He made you to be absolutely YOU. There is no mistake; He made you exactly the way you are and loves you just as you are. But if you have any artistic leanings at all, sometimes you want to enhance that beauty with makeup, just as you put on different-colored clothing. A subtle enhancement of the natural beauty God gave you can be a fun way to express yourself.
Second, the covering. We all have those days of blotches and blemishes. The right makeup, applied correctly, can cover those and help us feel our best on those not-so-great days.
How to get started with makeup
There are a couple things you should do before getting started with makeup:
- First, cleanse and apply moisturizer.
- Second, and even more important– apply sunscreen. I love to use a natural, matte-finish sunscreen because it doubles as a foundation primer, minimizing pores and helping to control shine.
Now that your face is cleansed, moisturized, and protected from the sun, it’s time to actually apply the makeup. Below is a basic look that is designed to enhance your natural beauty by adding just a little color. You can purchase all of these products at your local big-box store, such as Target or Walmart. You can also find a beauty consultant, with a company such as Mary Kay, who will come over and help you find makeup that works for you. This service is free, and the consultant also sells the products she recommends.
Start with concealer
- Start with concealer that is slightly lighter than your skin tone. Apply it in little dots, then pat it with your ring fingers until it blends in. You can also use a concealer brush to apply, if you have one.
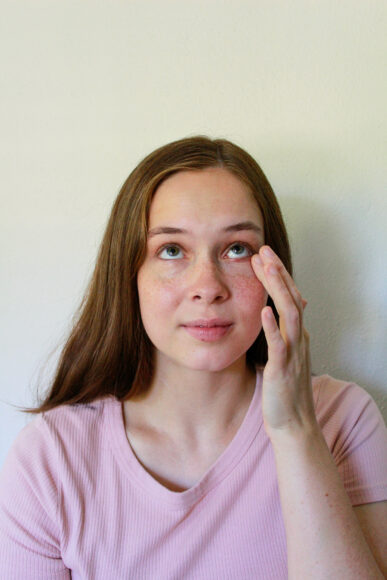
- You may not need foundation after applying concealer, but if you feel you do, apply foundation with a cosmetic sponge or foundation brush very lightly only on the areas you really need it. Blend, blend, blend! You don’t want foundation lines around the edge of your face.
Now for the fun part!
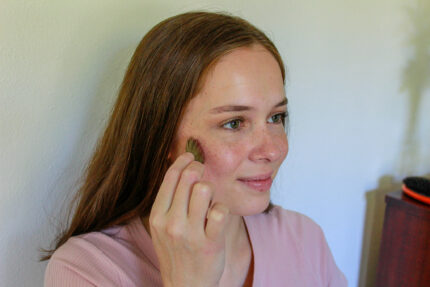
- Once your foundation and concealer are blended well, apply blush. Using a cream blush, smile, and apply to the apples of your cheeks. Or, use a blush brush to apply powder blush. What shade should you use? Light pinks and peaches are best for a natural look for fair skin, while you can go with a darker berry or bronze color for darker skin. You always want to apply your blush lightly. Adding more is much easier than wiping it off.
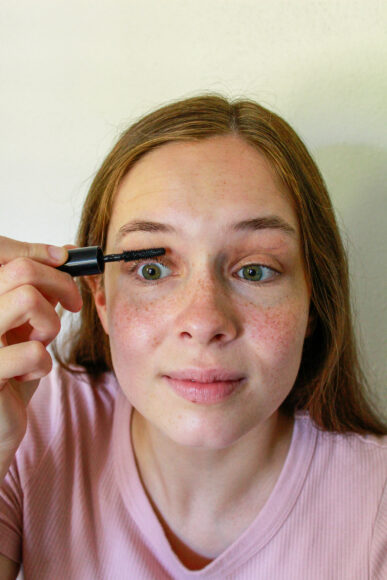
- Next, mascara. I do not recommend waterproof unless you are a regular swimmer, as it is not the best thing for your eyelashes and doesn’t give as much coverage. A drugstore mascara should be fine… ask friends whose eyelashes look the way you want yours to look what they use. Are your eyelashes short? Try a lengthening mascara. Sparse? Go for a volumizing one. Hold the mascara brush horizontally, and apply from the root outward, to upper lashes first. For lower lashes, hold the brush vertically and sweep back and forth over the lashes. (Do not re-dip the brush before applying to lower lashes, or you will get messy clumps. There should be enough product left on the brush to cover your lower lashes.)
- If you live in a humid climate, I recommend applying a nice, translucent powder with a big, fat powder brush. Turn the lid of the powder upside down, tap a little powder into it, and swirl the brush into the powder. Brush this all over your face, using downward strokes. Avoid your eyes and mouth. This will “set” your makeup, helping it to stay on longer.
Last, but not least…
- Audrey Hepburn said, “On a bad day, there’s always lipstick.” I couldn’t agree more–the right lip color can make you feel bright and peppy, even on a cloudy day. For your final touch, apply a little lip color in one of the color families listed for blush, above, staying with the ones that will flatter your skin tone and look more natural. For a lighter, more natural makeup look, I recommend a sheer lipstick or lip gloss. You could even use tinted lip balm.
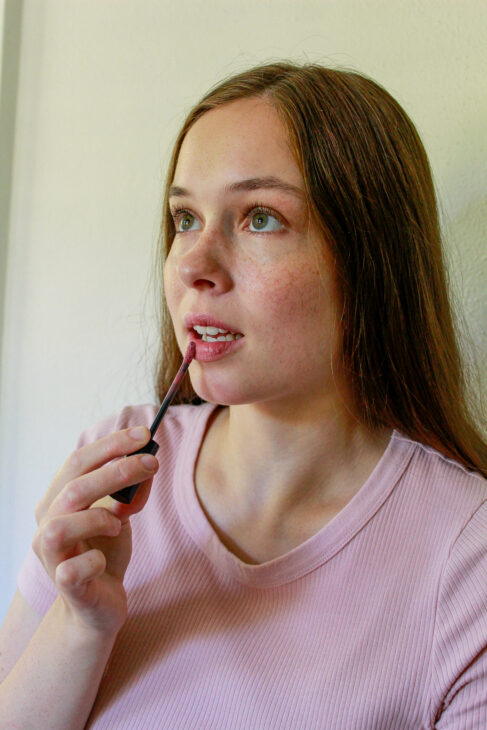
- You’re finished! But wait….
Don’t forget this!
Make it a habit to always take your makeup off before you go to bed. Otherwise, your pores may get clogged and your skin could look dull. Use an oil-free eye makeup remover (Mary Kay makes the BEST one!), to take off your mascara, and cleanse and moisturize the rest of your face. You’ll be glad you did.
I hope you’ve enjoyed this tutorial. When you get used to this minimal makeup look, it should take you five minutes or less. Now, go out and enjoy your day, and remember, the most important thing about getting started with makeup is your smile!

Join Kim as she shares life from a vintage cottage – marriage, motherhood, books, recipes, home decor and the simple little things that bring daily delight on her blog, The Daisy Muse.
Leave a Reply