Your BEST Homeschool

The art and heart of homeschooling

  • Facebook
  • Instagram
  • Pinterest
  • Twitter
  • YouTube
  • About Us
  • Art Lessons
  • Blog
  • Tricia’s Book
  • Homeschool
  • Recipes
  • Shop
Home » Blog » Twilight: A Pastels Tutorial

in Free Pastel Tutorials· HomeSchooling

Twilight: A Pastels Tutorial

Keeping up the habit of pulling tutorials from the former Hodgepodge site…

We’d waited. The box from Dick Blick arrived while Nana was out of town. She had told me it was coming. Can we open it, please?

Let’s wait. It will be worth the wait.

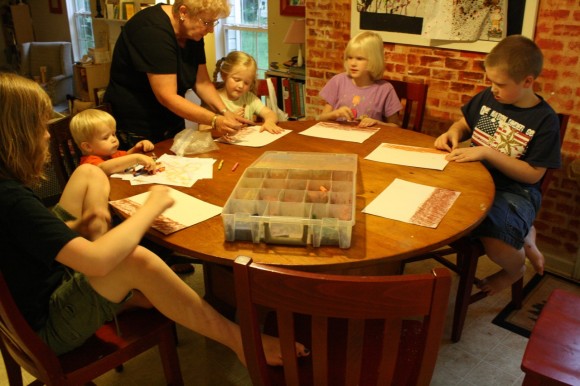
I knew that she would be back with a fresh lesson to break in the new set of pastels. She came after work as the water was boiling for the macaroni. Bible school choir practice was just an hour away. So she and the children opened the package…
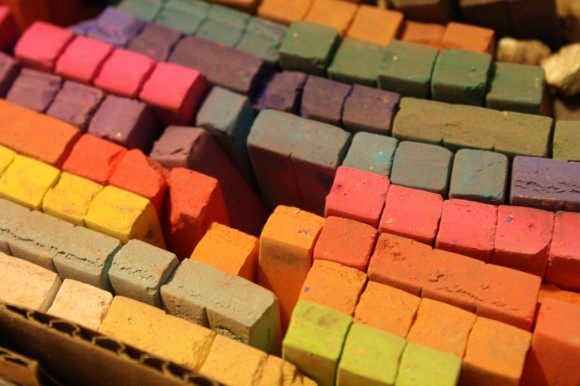
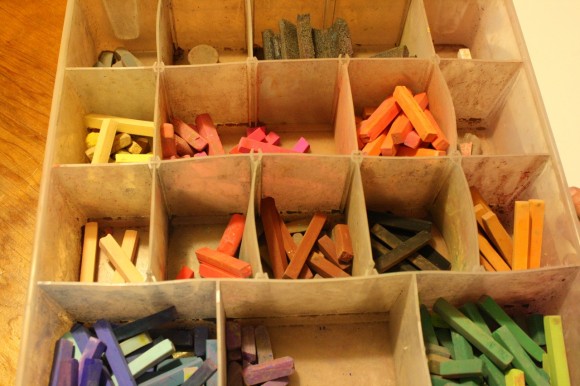
To 144 sticks of color! A few were quickly sorted and our box looked like a piece of artwork itself.

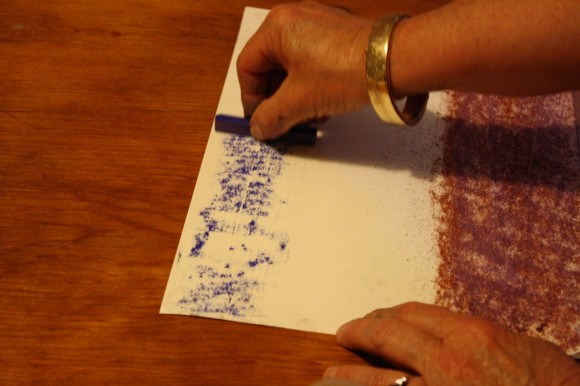
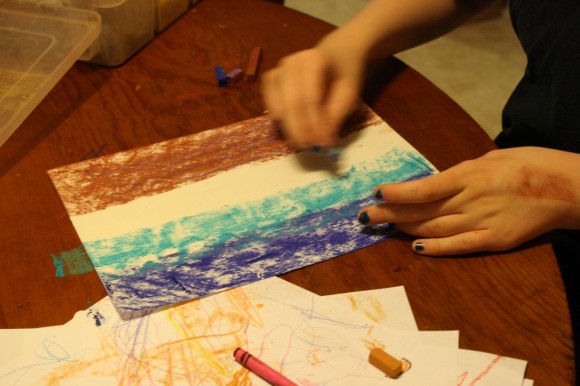
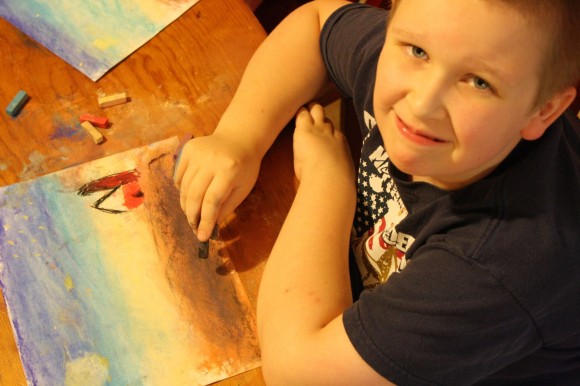
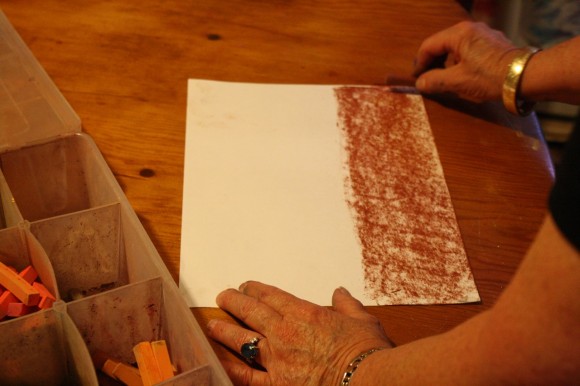
Better get going… get your paper, pick out a brown…Turn it on its side and cover the bottom third of your paper. Not too dark. Remember you’ll get a chance to fist it in.

Lil’ Buddy was making swirls with his crayons while Nana taught the older four.

Next a sapphire blue. Just across the top… remember it’s twilight.

Below the sapphire, a bit of turquoise.

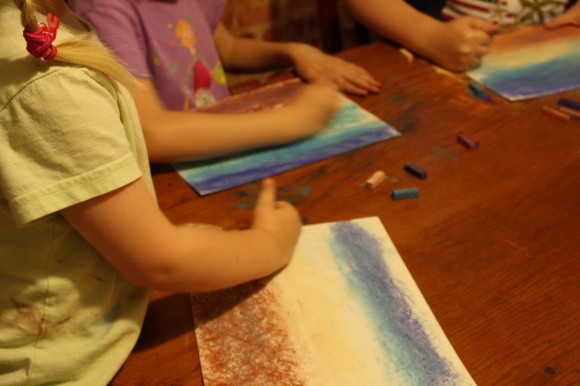
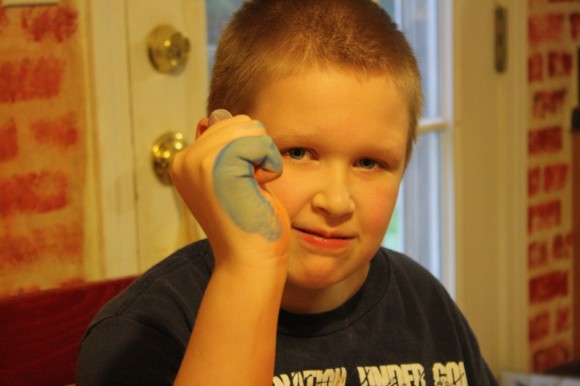
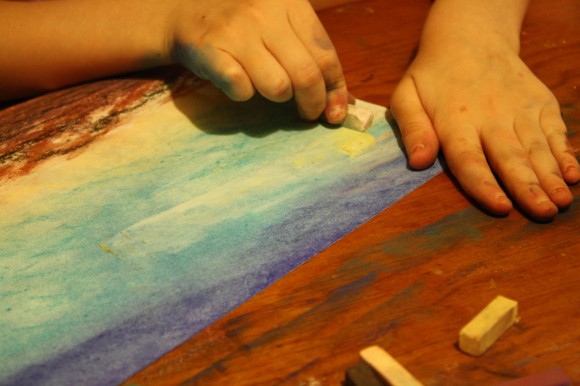
Next, you’ll “fist in” the colors of the sky. Blend it well with your fist. Remember, it’s messy. Wonderfully messy.

Next a bit of pale yellow or beige just below. To help the sky meet the ground.

Fist it in too. Go ahead. Blend it well. When you are done, that will wash right off your hands…

Here’s a fun part. Take your black and gently go over your ground. Just add a touch of color over your brown…“Skumble” over the brown. That’s the artistic word for layering your colors.

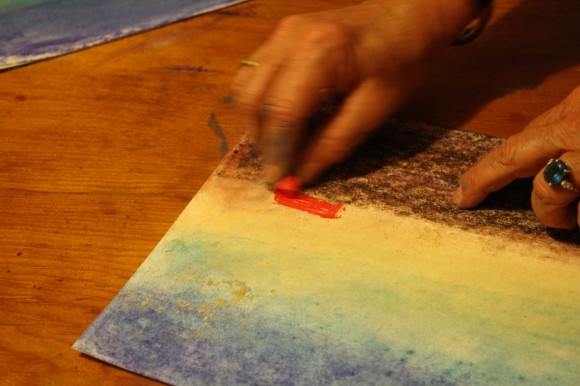
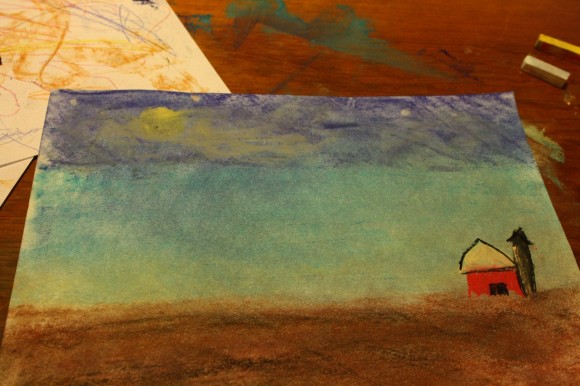
Here’s another fun part! Add a little, red square on the horizon. That’s your barn. Color it in. Nice and solid.

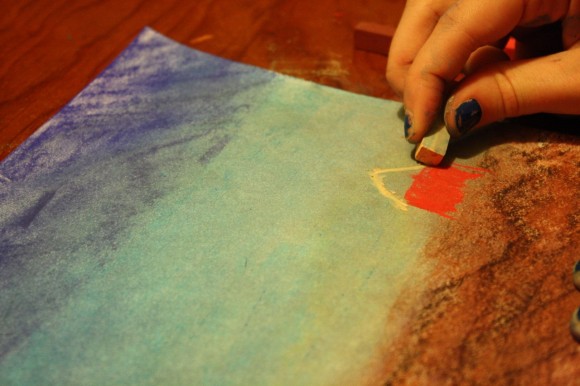
Now put a beige or pale-yellow, triangular roof on your barn. Get your black.

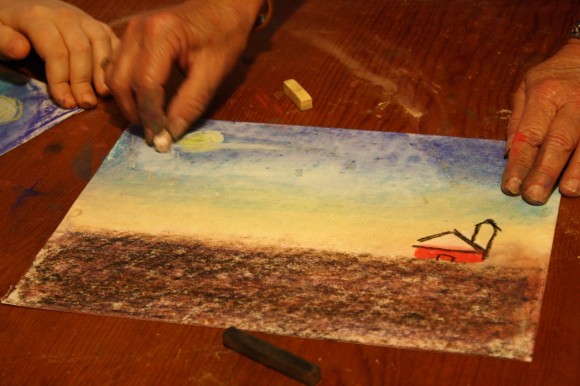
And outline. This adds a bit of shadow as the sun sets. Keep your black to add a door. Maybe a silo if you’d like. Then find your yellow – a nice yellow for your moon.

Outline it first, fill it in. Then get your white or palest yellow. Lighten your moon to add depth. Make sure to put more white on one side because the moon is reflecting the setting sun. Get ready to skumble again! Save the color you are using on your moon…

Add some wispy clouds. Maybe even a few going right over your freshly drawn moon.

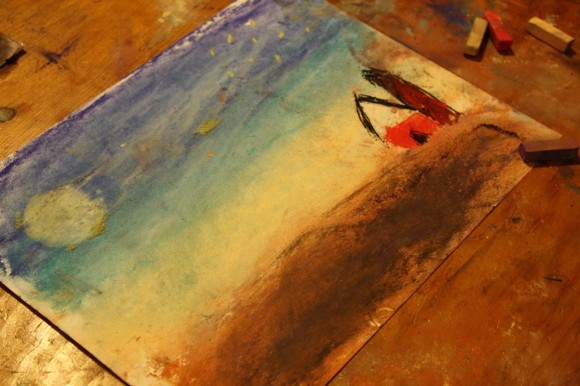
Now it’s time to fist in your ground. Blend the dark colors together. We didn’t want to get those dark colors up in the sky. That’s why we saved it for last.

Oh but you might want to add some stars. Carefully. Put just a few in the darkest part of your sky. Not too many. Think about what it looks like at sunset. You can’t yet see many stars. The most twinkle when it is very dark.

Take a look. What do you think?

Nana says this is called a minimalist painting. Just a few lines and a few, simple shapes.

Be sure to pick a color and sign your name.

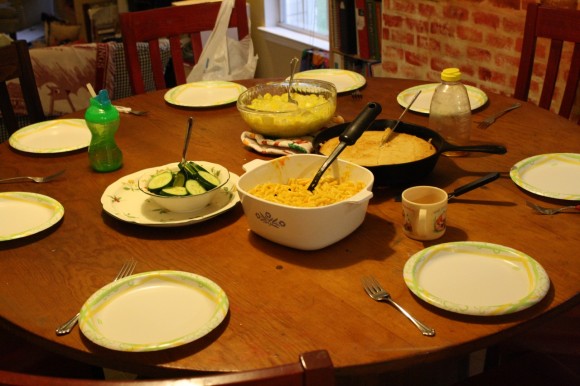
Time to clean up. One minute an art table. Then with lots of hands and a few wipes…Supper is ready. We had a pastel lesson while supper cooked. Cleared and set the table. And enjoyed every bit of it – the lesson and supper – all in one hour!

Pastels are an easy, forgiving medium. Fun for children and adults alike! Details on the pastels we use, how and where to purchase are all contained in the post Pastels plus links to tutorials. A simple set is very affordable.

I hope you enjoyed Nana’s fourth pastel lesson!

Related

Filed Under: Free Pastel Tutorials, HomeSchooling Tagged With: art with children, by Nana, chalk pastels, pastel, pastels, photo tutorial, tutorial, twilight

About Hodgepodgemom

Tricia faces a daily dose of chaos homeschooling five children. The biggest lesson she’s learned? At the end of the day – when the dishes are put away and the children are tucked in bed – truly what matters is each child’s relationship with the Lord. Raising children is a God-given privilege and, folks, the time is short.

  • Facebook
  • Instagram
  • Pinterest
  • Twitter
  • YouTube
Previous Post: « Pickled Peach Salad
Next Post: Lemonade Pie: Cooking Fun! »

Reader Interactions

Comments

  1. RaShell @ Mommy's Apron says

    January 25, 2017 at 5:07 PM

    I love this tutorial from a few years ago. Your children were so little! This is such a fun painting. Thank you for the reminder. We are going to have to do this one again.

    Reply
    • Hodgepodgemom says

      January 26, 2017 at 12:32 AM

      An all-time favorite! It is also in our A Simple Start in Chalk Pastels video art course 🙂

      Reply

Leave a Reply Cancel reply

Your email address will not be published. Required fields are marked *

Primary Sidebar

Welcome!

Thanks for visiting! I'm Tricia and I've been homeschooling since 2000. I share the art and heart of homeschooling and help you bring joy, fun and freedom to your days. It’s a Hodgepodge! Read More…


Free Homeschooling Downloads


{FREE} Download, ebooks and subscriber-only art tutorials

Success! Please check your email to confirm your subscription.

There was an error submitting your subscription. Please try again.


Get Tricia’s book!


Save

Save

Save

Save

Save

Save

Save

Save

Save

Save

Our Sister Websites


Art for All Ages


Categories

Follow Tricia Hodges | Hodgepodge's board Best of Hodgepodge on Pinterest.

Recent Comments

  • Hodgepodgemom on How to Host a Jane Austen Movie Night for Homeschool Moms
  • Dawn on How to Host a Jane Austen Movie Night for Homeschool Moms
  • Hodgepodgemom on Mama Ann’s Morning Bars Recipe
  • Joy on Mama Ann’s Morning Bars Recipe
  • Hodgepodgemom on A Stitch In Time…
  • Contact us
  • Best of Hodgepodge
  • Parenting
  • Healthy Mama
  • Essential Oils
  • Recipes

Copyright © 2008–2025 · Your BEST Homeschool, a Southern Hodgepodge, L.L.C. site. | DMCA Notice