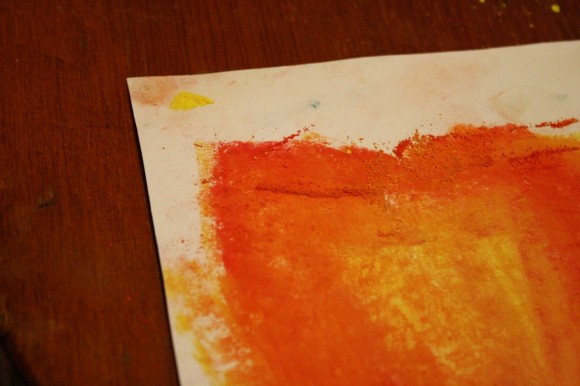
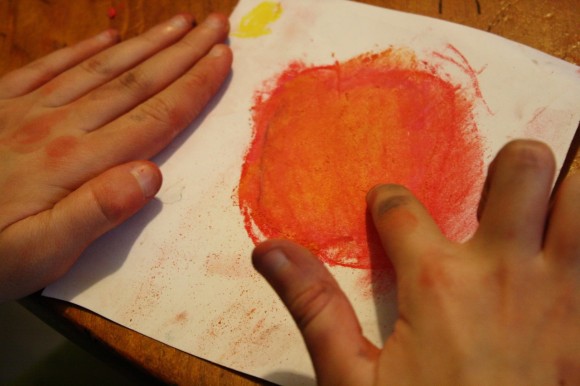
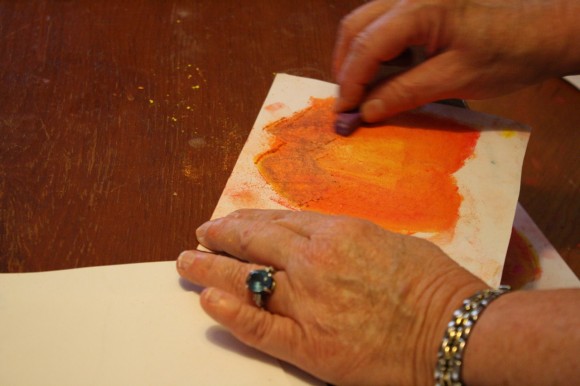
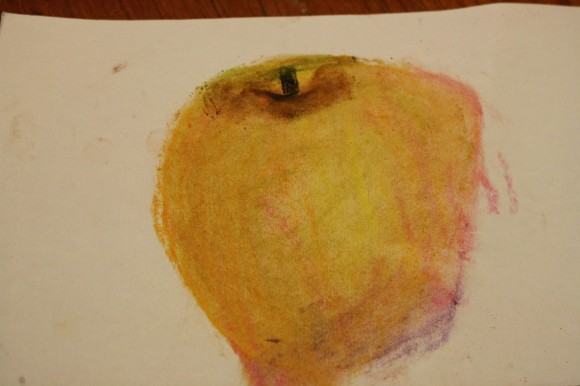
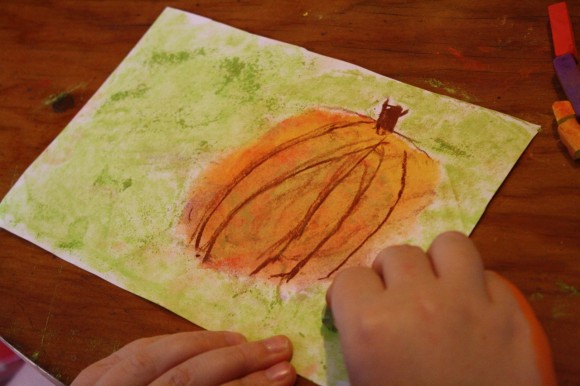
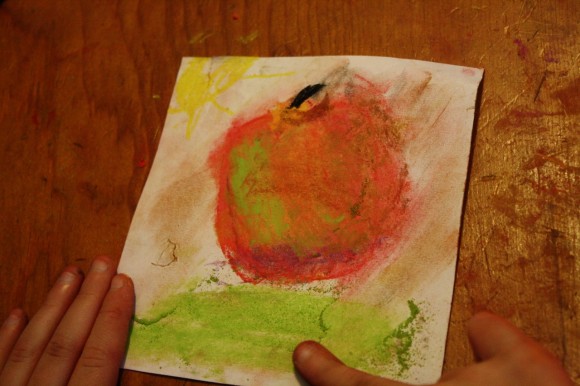
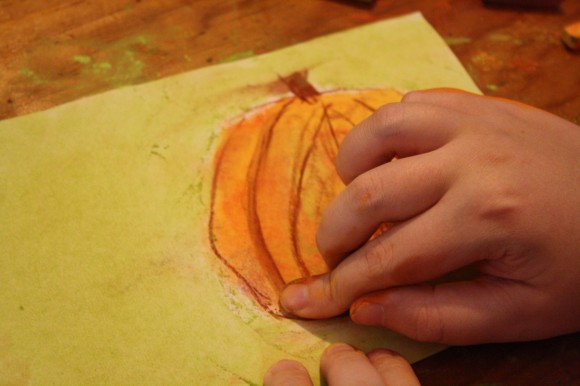
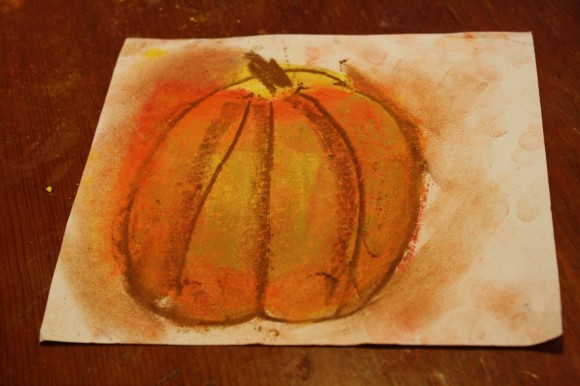
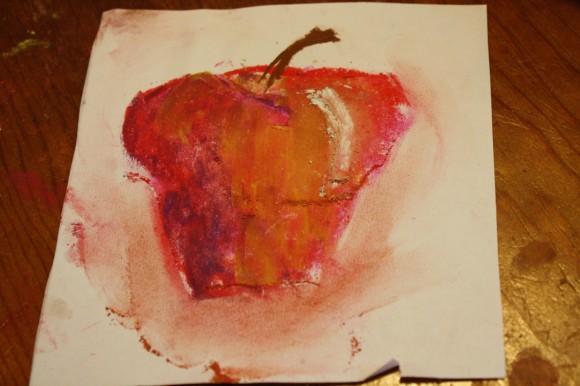
 It was Nana’s idea. Just in time for fall. A quick and easy lesson with gorgeous results! She decided to use just a small piece of paper again. A quarter of an 8 1/2 x 11. She passed out colors. And we pictured fall apples…
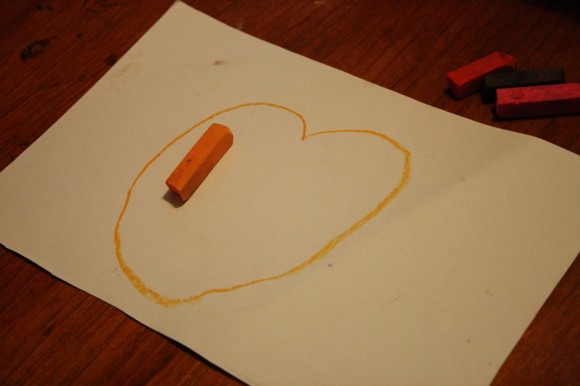
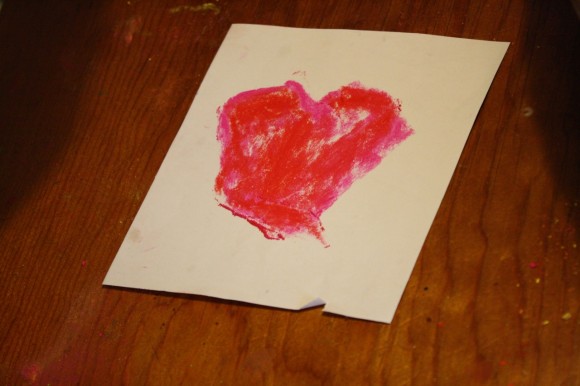
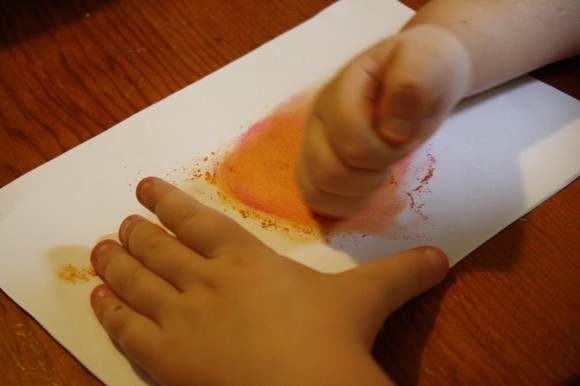
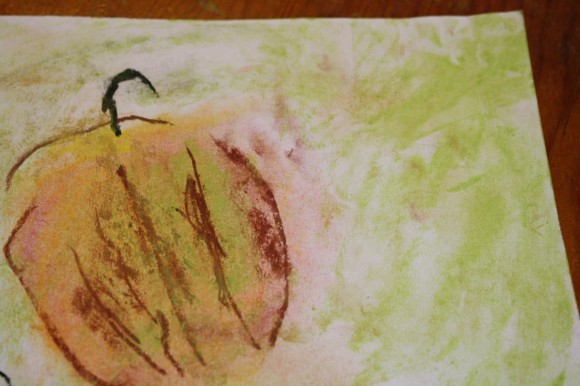
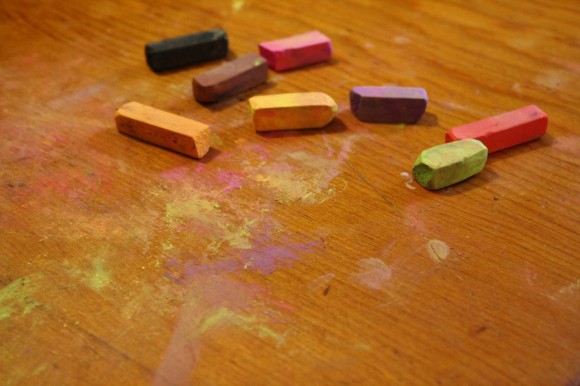 She started by drawing a heart shape, using either an orange or a deep pink.

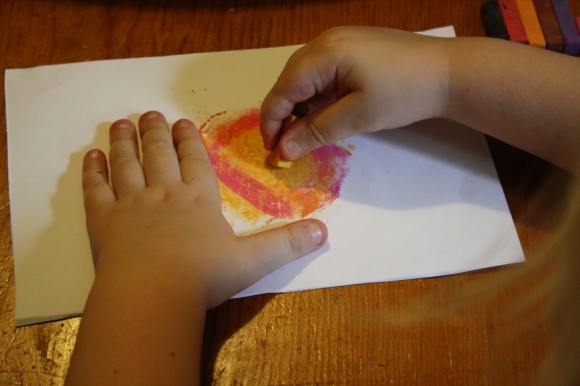
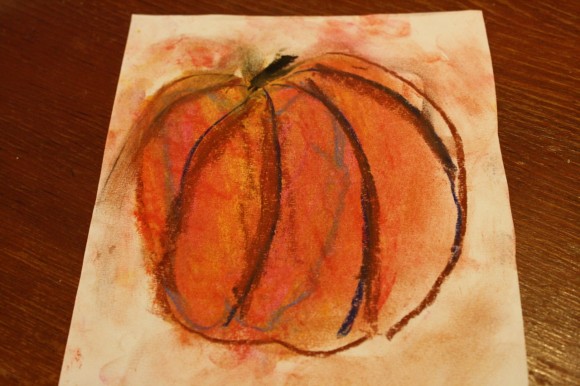
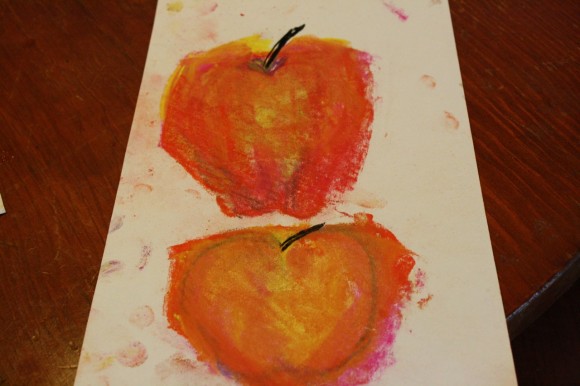
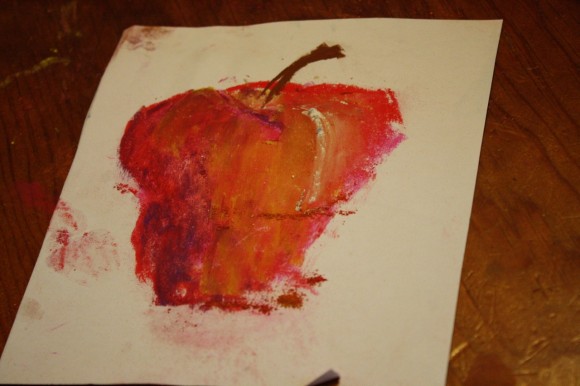
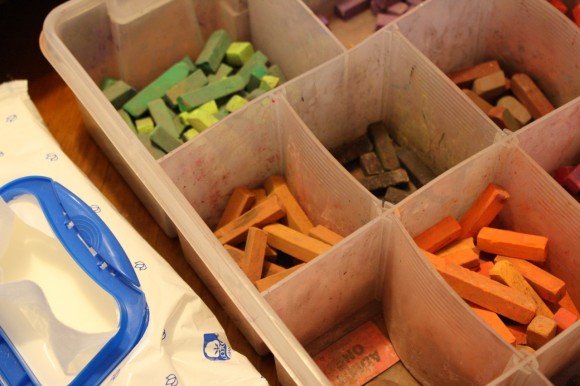
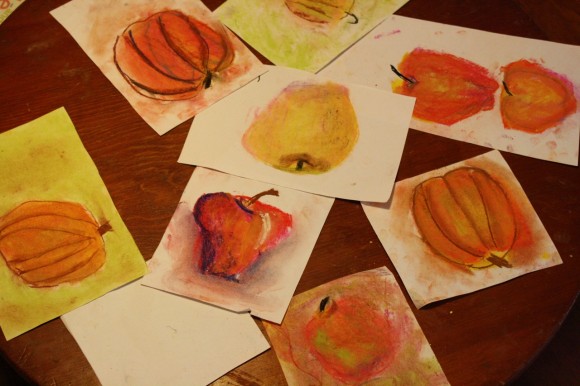
A note on chalk pastels: Pastels are an easy, forgiving medium. Fun for children and adults alike! Details on the pastels and paper we use, how and where to purchase, and links to all of Nana’s other pastel lessons (over 30 lessons now) are all contained in the post Pastels plus links to tutorials. A simple set is very affordable.
The practical aspects of a mess: Pastels are blessedly messy. We always have baby wipes close by to wipe hands. We wear something we don’t mind getting stained or don a smock.

Oh! We will try this. But I’m still enjoying the marshes in our dining room!
Heather W
Heather – I love how you framed your artwork. And thank you for such a lovely write up of your experience with Nana’s marsh pastel tutorial. I hope you and yours will be back for many more!
We have done the apple….now I am thinking about the pumpkin for this fall.
Nicely done! Love the colors and the images are so simple to follow. Another great tutorial! Thanks Nana (and Tricia and kids).
Just pinned this to Pinterest! We’ll be using this tutorial THIS week – what great fun and beautiful results!
We just did apples today for our first try. Smudging the colors is my 4 year old’s favorite part. It was a lot of fun!
Smudging the colors are our favorite part too!! Thank you for stopping back by to let me know Elizabeth – glad you and yours enjoyed it!
Thank you so much for this pumpkin tutorial. It worked just great for us! http://littlehomeschoolblessings.blogspot.com/2012/09/the-chalk-pastels-of-september.html?m=1
I think this pumpkin/apple tutorial is one of my favorites! The oranges are so rich! Love your pumpkin, sunset and tree pastels. Thanks for sharing Bethany.