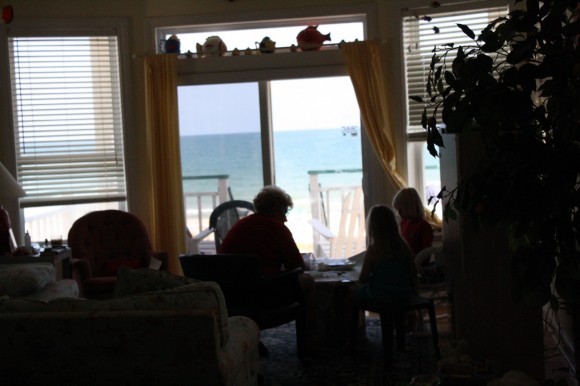
From the summer archives…We sat at the coffee table and looked out at the view. The brilliant teal blue water and the colorful beach umbrellas. Yes, we really had made it to the beach. And on this afternoon, Nana showed us how to capture the brilliant colors in pastels.
Not only did we learn how to make shade under those umbrellas and all the beach techniques, our finished product captured our view for always!
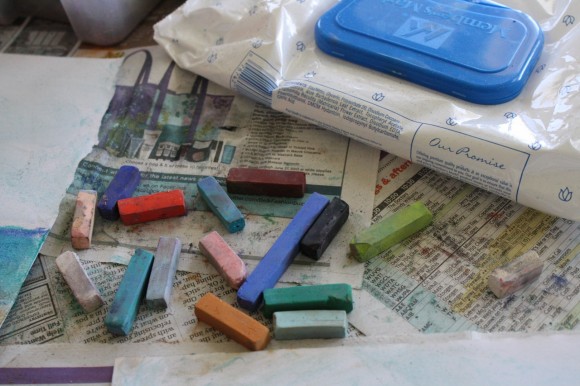
Start by gathering your colors. Teals and blues for the ocean, browns and tans for the sand. Also a light blue for the sky. Have your baby wipes handy. (We used some newspapers to cover the table since this wasn’t our own home).
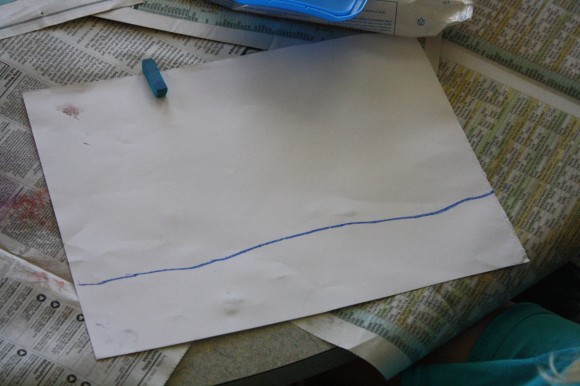
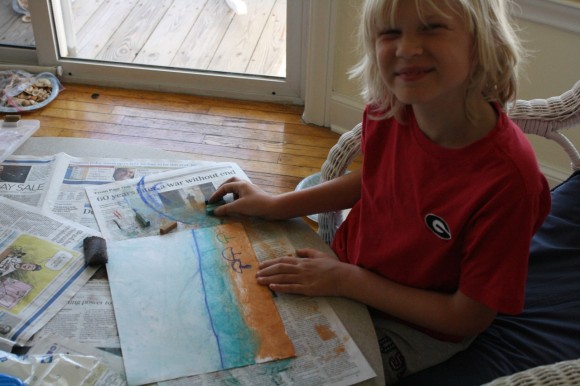
Using a dark blue, draw your ocean line. The water looks darker and is deeper the further away from shore you go. So make this first line nice and dark. We decided later that we should have moved the line up a bit more to give more room for the umbrellas and happenings on the beach.
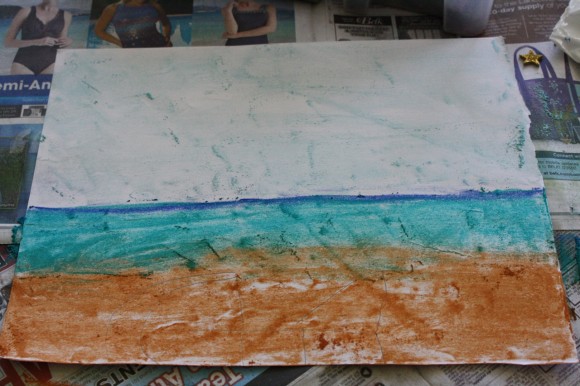
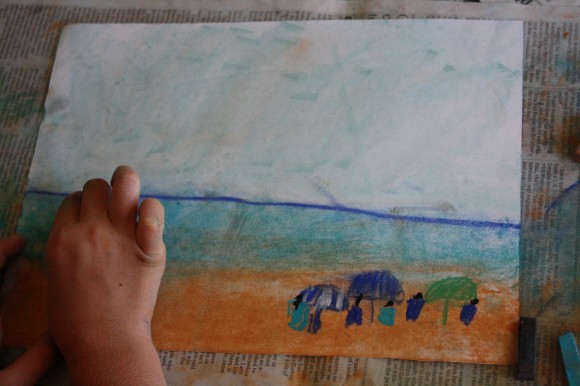
This photo shows four more completed steps. (The photographer was called away to answer the phone and didn’t get pictures of the next steps)
- After your first dark line, finish your ocean with your beautiful teals.
- Make the shore a bit of a curve, anyway you’d like. Fist in your colors a bit but not much. Remember to keep that dark line visible. (To ‘fist in’ make a fist with your hand and use the soft part of your hand near your pinkie to blend. Here’s a photo of that action from the last pastel lesson, Twilight. Fisting blends the colors and softens lines).
- Next use your browns and sand colors to fill in your beach. Turn your pastel stick on its side and lightly fill in the sand. Fist it in a bit, blending the colors. There’s not much variation on the color of sand but you want it to look natural.
- And, finally, use your lightest blue to color your sky. Lightly, with your pastel stick on its side.
Make sure your hand is clean and dry before you fist in your sky. You don’t want too many of your sand colors blending in with the sky.
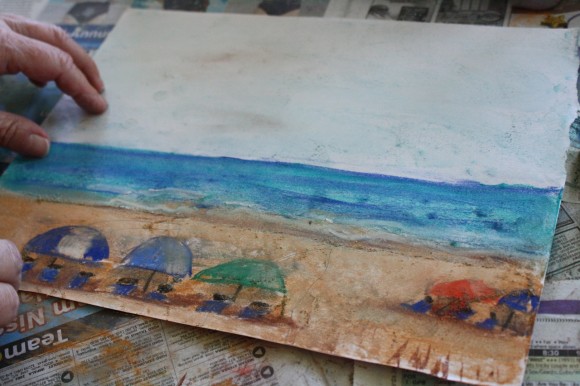
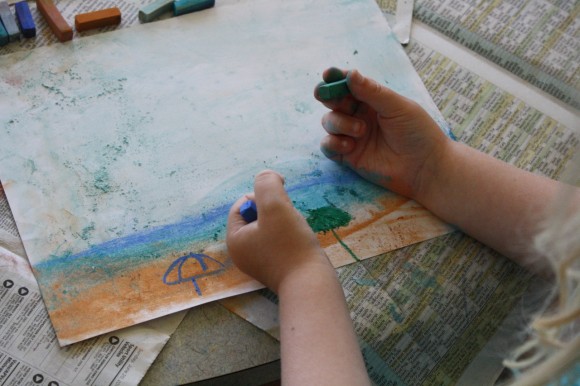
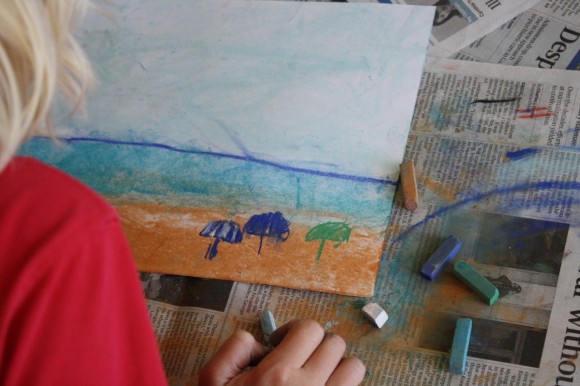
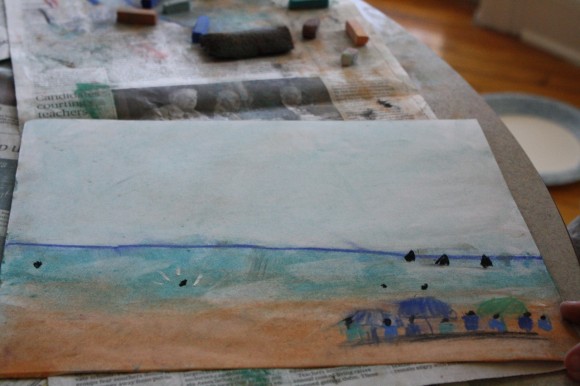
Oh goody! Now it’s time to draw the umbrellas. Pick any color you like. Ours were royal blue, green and orange.
Just free hand your beach umbrellas. You can tell from our pictures about how big they should be. Draw some darker lines to show where they fold. You can use the same color for the stand.
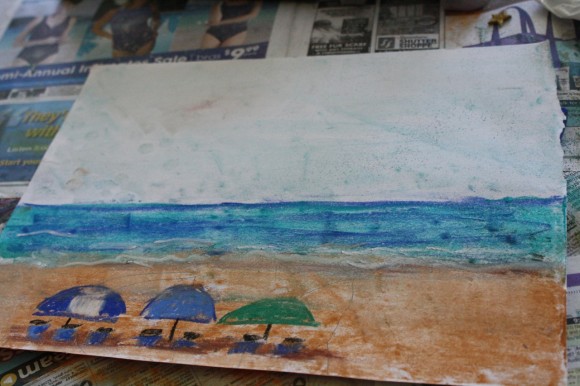
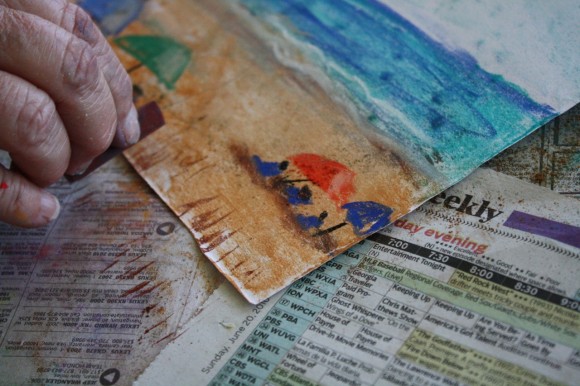
Here’s a few more photos for perspective.
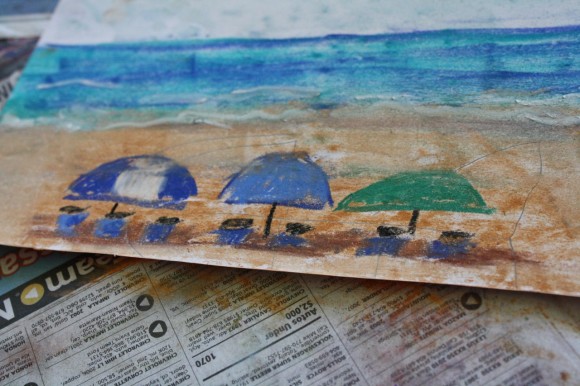
This is Nana’s picture. You may see a few extra pencil lines? She was recycling a piece of paper no one else wanted. She said this was her “study” of the view. She plans to do another painting in more detail and even richer colors.
Now it’s time to add the details of your beach. You can make chairs under your umbrellas by making small rectangles. Use black to make the heads of the people sitting in your chairs. Just a semi-circle. Everything is very dark up under the shade of the umbrella – in contrast to the bright sunlight on the beach.
Seven-year-old added the black fins of the gliding porpoises we saw. And the splash of the one being playful.
Nana then showed us how to add shade. Take your darkest brown and just color right under and along side the beach chairs. Cool your beach folks off.
Nana tucked a new set of umbrellas in the corner of her picture. And an orange umbrella! You may want a few sea oats too. Turn your pastel stick on its side and lightly tap. Makes lovely sea oats.
Define your surf a bit with your white. Maybe make a bit of foam.
Be sure to pick a color and sign your name.
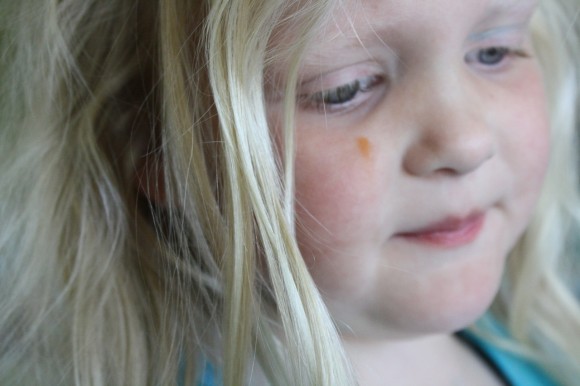
And check for any unexpected eye shadow 🙂
Now you have your vacation spot saved in a pastel picture.
This was Nana’s fifth pastel lesson.
Featuring You! You ARE an Artist!
So, paint your beach umbrella picture and be sure to share with us! Simply tag @hodgepodgemom on social media, send a photo via the Hodgepodge contact form here or post on the Hodgepodge Facebook page. We will be sharing these via the Hodgepodge instagram or on our Art Tutorials Showcase Pinterest board – or both! Nana will even comment on a few I am sure!
Free eBook and More!
- Get your FREE ebook (with a coupon)! Getting Started in Chalk Pastel Art.
- See how you can get started in just three steps! Watch the one minute You ARE an Artist video at chalkpastel.com.
- A note on chalk pastels: Pastels are an easy, forgiving medium. Fun for children and adults alike! Details on the pastels and paper we use, how and where to purchase are in our series, Chalk Pastels 101. A simple set of chalk pastels is very affordable. Nana also teaches acrylic lessons.
- The practical aspects of a mess: Pastels are blessedly messy. We always have baby wipes close by to wipe hands. We wear something we don’t mind getting stained or don a smock.
- Be sure to subscribe to our Hodgepodge YouTube channel for free video art tutorials!
Have you subscribed to Hodgepodge so you won’t miss any free art tutorials?
Wouldn’t you like a beach view for always?


Oh, this is lovely! I’m going to drag out some pastels and play. Thanks for sharing!
Oh this makes me miss the beach! Lovely, lovely pastels!