This lesson is quick enough to enjoy this week before Christmas. A present to you from Nana and the Hodgepodge! Christmas Ornament: A Pastels Tutorial.
Christmas Ornament: A Pastels Tutorial
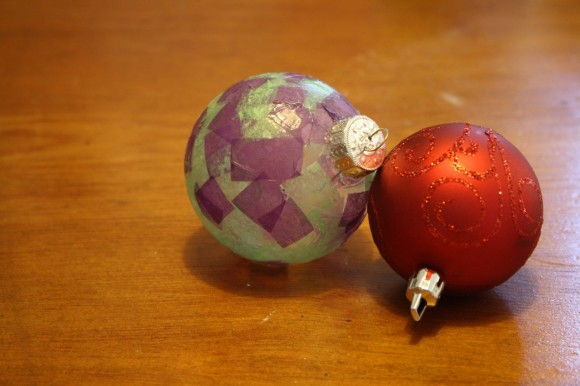
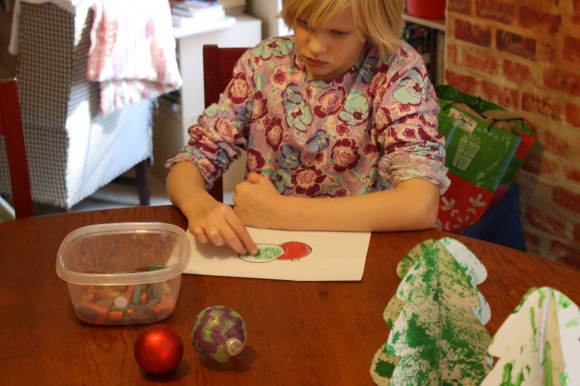
Begin by choosing your favorite two ornaments. Place them on your table where you can get a good look while you use your pastels.
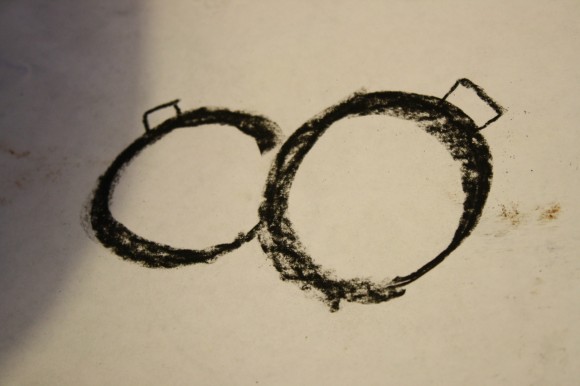
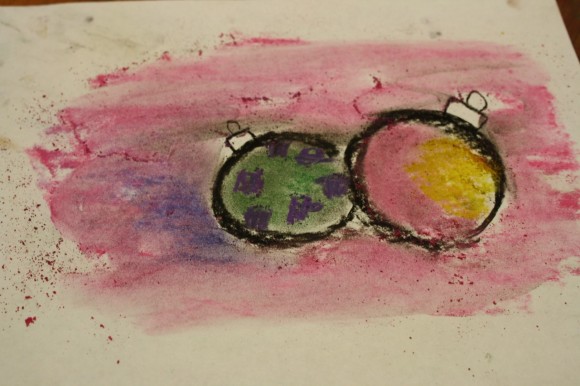
Take your black pastel stick and draw the simple, ball shapes. We had our ornaments propped next to each other, one circle blending into the next. So you might want to leave one circle open as we did. Add your little, square holder at the top of each ornament.
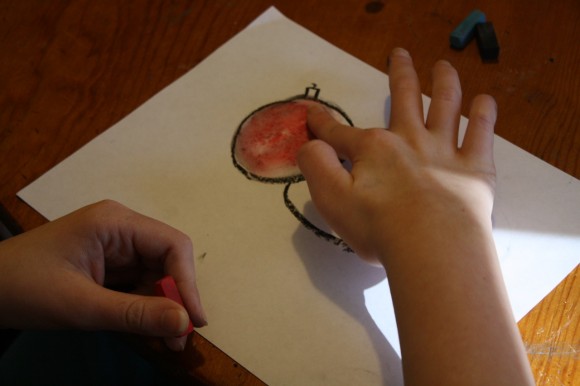
We colored our red one first. As you fill in the color, be sure to leave a section of white where the light is shining on the ornament.
Next, take your finger and blend in the color.
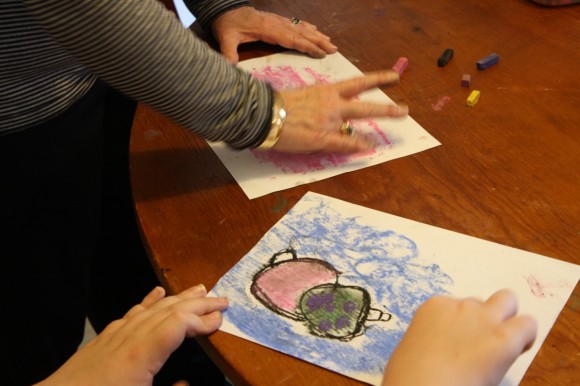
Then color in and blend the chalk on your second ornament.
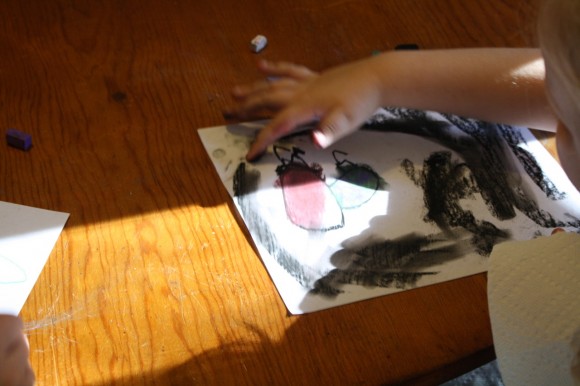
Nana decided we needed a painterly effect around the ornaments. Each chose their own color. For the painterly effect, turn your pastel stick on its side and skumble – just gently brush your pastel around your ornaments. Then ‘fist in’ or blend the color with your fingers.
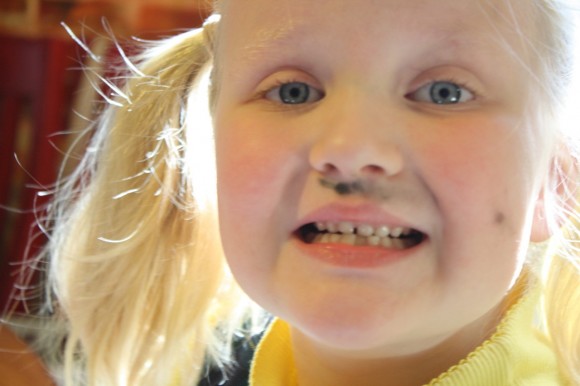
See how easy and fun that is? (You may even get a bonus pastel mustache!)
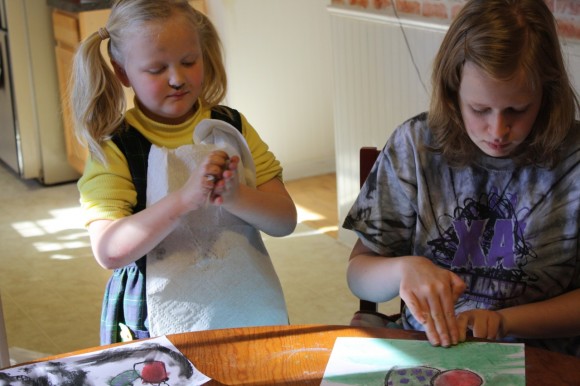
And clean up is quick with baby wipes. You might want to sign your name in the corner. (Do you like our paper towel bib for protecting clothes? It worked!)
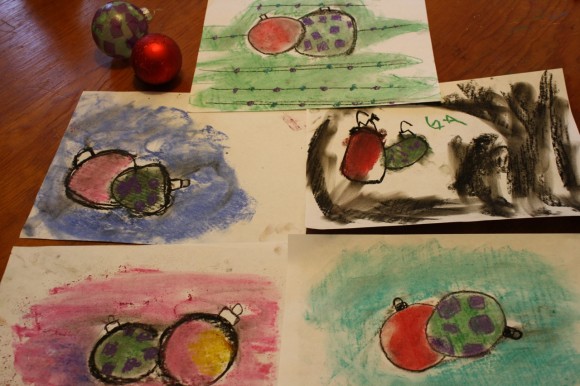
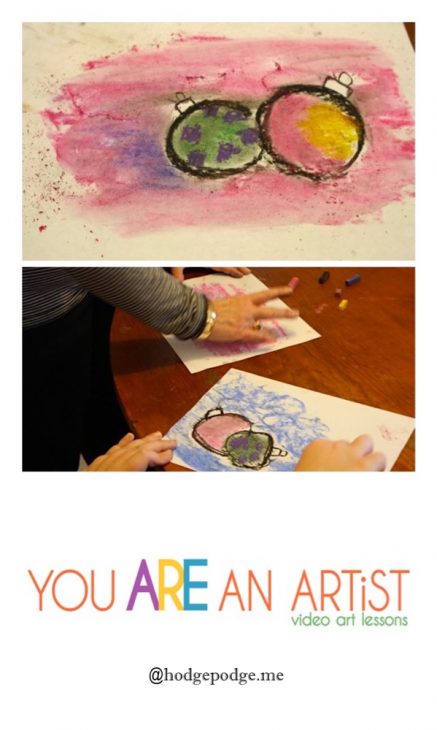
Our finished pastels: Top center by 14yo, top left by 12yo, top right by 6yo, bottom left by Nana, bottom right by 9yo.
Enjoy!
Featuring You! You ARE an Artist!
So, paint your Christmas ornaments and be sure to share with us! Simply tag @chalkpastelart on social media, use the #YouAREanArtist hashtag, or upload a photo to the ChalkPastel.com Facebook page!
- A note on chalk pastels: Pastels are an easy, forgiving medium. Fun for children and adults alike! Details on the pastels and paper we use, how and where to purchase, and links to all of Nana’s other pastel lessons are here: 100+ Free Art Lessons for All Ages plus the video The Very Few Must Have Supplies for Chalk Pastel Art. A simple set is very affordable. Nana also teaches acrylic lessons.
- The practical aspects of a mess: Pastels are blessedly messy. We always have baby wipes close by to wipe hands. We wear something we don’t mind getting stained or don a smock.
Do you and your artists learn best with a video art tutorial? Find this lesson in video form in our Christmas Video Art Lessons. Be sure to check out our Nutcracker and Preschool Winter Video Art Lessons too!
O Christmas tree, O Christmas tree, how lovely are your branches!
—>> Subscribe to Hodgepodge so you won’t miss any future art tutorials! <<—
-originally published December 2011

I love these tutorials – think we may do this one tomorrow! Thank you, Tricia.
Oh good Mary! Nana and I wanted to share a simple and fun one for this week. Thank you.
Know what I got out of that lesson? Zip Lock. The Tub, see there? I’m still trying to put our pastel sticks back in color order in the original packaging. . . Doh. I am so going to treat these things like crayons! Especially since we started with the lowest brand/price our local mart had to offer. Thanks for the freedom!!!
Angie, yes! That zip top container was one I hastily threw together when we were headed off to Enrichment Day to share a pastel lesson. We still have our larger container – with somewhat sorted colors. But the smaller container is so very handy!
While I was looking the photos my daughter came in and said “Mommy, I want too!” So I guess we know what are we going to do during the rest of the day!:)
I love to hear it Anna! Have fun 🙂