While we were enjoying our first Cranberry Thanksgiving Chalk Art Tutorial, we talked about what fun it would be to paint Mr. Whiskers’ – whiskers! All that bushy black beard is such fun to make go this way and that. And this Cranberry Thanksgiving Mr. Whiskers Chalk Art tutorial is a very quick, finish-in-under-five minutes art lesson.
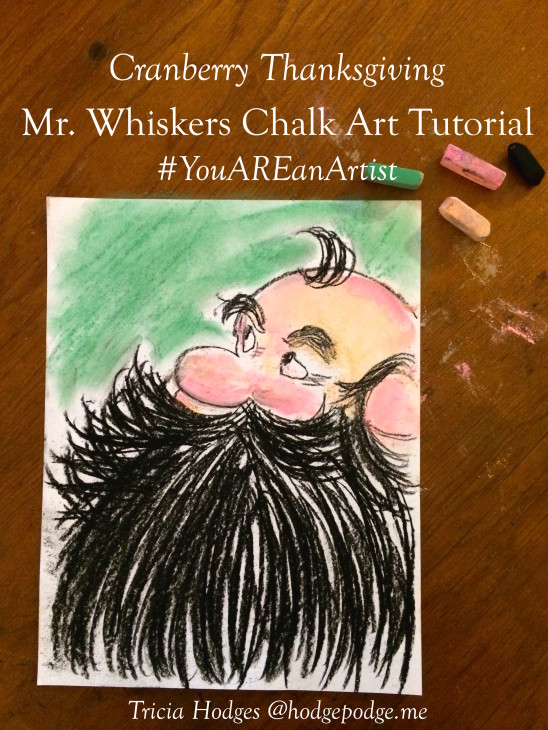
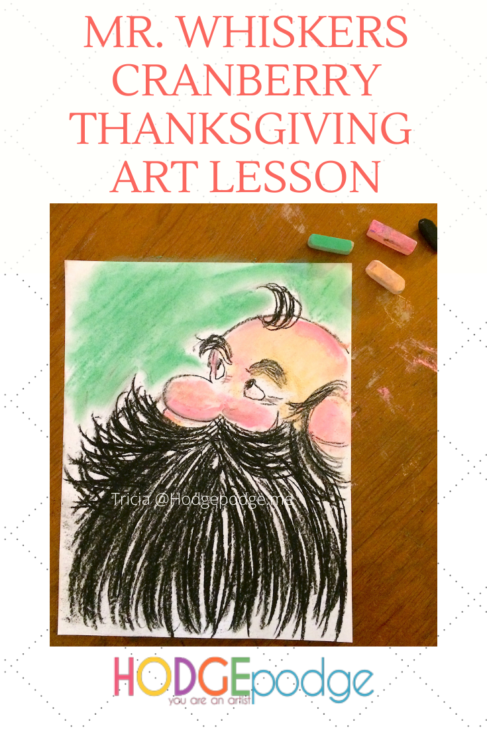
Cranberry Thanksgiving Mr. Whiskers Chalk Art Tutorial
For this Mr. Whiskers Chalk Art Tutorial you will need: paper (we used printer paper), black, pink, green and peachy/skin colored chalk pastels. Plus you will want to have some baby wipes or slightly damp paper towels on hand for chalky hands.
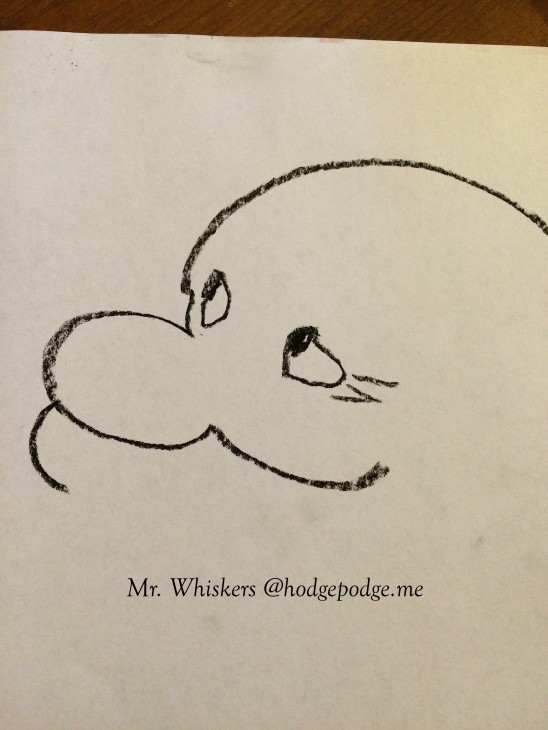
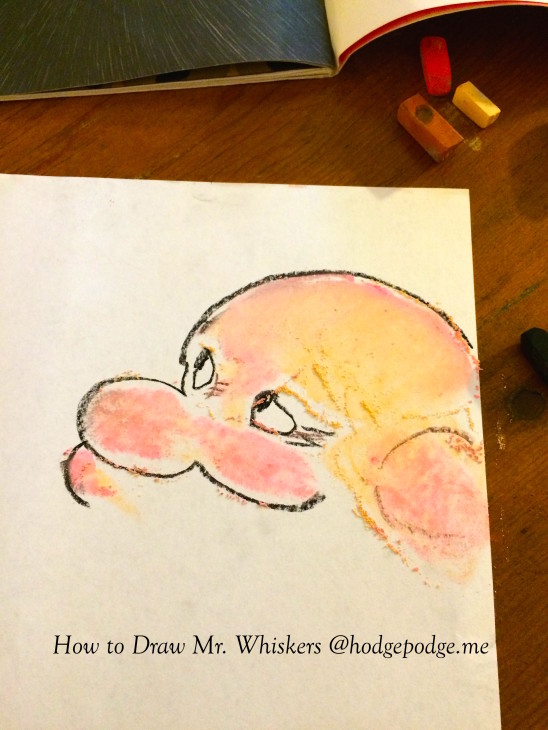
Start at the top! Mr. Whiskers has a nice, round head. You can see I started with the black chalk pastel at the right of the paper, making an upside down smile for the top of his head. Curve around and make his pink nose and cheeks.
Notice Mr. Whiskers is chuckling and cutting his eyes over to the left of the painting. So, just take your time as you sketch his eyes in. There is just a hint of his right eye behind his big, pink nose. And mostly the whites of his eyes are showing. Add the few, small creases around his eyes.
Before we move on to the real whiskers – his beard – let’s give him some rosy color. I started with the peachy skin color, filling in the top of his head and around his eyes. Take your finger and blend in the color until it is nice and smooth. Next, layer some deep pink on his nose, cheeks, ear – and just a bit on his forehead.
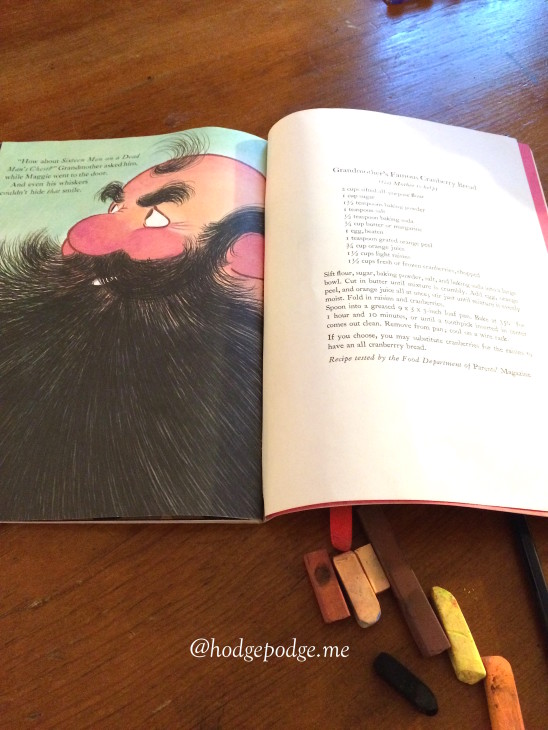
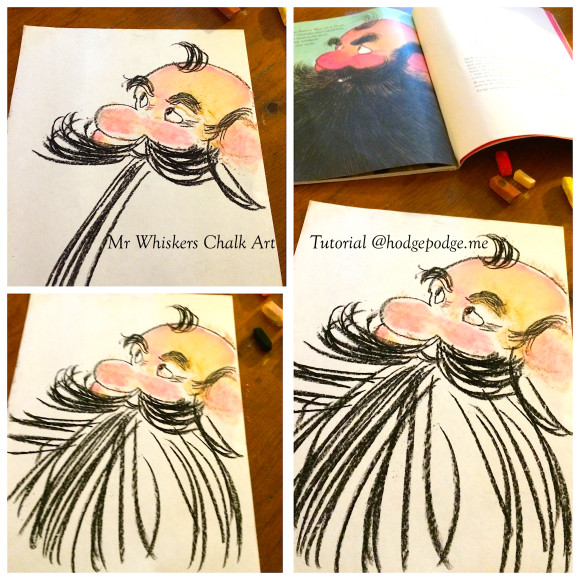
Now to start on those bushy eyebrows! And by that I mean the little wisp of hair at the top of his head and his eyebrows. Have fun with these and make Mr. Whiskers as bushy as he is in the book. Pay special attention to the way his hair/whiskers curve around his ear.
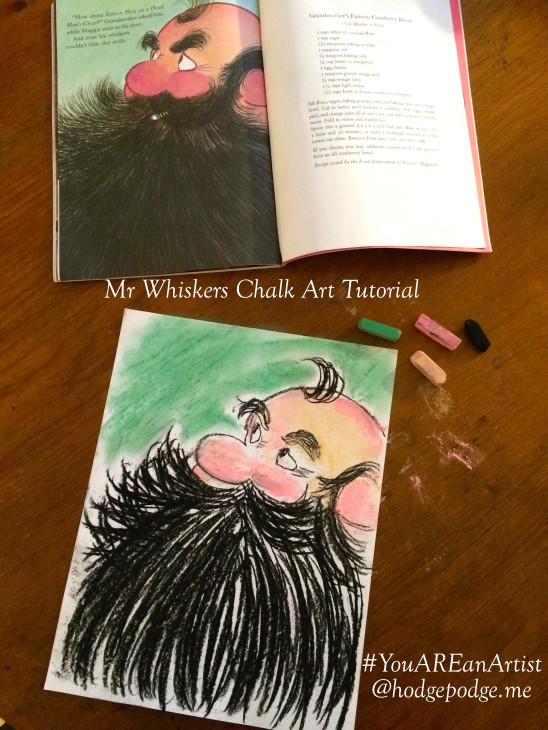
Now, the whiskers! Study this impressive beard for a minute and notice how each part goes in a certain direction. Each side of his mustache, the curve of the beard each way. And you can just see a big of white from his teeth and that smile!
Have fun making the whiskers – they are the best part!
“And even his whiskers couldn’t hide that smile.”
Don’t forget the painterly effect – just a touch of green background like in Cranberry Thanksgiving.
Cranberry Thanksgiving Mr. Whiskers Chalk Art Tutorial Video by Nana
If you and your artists learn best with video art lessons, enjoy Nana’s video and be sure to check out all of her video art lessons at ChalkPastel.com.
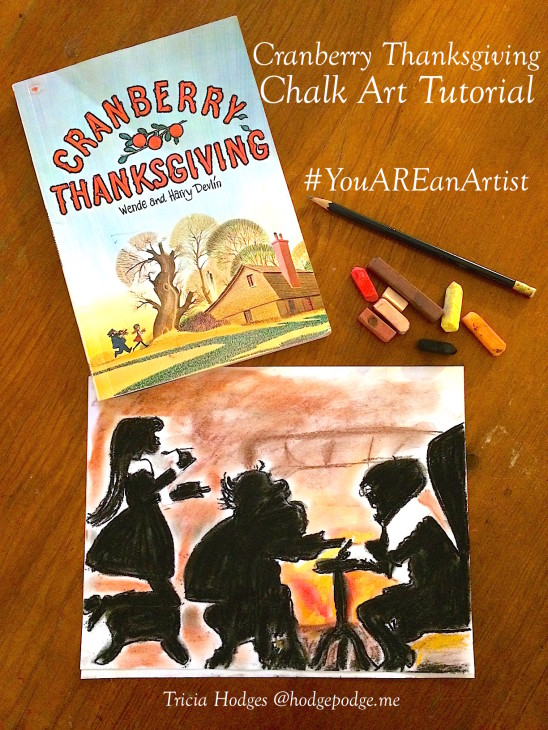
If you are up for more of an art challenge, try our Cranberry Thanksgiving Chalk Art Tutorial!
FEATURING YOU! YOU ARE AN ARTIST!
So, paint your Cranberry Thanksgiving art and be sure to share with us! Simply tag @chalkpastelart on social media, use the #YouAREanArtist hashtag, or upload a photo to the ChalkPastel.com Facebook page!
- A note on chalk pastels: Pastels are an easy, forgiving medium. Fun for children and adults alike! Details on the pastels and paper we use, how and where to purchase are included in Our Favorite Chalk Pastels.
- The practical aspects of a mess: Pastels are blessedly messy. We always have baby wipes close by to wipe hands. We wear something we don’t mind getting stained or don a smock.
Do you and your artists learn best with a video art tutorial? Find more of our video art lessons and the You ARE an Artist Clubhouse membership with Nana at ChalkPastel.com!
“Mr. Whiskers, indeed!”
–> Be sure to subscribe to Hodgepodge so you won’t miss any future tutorials!
-originally published November 2015
Thank you for this tutorial! We just did this earlier this afternoon. First time using chalk pastels. It was so fun!!
Oh I am SO happy to hear that! I wish you many more art filled afternoons.
I love this book! I remember checking it out at the library over and over as a kid and making the recipe in the back for cranberry bread! I can’t wait to do this with my own kids and this tutorial looks so fun to go with it. thanks!!
Enjoy!!