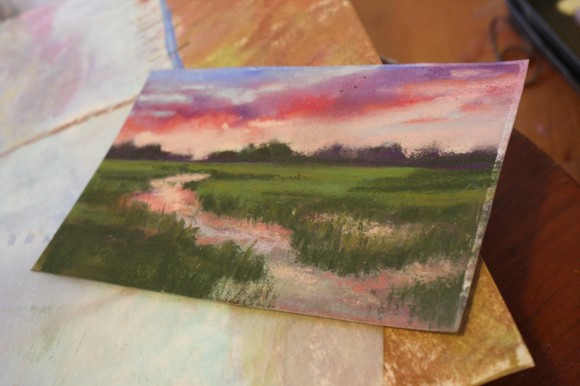
A marsh made with soft, chalk pastels is Nana’s favorite. She loves how the setting sun is reflected in the water. She also enjoys the techniques that give the scene depth, the blending of trees, the tapping in of grasses.
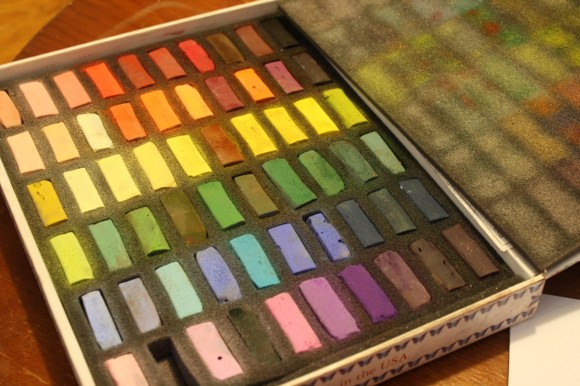
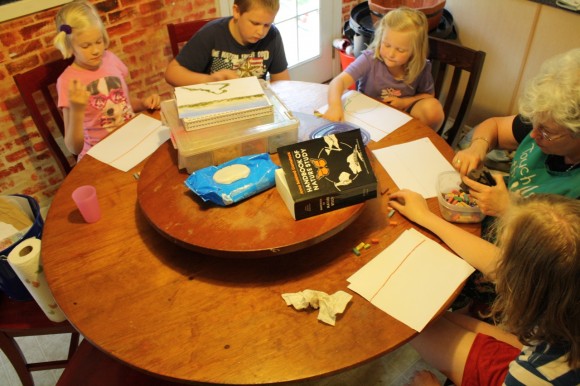
So, one afternoon recently, she brought her new set of pastels. She showed us all how to make a marsh.
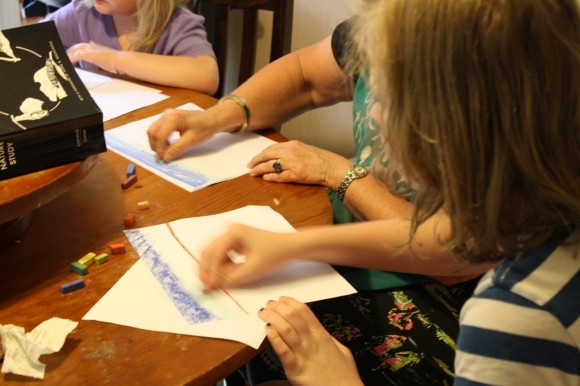
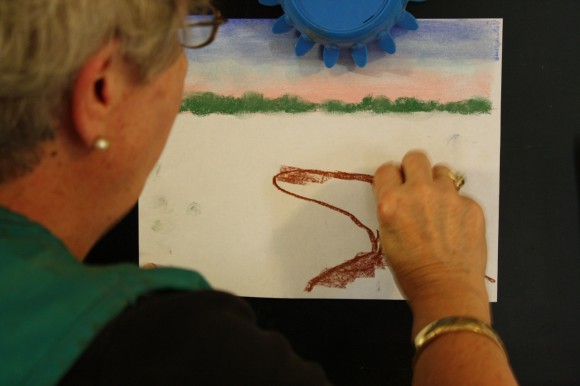
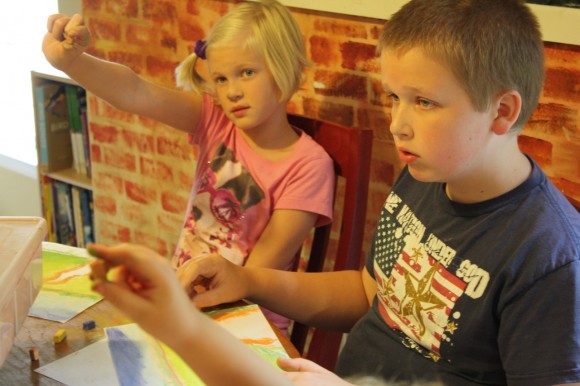
We pulled out our big storage container full of pastels and gathered around the kitchen table. Nana told us to pick up our brown sticks and draw a straight line for the horizon. Be sure to place your horizon above the center of your paper – about two thirds of the way up. It’s more interesting that way and you will need plenty of room for your marsh.
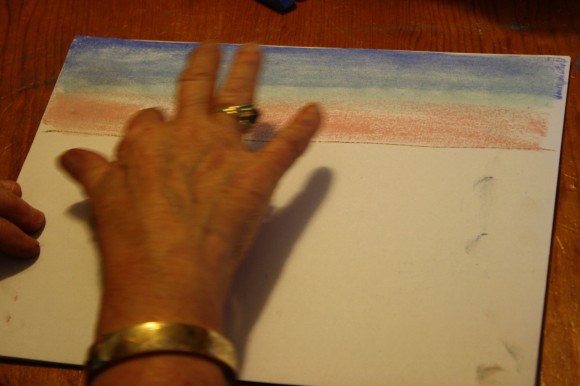
Next, make your sky. Darker blue at the top then a lighter, aqua blue below. This makes a soft color for dusk. Below the aqua blue, place a bit of pink in the space between the blue and the brown of your horizon line. Don’t you love a beautiful sunset?
Be sure to blend your colors, softening the sky with your finger.
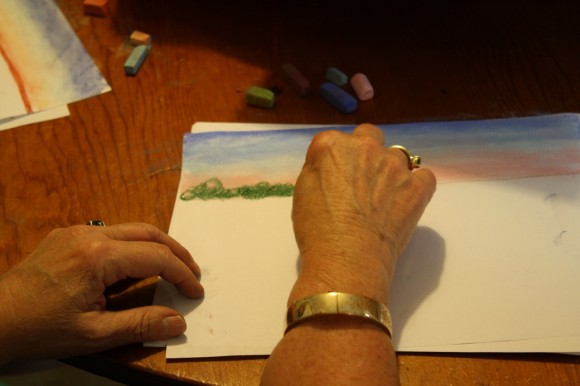
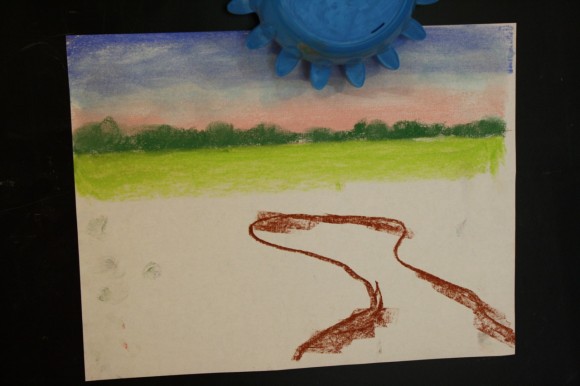
Next, take your green and swirl around a tree line, placing it right over your horizon. You want to cover up your brown line with the green. Do you see how this will make the trees look as though they are off in the distance?
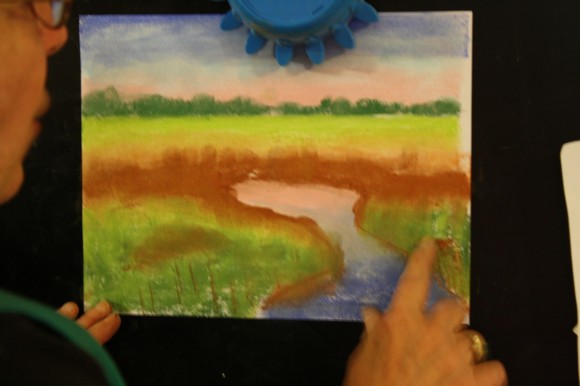
Now it’s time to draw the outline of the water. From here I type exactly what Nana is saying to the children…
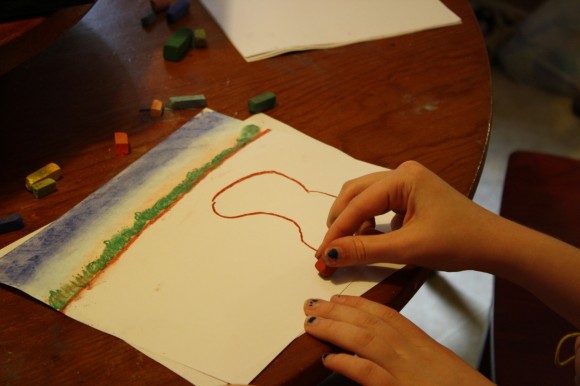
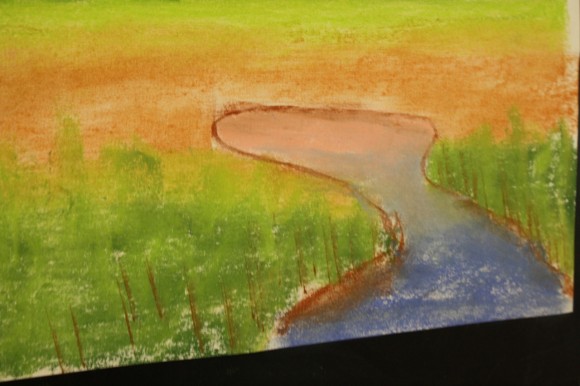
“You have to close your eyes and imagine. Think of the banks of a stream. Not the water. We are going to draw the banks. Make a nice, sort of S curve…
Next, turn your brown stick on its side and cover up your bank, making sure to go above your line, not blending into the water.
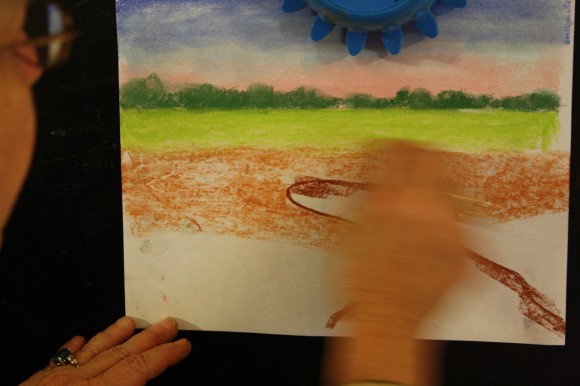
Now we will turn our attention to another part of the marsh. Using light green for the first part of the marsh because it is far away. Near the tree line.
Skumble light brown. Then blend. (Nana reminded us that skumble is the artistic word for layering colors).
Skumble dark green all the way down to the bottom edge of your paper. Then, go back to light green. Go over the dark green and up into the orange. See how it kind of melts together then? If you have white spots, it’s ok. Next, change your stroke. You can go up and down this time because these are grasses.
Next, we’ll need your dark brown – hold it up. Turn it on it’s side, then…
Tap, tap, tap! See how it makes grasses?
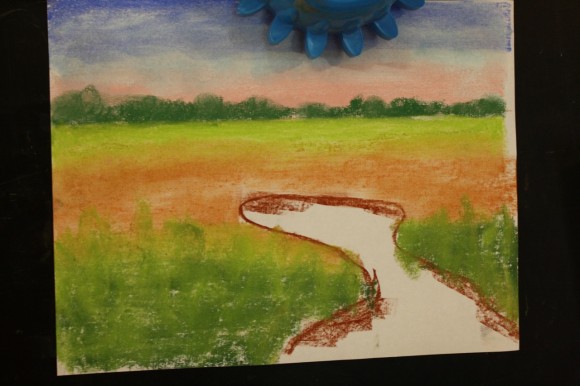
Now, this is how you do water. You will make it reflect the colors of the sky. See your pink in the sky? It is closest to the water. So you will put your pink in first. Next, light blue. Skumble it down, halfway. What comes next? Dark blue. The last color in the water.
Take your fingers and lightly put them together, blending the colors. You can even get some green in there because you want the water to reflect the green and the brown.
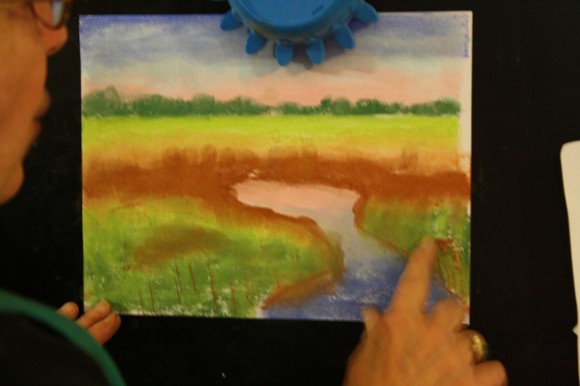
“Dress up this marsh. It needs a little bit of a darker brown up here to make sure you know it is a marsh.” (Nana is touching up brown in the photo above).
Next, go up and down with your finger to make it more like grasses. Finally, pick a color and sign your name in a bottom corner.
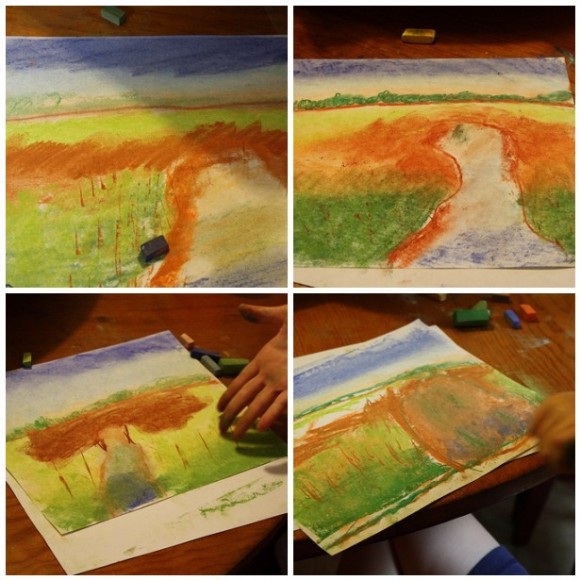
From left to right. 12-year-old’s marsh, by 13-year-old, eight-year-old’s marsh, by five-year-old. “These are so good!” ~ Nana
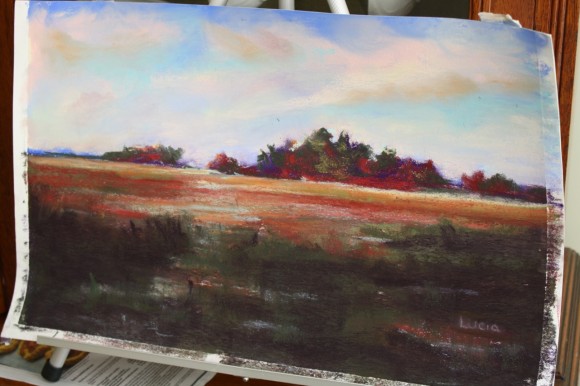
Here are two more marsh pictures, both by Nana…
See how different you can make your marsh? And how much fun it can be to create the reflection in the water?
Or, maybe you’d prefer to make lilies in a pond with Nana’s pastel tutorial: Lily Pad
A note on chalk pastels: Pastels are an easy, forgiving medium. Fun for children and adults alike! Details on the pastels and paper we use, how and where to purchase, and links to all of Nana’s other pastel lessons (over 25 now!) are all contained in the post Pastels plus links to tutorials. A simple set is very affordable.
The practical aspects of a mess: Pastels are blessedly messy. We always have baby wipes close by to wipe hands. We wear something we don’t mind getting stained or don a smock.
Barb-Harmony Art Mom says
Wonderful tutorial for the marsh and I really love the step-by-step images. I think a lot of families are going to enjoy this activity and Nana made it super easy to follow. Thank you so much!!!
All Things Beautiful says
What talent! Nana is a born art teacher. You are a natural at capturing the steps and your children are wonderful artists!
Nana says
Old Nana here….thank you, ladies for your kind and sweet encouraging words! I think pastel lessons are my life’s calling and I love doing them!
Forever,
Nana
Alea Milham says
I think this pastel tutorial might be my favorite! Reminds me of the marshes on Assateaque Island.
FruBilledkunst says
Thanks for another lovely tutorial. Just did it with my niece. It’s on my blog, if you World like to see it: http://www.frubilledkunst.dk/hygge-med-min-nevo/
Hodgepodgemom says
Oh thank you for letting me know! Absolutely lovely results. Pinning to my pastels showcase Pinterest board…