A fall favorite from 2010…
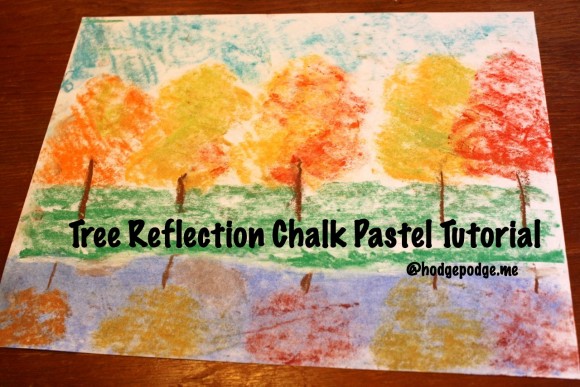
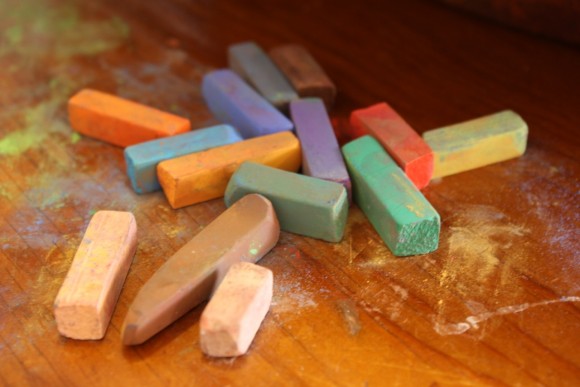
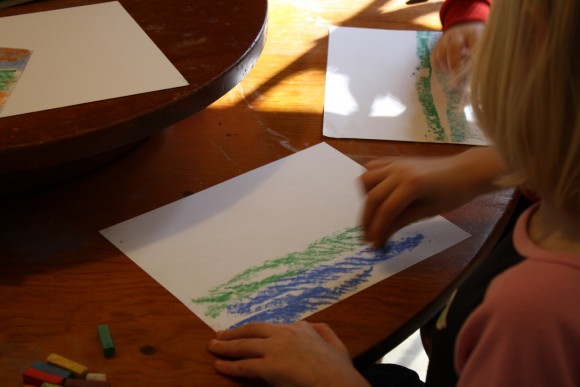
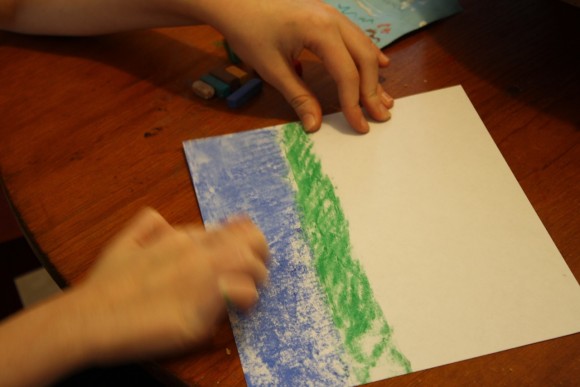
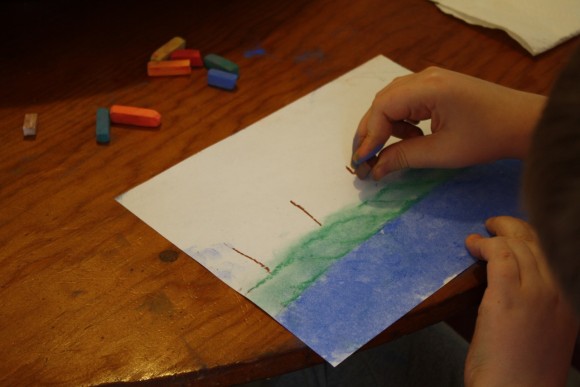
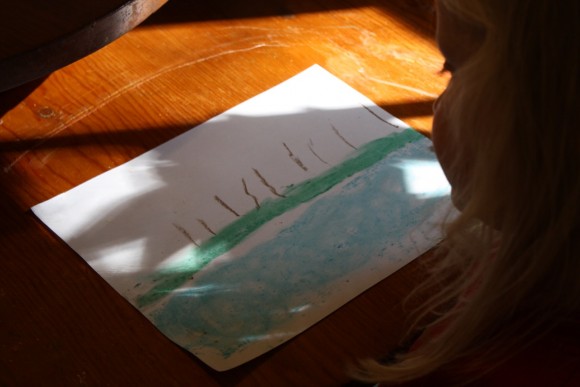
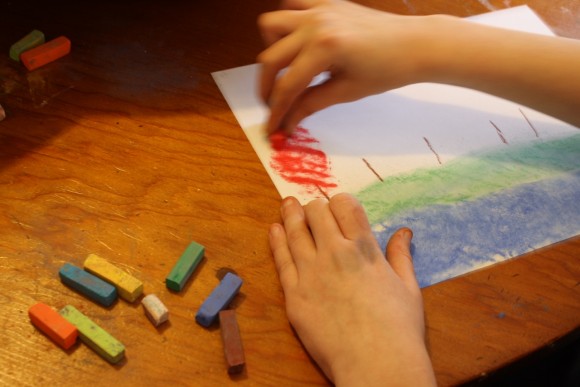
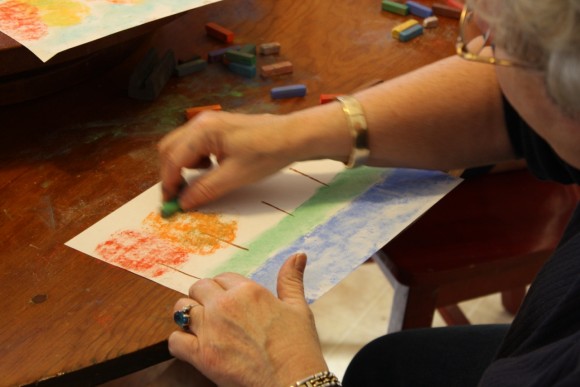
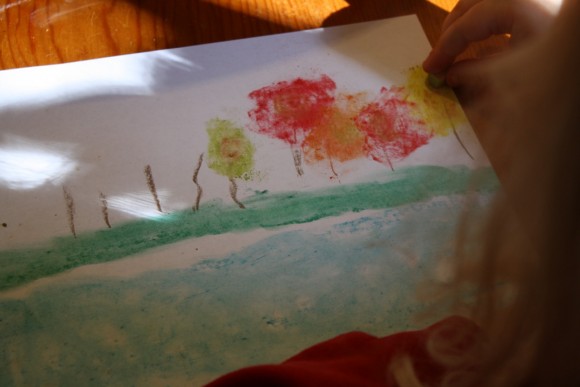
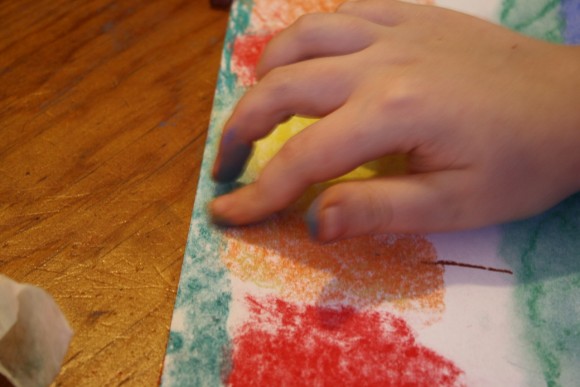
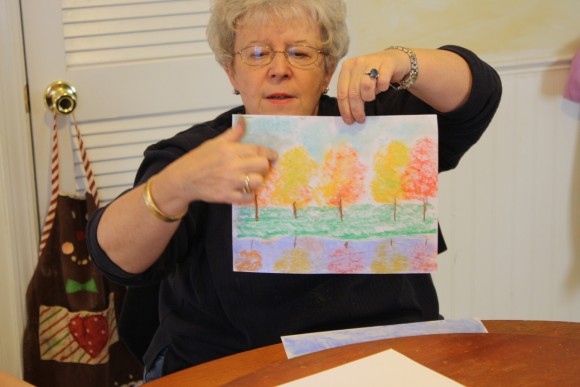
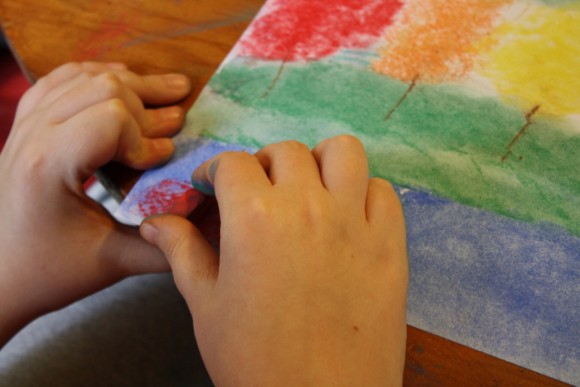
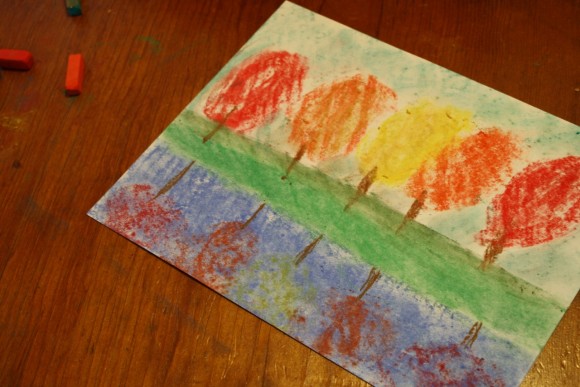
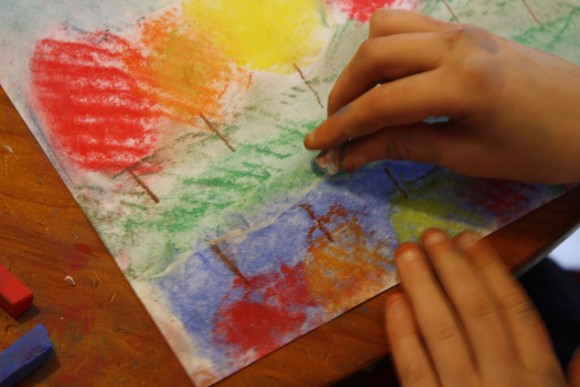
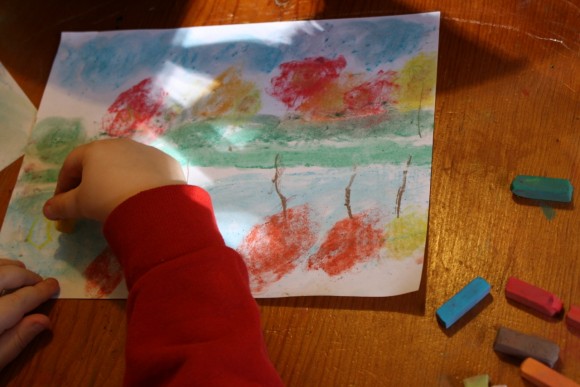
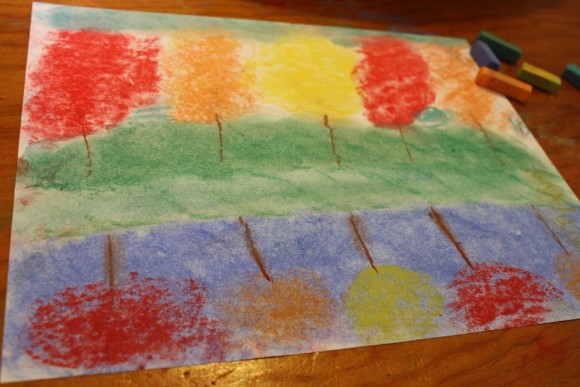

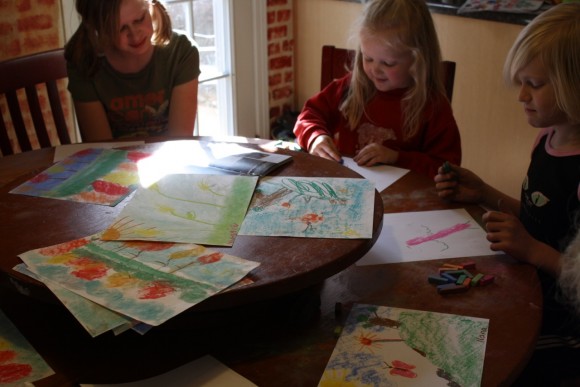
- Print this lesson: Just click the green, ‘print-friendly’ button at the top, left of this post. You can choose to print the lesson with or without photos. By clicking the ‘remove photos’ box, you may print the text directions only.
- A note on chalk pastels: Pastels are an easy, forgiving medium. Fun for children and adults alike! Details on the pastels and paper we use, how and where to purchase, and links to all of Nana’s other pastel lessons (over 30 lessons now) are all contained in the post Pastels plus links to tutorials. A simple set is very affordable.
- The practical aspects of a mess: Pastels are blessedly messy. We always have baby wipes close by to wipe hands. We wear something we don’t mind getting stained or don a smock.
!
Love this! Thank you!
Beautiful…I just love the colors of fall! We’re in for a few rainy days here, so I’m adding this to our list of boredom busters:) My girls will be thrilled- they love using chalk pastels. Thanks for the tutorial!
Hi. I have been following Nana’s pastel tutorials and I love them. We are studying Thomas Edison with BYFIAR and we did the tutorial on tree reflections when we got to the chapter on Tom’s new home. This post was right on time! I do have a question for Nana. How can I preserve the art? We only have oil pastels right now so I understand from reading that they don’t truly dry. Is framing our only option? Do you suggest using a varnish? I guess laminating is out of the question. 🙂
Pam – I talked to Nana about this and yes, she said framing. But you could also put your finished picture in a plastic sleeve (very carefully!) Another option would be going to Michael’s or a similar craft store and getting a spray fixative, like you mentioned. All of these would apply to chalk pastels as well. Hope that helps! And so glad it was timely for your studies! I love to hear when families are enjoying Nana’s tutorials.
Lovely, simply delightful, I am inspired.
Thanks so much! We had a lovely time making these today- a perfect project for us with all of the leaves changing outside. Nana is fabulous- you are a lucky family to have her in real life.
Pamela, I’m so glad to hear it. I can just picture your beautiful colors and those changing outside. And, yes, we are so very blessed with Nana in real life! She just taught us a lesson before supper tonight. What a blessing she is.
So beautiful! Just what we need to revive our tired nature drawing projects. Thank you.
Annie Kate
Tricia,
I wanted to let you and Nana know that we used this tutorial today to learn about reflections in water used in art. This tied in with our FIAR art and science lesson for The Story of Ping. We had so much fun even the four year old and I got in on the action! Thank you for sharing your talents with us.
Patrice
This made me smile big time Patrice!! What a great idea to tie in this art lesson with Ping and FIAR! So smart. If you have any photos, I’d love to feature them on our Pinterest art tutorial showcase board: http://pinterest.com/hodgepodgemom/art-tutorial-showcase/ Please feel free to email them to me by clicking that little envelope icon above. Thanks again!
I am not sure if it is just me, but I am unable to find the print friendly version of this tutorial. I am excited to teach the tree reflection art to my co-op class next week and wanted to have a print version to look at. Can you let me know if I am missing something, please. I can’t seem to find the green print friendly button.
Thanks so much for this awesome blog! I am teaching 12 lessons to my co-op class this year and they are all from your site! Thanks so much for sharing them with us all!
Melanie from MO
Hi Melanie! I am so happy you are sharing art with your co-op class! I believe the print friendly button has moved to the bottom of the post. It used to be at the top – but now it is in the sharing buttons at the bottom – if you scroll over the one on the far right – it will say ‘print with print-friendly’ Hope that helps – and enjoy!